Chassis i/o module, I/o module placements, Installing an i/o module – Dell POWEREDGE 1855 User Manual
Page 54
the drop-down list. If the type you are looking for is not available, you can add it by clicking Add.
6.
Click Next. The completion dialog box appears.
7.
Click Finish to exit.
8.
Start up the analog switch and the system.
Chassis I/O Module
A variety of I/O modules, such as Fibre Channel pass-through, Fiber Channel switch, Ethernet pass-through, Infiniband pass-through, and PowerConnect
5316M Ethernet switch modules are available for your system. Some I/O modules also require a supporting daughter card that must be installed inside each
server module that communicates with that particular I/O module. The system can accommodate up to four hot-pluggable I/O modules.
You do not have to turn off the system to replace an I/O module of the same type; however, your network connectivity does not return until the replacement
module is installed and initialized.
I/O Module Placements
The back panel has four bays for I/O modules and are labeled IO/1, IO/2, IO/3, and IO/4 (see
Figure 2
-5
). PowerConnect 5316M Ethernet switch modules or
Ethernet pass-through modules must be installed in either bay IO/1 or IO/2. All other types of matching I/O modules can be installed in IO/3 and IO/4. See "
Guidelines for Installing Connectivity Modules
" in "Indicators, Messages, and Codes" for guidelines on installing I/O modules.
Bays IO/1 and IO/3 are primary bays and bays IO/2 and IO/4 are secondary bays. The secondary bays provide redundancy or additional connectivity, if
desired. If only one type of I/O module is installed, it must be installed in the primary bay.
Removing an I/O Module
1.
Disconnect any cables attached to the I/O module.
2.
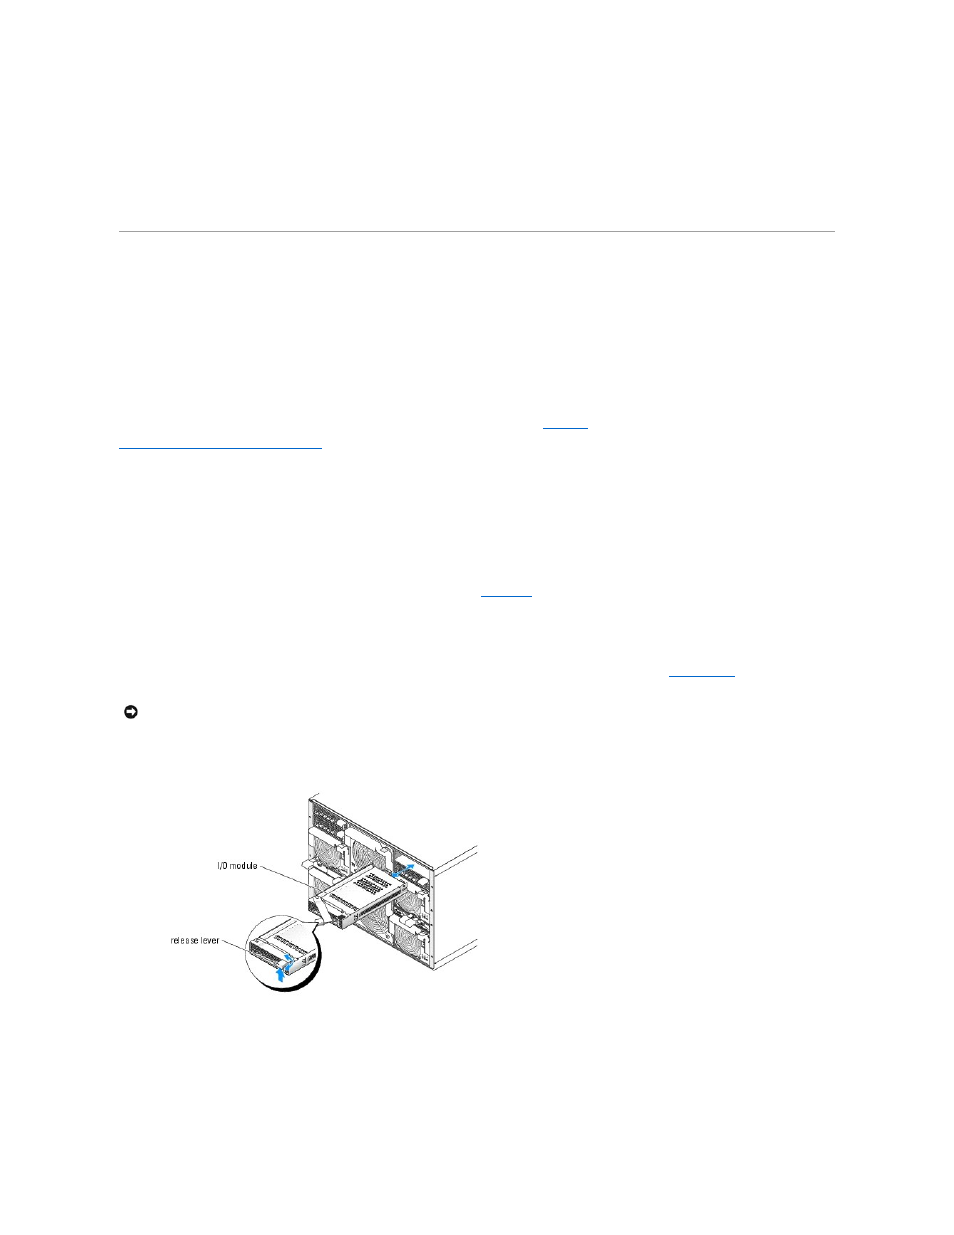
Press in the bottom of the release tab and pull out the release lever. See
3.
Pull out the release lever and slide the I/O module out of the chassis.
4.
If you are removing the I/O module permanently:
a.
If the I/O module uses a supporting daughter card, uninstall the card from inside the server module(s). See "
Installing Server Module Components."
b.
Install a metal filler bracket over the empty slot opening.
Figure 6-10. Removing and Installing an I/O Module
Installing an I/O Module
1.
Unpack the I/O module and prepare it for installation.
For instructions, see the documentation that accompanied the module.
NOTICE:
You must install a filler bracket over an empty I/O module slot to maintain Federal Communications Commission (FCC) certification of the
system. The brackets also help keep dust and dirt out of the system and aid in proper cooling and airflow inside the system.