Display latch, Replacing the display panel, Removing the display latch – Dell XPS M140 (MXC051, Late 2005) User Manual
Page 46
Display Assembly and Display Latch: Dell™ XPS M140 Service Manual
file:///C|/Users/santhosh_v.ASIA-PACIFIC/Desktop/Hawke/New%20folder/display0.htm[2/21/2014 11:33:55 AM]
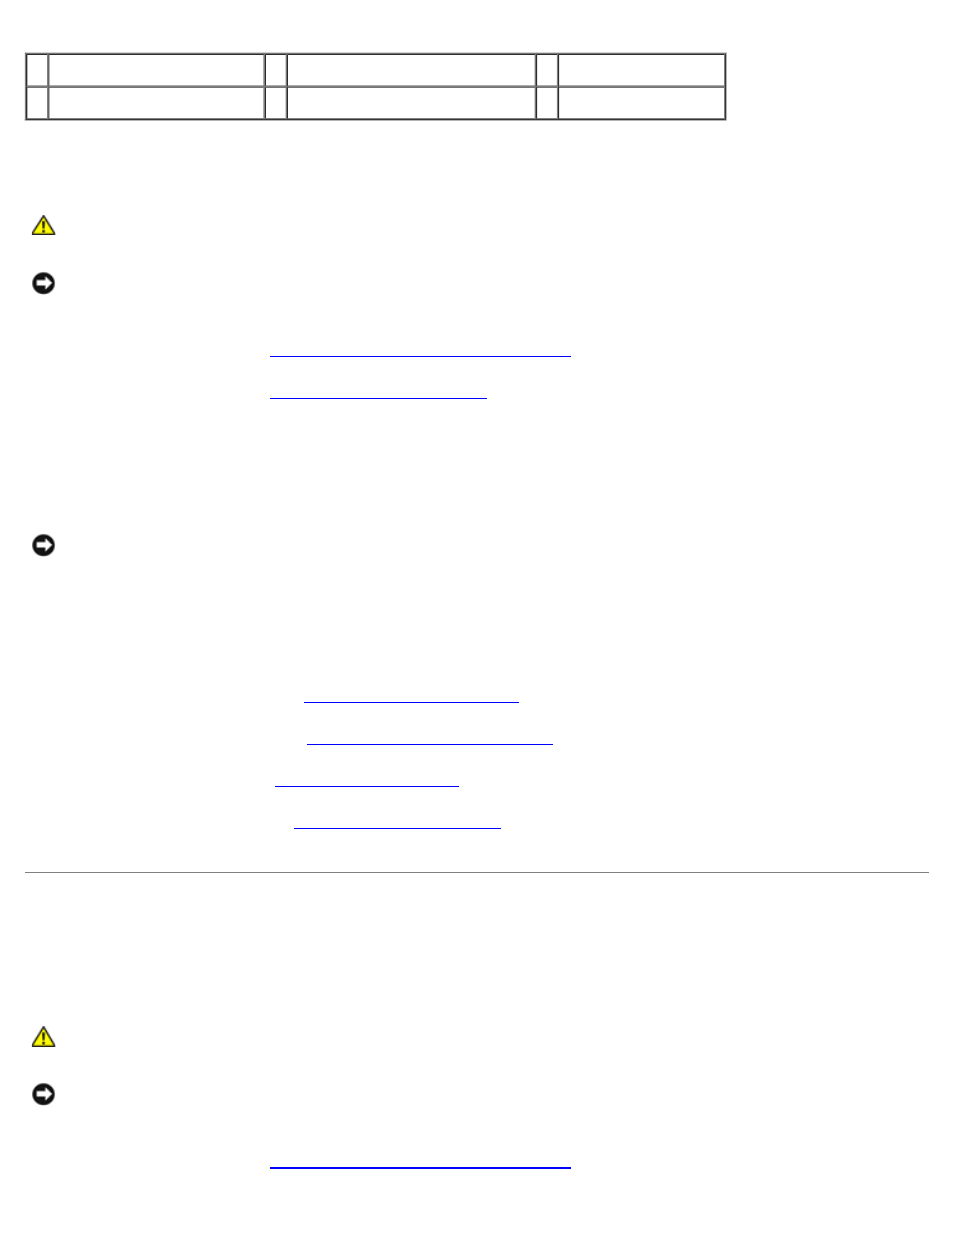
1 back of display panel
3 metal clamps
5 inverter connector
2 top flex-cable connector
4 bottom flex-cable connector
Replacing the Display Panel
CAUTION: Before you perform any of the procedures in this section, follow the safety instructions in the
Product Information Guide.
NOTICE: To avoid electrostatic discharge, ground yourself by using a wrist grounding strap or by periodically
touching an unpainted metal surface (such as the back panel) on the computer.
1. Follow the instructions in
Preparing to Work Inside the Computer
2. Follow the instructions in
3. Connect the top flex-cable connector to the display locking connector on the new display panel.
4. Connect the bottom flex-cable connector to the inverter connector.
NOTICE: To avoid damaging the display cover and/or the display panel, ensure that the guide posts at the top of
the display panel are properly aligned with the corresponding notches on the display cover.
5. Gently place the display panel inside the display cover.
6. Replace the six M2 x 3-mm screws (three on each side) to secure the display panel to the display cover.
7. Replace the display bezel (see
).
8. Replace display assembly (see
Replacing the Display Assembly
).
9. Replace the keyboard (see
10. Replace the hinge cover (see
Display Latch
Removing the Display Latch
CAUTION: Before you perform any of the procedures in this section, follow the safety instructions in the
Product Information Guide.
NOTICE: To avoid electrostatic discharge, ground yourself by using a wrist grounding strap or by periodically
touching an unpainted metal surface (such as the back panel) on the computer.
1. Follow the instructions in