Working with controller information, Adding controllers, Basestation 3200 v12 controller – Baseline Systems BaseManager 2.0 User Manual
Page 5: Basestation 1000 controller, To add a controller to basemanager
Working with Controller Information
Adding Controllers
IMPORTANT!
To add a controller to BaseManager, the controller must have an active communication option such
as Wi-Fi, Cell Modem, or Ethernet Radio, and the controller must be connected to BaseManager over the Internet.
After a controller connects to BaseManager, but before it has been added to a company and a site in
BaseManager, the controller displays a PIN.
BaseStation 3200 V12 Controller
The PIN displays in pop-up message as shown in the illustration. Write down
the PIN paying careful attention to the upper and lower case letters.
If you need the MAC address for the BaseStation 3200 controller, turn the
controller’s dial to the Network position, and then press the Enter button to
select the BaseManager Server Setup option. The MAC address is recorded
on that screen.
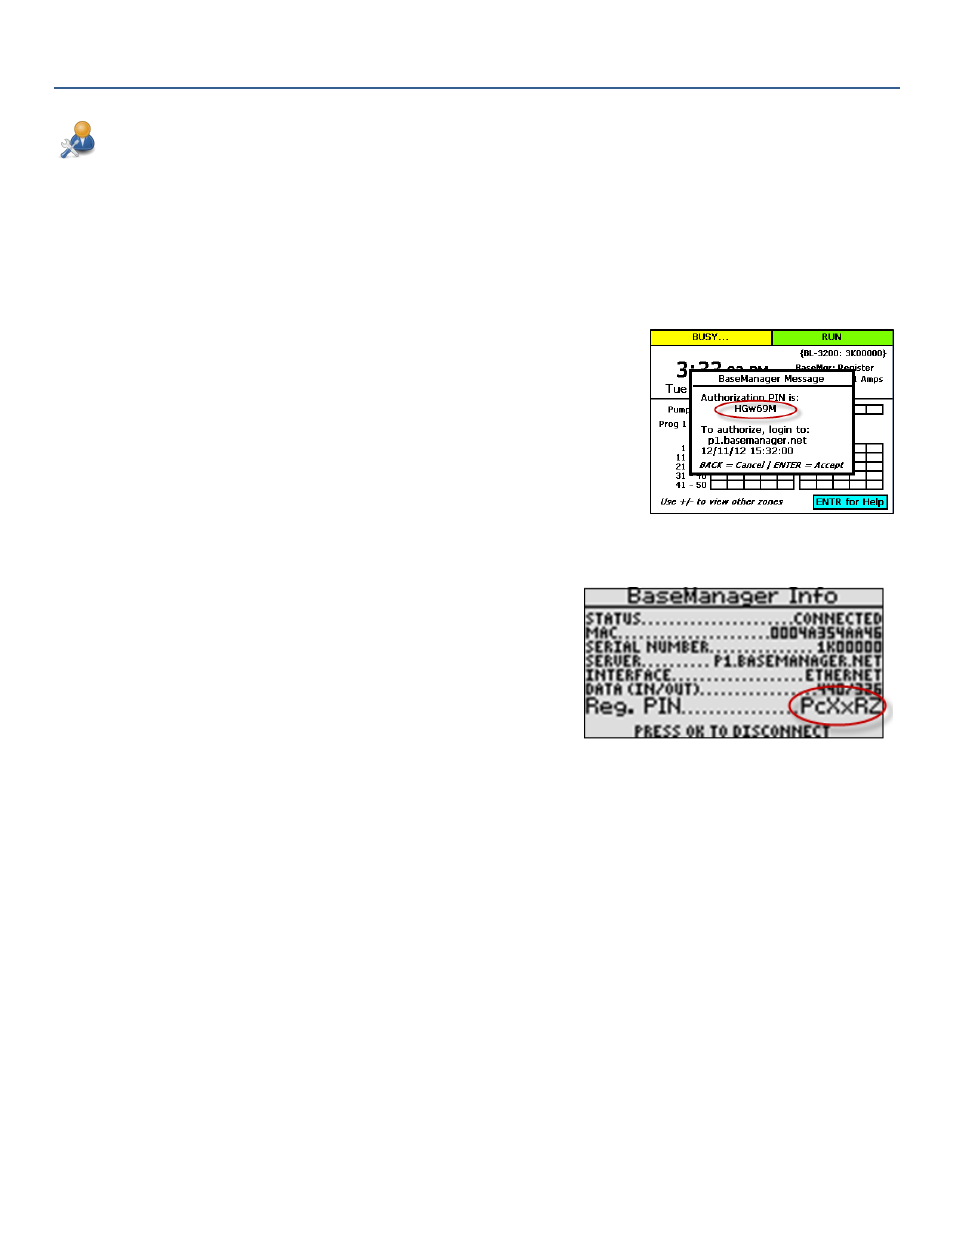
BaseStation 1000 Controller
The PIN displays in a message, but after that message box is
dismissed from the display, you can find the PIN on the
BaseManager Info screen. To display this screen, press the System
Setup button. Press the button to highlight the Network Setup
option, and then press OK. Press the button to highlight the
BaseManager Info option, and then press OK. The PIN displays on
the last line as shown in the illustration.
Write down the PIN paying careful attention to the upper and lower
case letters.
If you need the MAC address of the BaseStation 1000 controller, it is recorded in the MAC field on this screen.
To add a controller to BaseManager
1. In the My Company Admin menu on the left side of the page, position the cursor on My Controllers. In the
expanded menu, click Add a New Controller. The Authorize a Controller by PIN page displays.
2. Click the drop-down arrow in the Choose Site field, and then click the site that you want this controller to be
associated with.
3. In the Enter PIN field, highlight the default text in the field, and then type the PIN for the controller that you
want to Add/Authorize.
Note: Remember that the PIN is case sensitive. You must type the uppercase and lowercase letters exactly as
they were displayed on the controller.
4. Click the check boxes for the users who should have access to this controller, and then click the Authorize
Controller button. The success message displays.
5. Click the button to Further Customize this Controller.
6. In the Friendly Name field, type a descriptive name for the controller that helps you identify it in the field.