Planting rate, Rate: monitor configuration, Rate: disk selection – Great Plains YP825AR Material Rate User Manual
Page 16
401-923B
2013-11-11
12
YP825AR
Great Plains Manufacturing, Inc.
Planting Rate
Setting the seeding rate requires the following steps:
1.
monitor setup
2.
seed disk selection,
3.
drive speed Range sprockets,
4.
Transmission sprockets,
5.
inlet shutters
6.
meter pressurization,
7.
checking seeding rate.
All rate adjustments are performed at the left end of the
planter. There are no adjustments at the ground drive
assembly. Changes in seed rate do not affect fertilizer
rate.
1. Rate: Monitor configuration:
The seed monitor must be set up with the
• correct row count,
• correct row spacing,
• speed calibration and;
• expected population limits, in order to have accurate
rate reports and useful alarms.
See the DICKEY-john
®
Planter Monitor operator manual.
If you only plant with the factory configuration of the
planter, you never need to update row count and
spacing. If any rows are unused, adjust the monitor
setup.
Speed calibration must be done prior to first use, and
re-calibration is recommended periodically, particularly if
soil conditions change.
2. Rate: Disk Selection:
Select seed disks per page 5 through page 7. See
Operator manual for installation. Disks are specific to
crops. Some crops have multiple disks available, to cover
both seed varieties, and different populations within disk
rpm limits. Disks have a high and low rpm limit, which
also corresponds to a high and low field speed limit. The
charts account for these limits.
See “Air-Pro
®
Meter Disk Installation” in the Operator
manual.
If any rows are unused, install special blank disks. See
“Row Unit Shut-Off” in Operator manual.
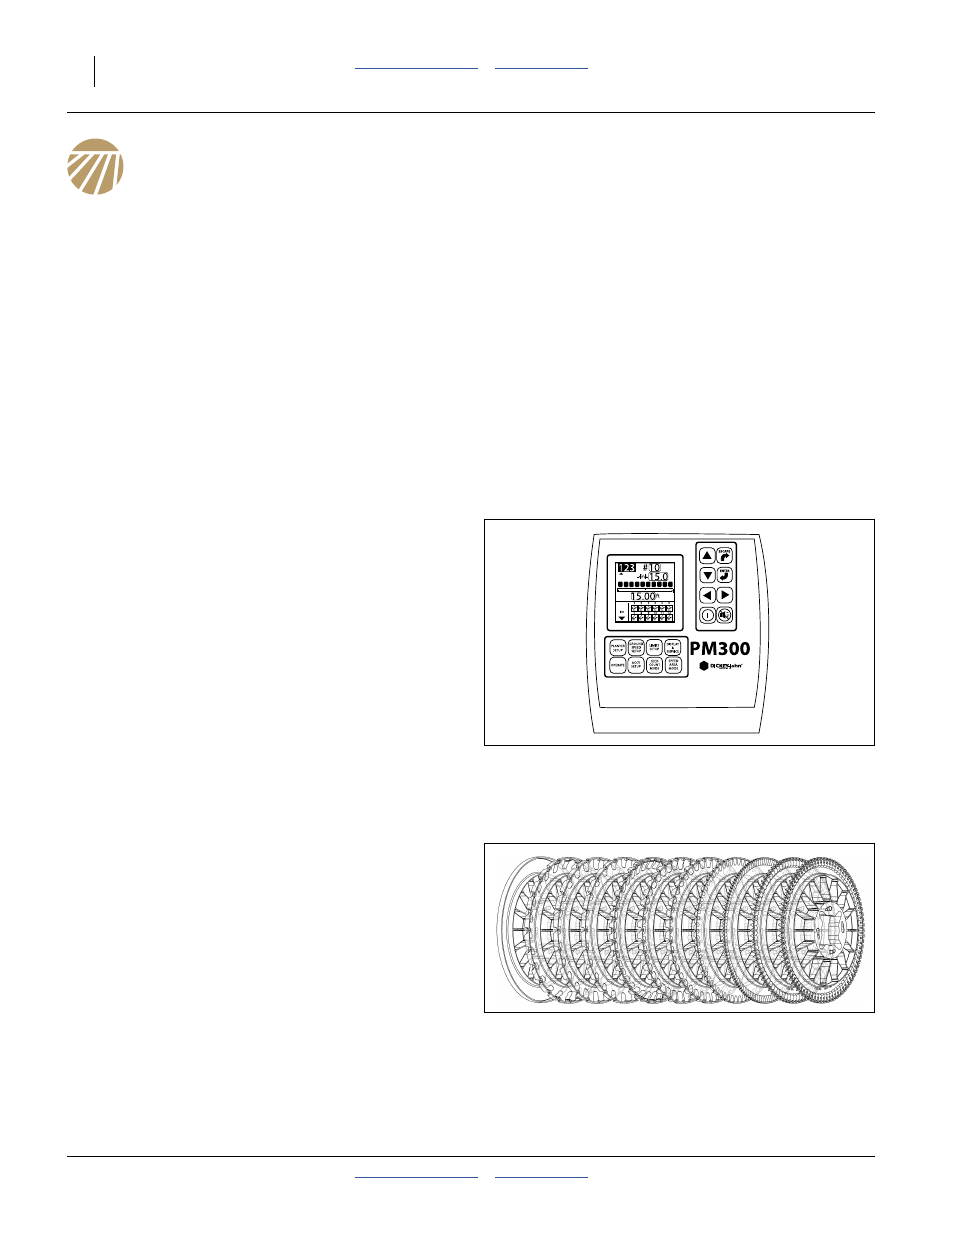
Figure 4
PM300 Monitor Setup Screen
29978
Figure 5
Air-Pro
®
Seed Disks
29594