Install jic fittings – Great Plains 8560 FCF Assembly Manual User Manual
Page 24
20
8323-8560FCC
Great Plains Manufacturing, Inc.
560-483Q-ENG
02/10/2014
Install JIC Fittings
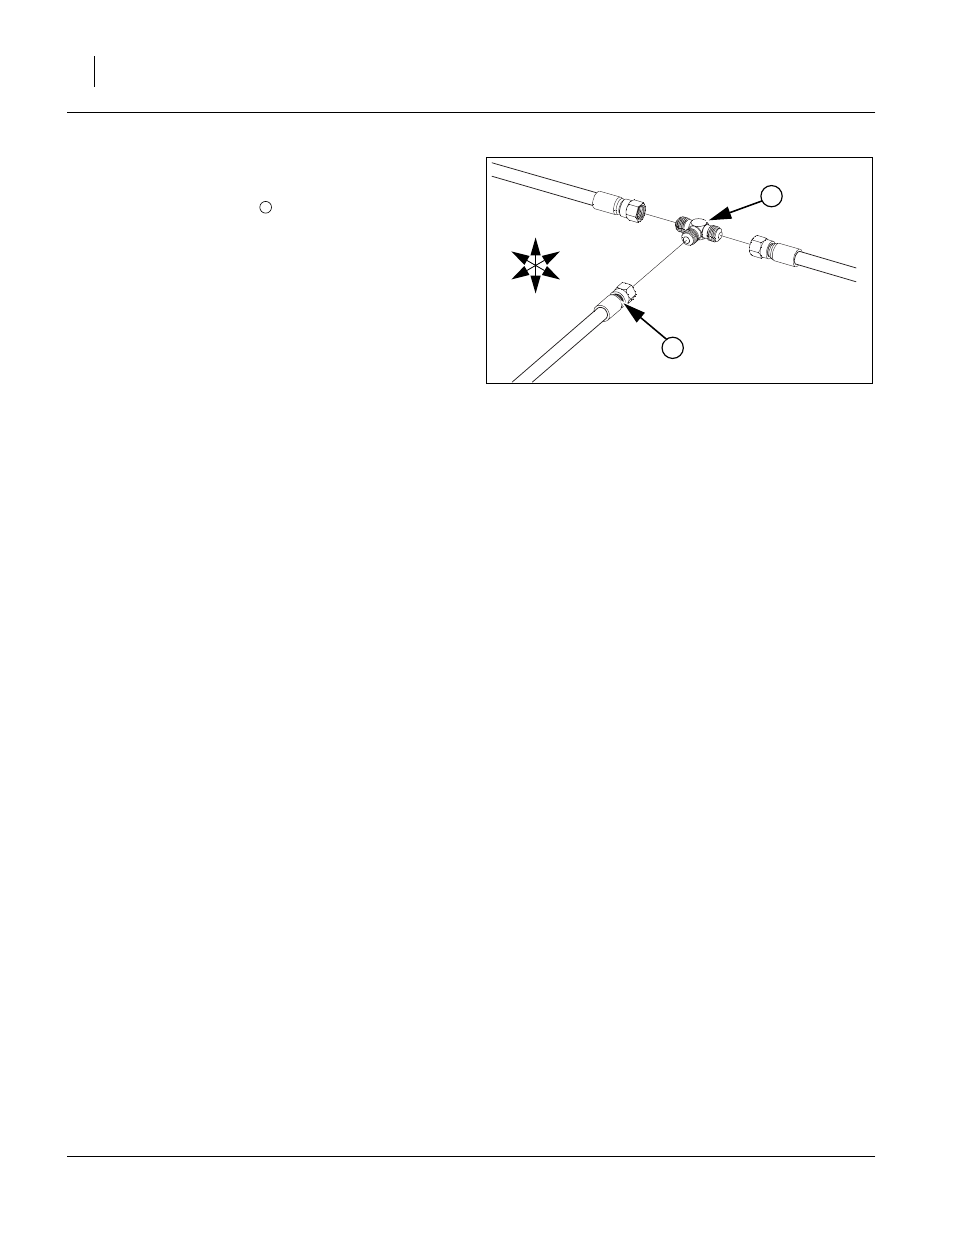
Refer to Figure 26
126.Install JIC female hose
to male fitting.
127.When the JIC hoses are routed, follow the following pro-
cedure for hooking up and tightening.
a.Inspect for possible contamination or damage from
shipping or handling. Sealing surface should be
smooth. Annular tool marks of (100uin) concentric
with thread permissible.
b.Lubricate the threads and the entire surface of the
cone with hydraulic fluid or a light lubricant.
c.Align mating componets for hand connection and turn
flare nut until sealing surfaces make full contact.
d.Torque nut to the values shown in “Torque Value Chart”
page 23. If a wrench pad is provided next to nut, place
a second wrench on pad to prevent flare from rotating
while being torqued.
e.When torquing nut onto a straight flared fitting, it may
be necessary to also place a wrench on the flared fit-
ting wrench pad to prevent it from turning during
assembly.
128.Alternate Assembly Method for JIC.
a.If torqued method not possible, follow steps a-c (step
166), then proceed to the steps below.
b.Lightly wrench tighten the nut until there is firm resis-
tance.
c. Place a wrench on wrench pad next to nut as near the
6 0’clock position as possible.
d.Place second wrench on nut as near the 3 o’clock posi-
tion as possible.
e.Turn nut clockwise to no less than the 4 o’clock posi-
tion and no more than the 6 o’clock position. Required
rotation generally decreases as size increases.
Figure 26
JIC Fittings Assembly
41678
U
D
F
B
L
R
1
2
1