tekmar 546 Thermostat User Manuals User Manual
Page 8
© 2007
U 546 - 08/07
8 of 12
Scene
Description
Thermostat Operation
1
Permanent 1
Scheduled event, Wake, Unoccupied, Occupied, Sleep, Away
2
Permanent Away 2
Away
DHW demands are ignored (applies to reset modules)
Setpoint demands operate (applies to reset modules)
3
Permanent Unoccupied 3
Unoccupied
4
Permanent 4
Scheduled event, Wake, Unoccupied, Occupied, Sleep, Away
5
Permanent 5
Scheduled event, Wake, Unoccupied, Occupied, Sleep, Away
6
Temporary Occupied 6
Occupied for 3 hours
7
Temporary 7
Scheduled event, Wake, Unoccupied, Occupied, Sleep, Away for 4 hours
8
Temporary 8
Scheduled event, Wake, Unoccupied, Occupied, Sleep, Away for 8 hours
Selecting a Scene
Scenes is a feature that your installer selects when he sets
up each thermostat in your system.
Please refer to the Job Record J 546 for a record of how
your installer made these settings
Scenes allow you to change the temperature of all the
thermostats that use the Scene feature from a single
thermostat.
Several of the Scenes are preset from the factory. However,
your installer can customize several of the scenes based
on your needs.
Refer to the Scene table below for a description of each
scene.
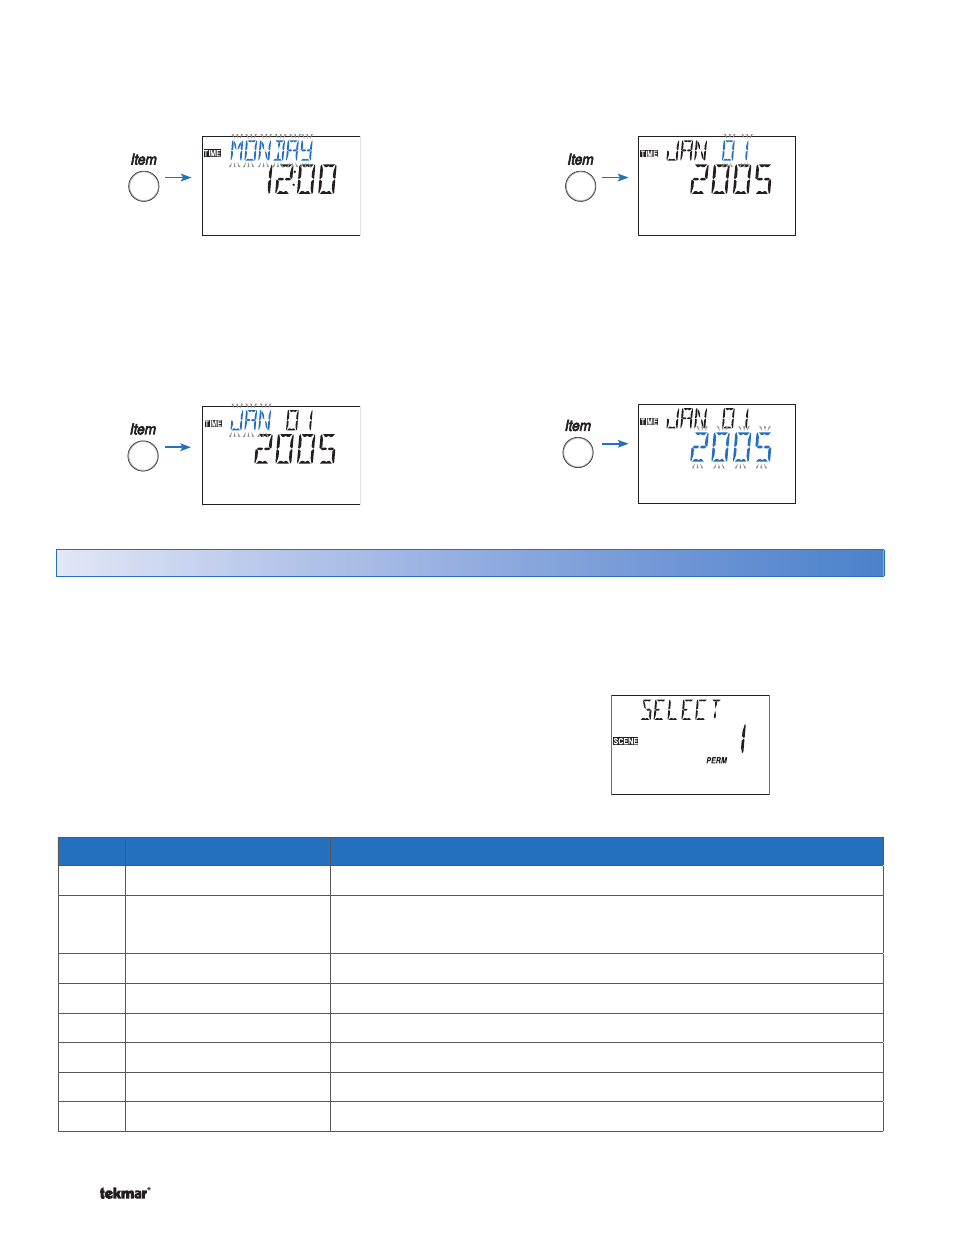
Step 5: Use the Item button to advance to the next item.
The day begins to flash. Use the Up or Down button to set
the day.
If your installer has selected Daylight Savings Time,
continue with steps 6, 7 and 8.
Step 6: Use the Item button to advance to the next item.
The month begins to flash. Use the Up or Down button to
set the month.
Step 7: Use the Item button to advance to the next item.
The day of the month begins to flash. Use the Up or Down
button to set the date.
Step 8: Use the Item button to advance to the next item.
The year begins to flash. Use the Up or Down button to
set the year.