Contents of kit/parts layout, Hardware/accessory sizes, Recommended radio equipment – E-flite Beechcraft Staggerwing 480 ARF User Manual
Page 4: Park 480 motor setup, Optional accessories, Optional retracts, Required tools and adhesives, Binding the radio system
4
E-flite Beechcraft Staggerwing 480 ARF Assembly Manual
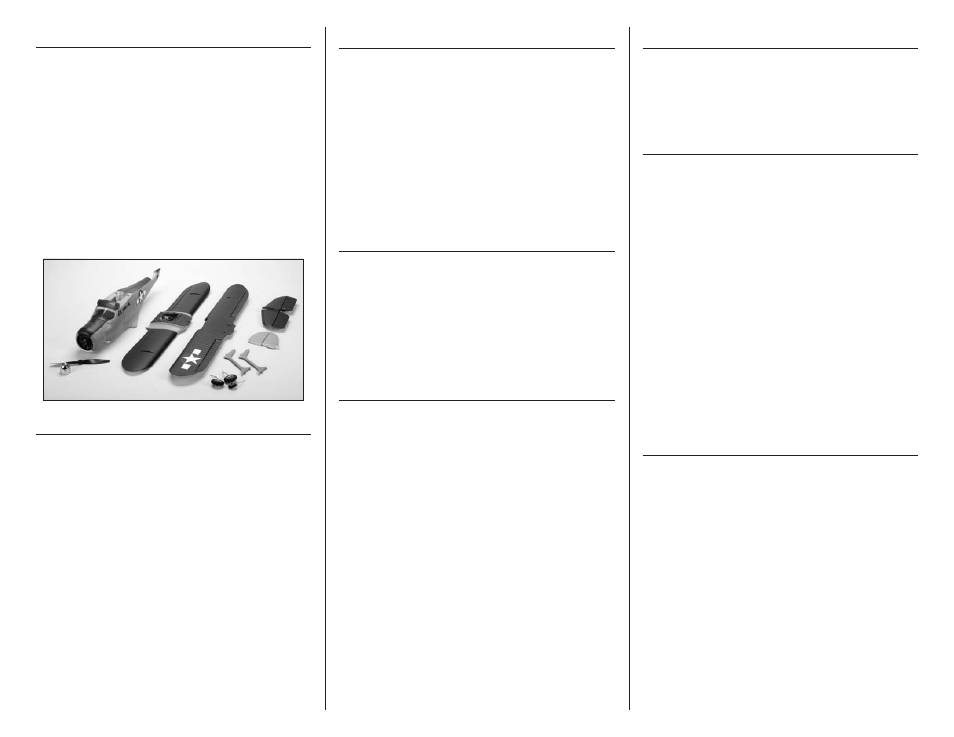
Contents of Kit/parts Layout
Replacement parts
EFL612501
Fuselage
EFL612502
Upper Wing
EFL612503
Lower Wing
EFL612504
Tail Set
EFL612505
Cowling
EFL612506
Canopy Hatch
EFL612507
Landing Gear Set
EFL612508
Spinner
EFL612509
Plastic Mounts
EFL612510
Interplane Struts
EFL612511
Scale Details
EFL612512
Pushrod Set
hardware/Accessory Sizes
Wheel diameter
2-inch (52mm)
Wing bolts
3mm x 25mm machine screw
Recommended Radio Equipment
You will need a minimum 5-channel transmitter,
receiver and four servos.
Recommended Complete Radio System
SPM6625
DX6i DSMX 6CH system
Or purchase Separately
SPMAR6115
AR6115 6CH DSMX
®
Receiver
EFLRDS76
DS76 Digital Sub-Micro
Servo (4)
EFLREX6L
6-inch (152mm) Lightweight
Servo Extension (for ailerons)
park 480 Motor Setup
EFLM1505
Park 480 1020Kv
EFLA1040L
40-Amp Lite Pro Switch-Mode
BEC Brushless ESC
EFLB21003S
2100mAh 3S 14.8V 20C Li-Po,
12AWG EC3
EFLP1080E
10 x 8 Propeller (included)
EFLM1924L
Prop Adapter with
Collet Long, 4mm (optional)
Optional Accessories
EFLA110
Power Meter
EFLC3020
Celectra 200W DC Multi-
Chemistry Battery Charger
EFLAEC312
Charge Lead with 12-inch
Wire and Jacks, 16AWG
Optional Retracts
EFLGP0150
90 Degree Main Micro
Pneumatic Retract Set
EFLRDS76
DS76 Digital Sub-Micro Servo
ROB164G
100 PSI Hand Air Pump
with Gauge
Required Tools and Adhesives
Tools & Equipment
Felt-tipped pen
Flat file
Pencil
Pin vise
Pliers
Ruler
Sandpaper
Side cutters
Hobby scissors
Drill bit: 1/16-inch (1.5mm)
Hex wrench: 1.5mm, 3/32-inch
Hobby knife with #11 blade
Phillips screwdriver: #0, #1, #2
Optional Tools & Equipment
Balancing stand (optional)
Adhesives
Medium CA
PAAPT02
Thin CA
PAAPT08
Silicone adhesive
PAAPT12
Threadlock
PAAPT42
Binding the Radio System
Before starting the assembly of your model, we
recommend preparing your radio system for
installation. This includes charging the transmitter and
receiver batteries, as well as centering the trims and
sticks on your transmitter. If using a computer radio,
make sure to reset a model memory and name it for
this particular model. We also recommend binding
the transmitter and receiver at this time, following the
instructions provided with your radio system.
We highly recommend re-binding
the radio system once all the control
throws are set. This will keep the servos
from moving to their endpoints until the
transmitter and receiver connect.