Aileron servo installation – E-flite Aeronca Champ 15e ARF User Manual
Page 4
4
E-flite Aeronca Champ 15e ARF Assembly Manual
FLIGHT
Fly only in open areas to ensure safety. It is
recommended flying be done at AMA (Academy of
Model Aeronautics) approved flying sites. Consult local
laws and ordinances before choosing a location to fly
your aircraft.
PROPELLER
Keep loose items that can get entangled in the
propeller away from the prop, including loose clothing,
or other objects such as pencils and screwdrivers.
Especially keep your hands away from the propeller as
injury can occur.
BATTERIES
Notes on Lithium Polymer Batteries
When misused, lithium polymer batteries are
significantly more volatile than alkaline or Ni-Cd/
Ni-MH batteries used in RC applications. Always
follow the manufacturer’s instructions when using
and disposing of any batteries. Mishandling of Li-Po
batteries can result in fire and explosion causing
serious injury and damage.
SMALL PARTS
This kit includes small parts and should not be left
unattended near children as choking and serious injury
could result.
SAFETy PRECAUTIONS
• Check all control surfaces prior to each takeoff.
• Do not fly your model near spectators, parking areas
or any other area that could result in injury to people
or damage of property.
• Do not fly during adverse weather conditions. Poor
visibility can cause disorientation and loss of control
of your aircraft. Strong winds can cause similar
problems.
• Do not take chances. If at any time during flight you
observe any erratic or abnormal operation, land
immediately and do not resume flight until the cause
of the problem has been ascertained and corrected.
Safety can never be taken lightly.
• Do not fly near power lines.
During the course of building your Aeronca Champ
we suggest you use a soft base for the building
surface. Such things as a foam stand, large piece of
bedding foam or a thick bath towel will work well
and help protect the model from damage during
assembly. This is not shown in the instructions
to provide the greatest detail in the photos.
Aileron Servo Installation
Required Parts
Wing panel (right and left)
Transmitter
Receiver
Receiver battery
Nylon clevis (2)
Silicone clevis retainer (2)
Micro servo (2)
Large servo horn (2)
Servo mounting block, 8mm x 9mm x 12mm (4)
Aileron linkage wire, 4-inch (102mm) (2)
Nylon pushrod connector (2)
2.6mm x 8mm sheet metal screw (4)
Servo extension, 6-inch (152mm) (2)
Required Tools and Adhesives
String
Sanding block
Thin CA
Pin vise
Pliers
Clamps
Side cutter
Phillips screwdriver: #1
Ruler
Razor saw
Pencil
Scissors
6-minute epoxy
Mixing cups
Mixing stick
Paper towel
Drill bit: 1/16-inch (1.5mm), 5/64-inch (2mm)
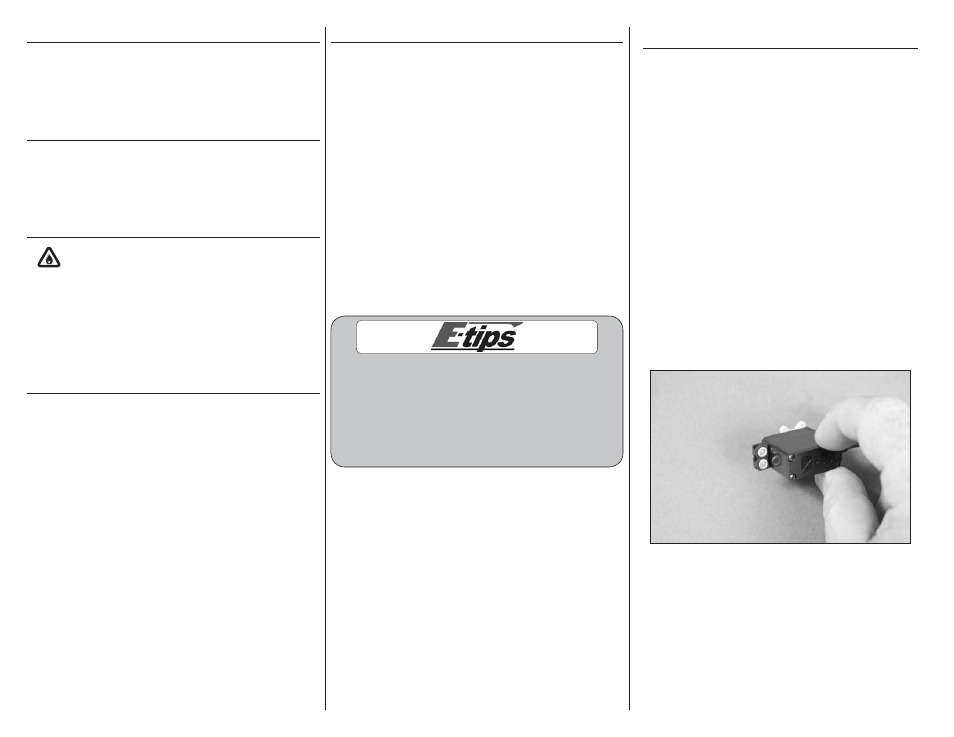
1. Install the servo grommets and brass eyelets
following the instructions provided with the servo.