Rudder and elevator servo installation – E-flite Aeronca Champ 15e ARF User Manual
Page 17
17
E-flite Aeronca Champ 15e ARF Assembly Manual
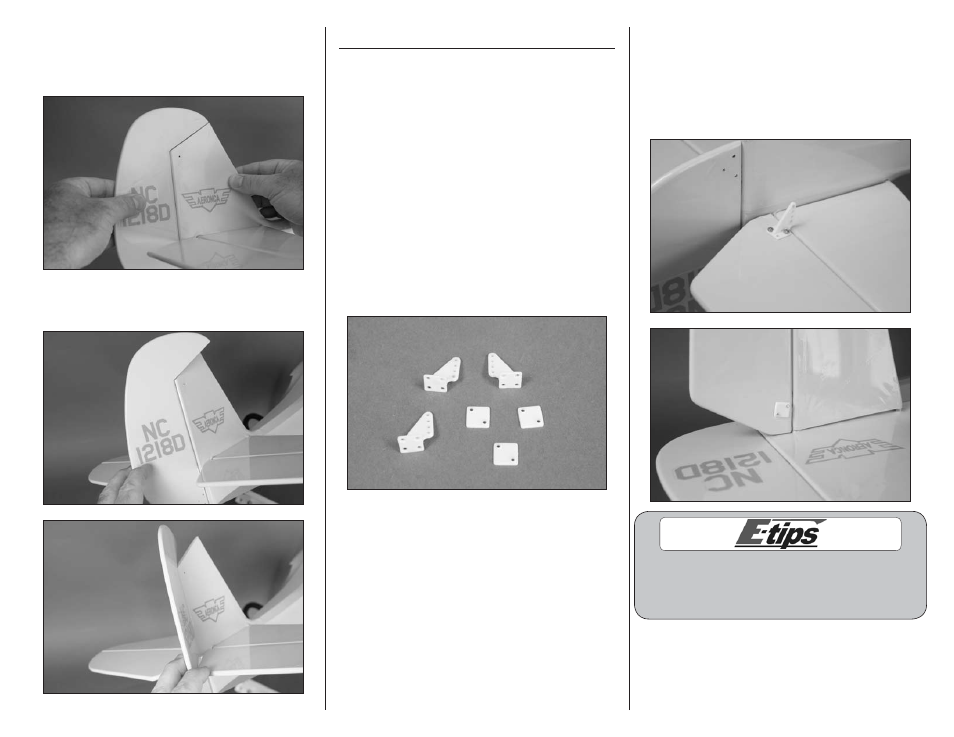
15. Gently pull on the fin and rudder to check
that the hinges are glued securely. If you find any
loose hinges, apply thin CA to the hinge to secure
its location.
16. Flex the control surface through its range of
motion a number of times to break in the hinges.
Rudder and Elevator Servo Installation
Required Parts
Fuselage assembly Transmitter
Receiver
Receiver battery
Nylon clevis (3)
Servo with hardware (2)
Elevator pushrod, dual soldered, 19-inch (482mm)
Rudder pushrod, 19
7
/
8
-inch (505mm)
Silicone clevis retainer (3)
2mm x 8mm machine screw (6)
Control horn with backplate (3)
Required Tools and Adhesives
Side cutter
Pin vise
Thin CA
Pencil
Straight edge
Phillips screwdriver: #1
Hobby knife with #11 blade
Drill bit: 1/16-inch (1.5mm), 5/64-inch (2mm)
1. Use a hobby knife to remove the backplate from
the three control horns. Remove any flashing from
between the horn and backplate at this time.
2. Use two 2mm x 8mm machine screws and a #1
Phillips screwdriver to attach the control horn to the
bottom of the elevator. Note that only two of the
holes in the horn will be used, and these holes align
with the holes pre-drilled in the elevator. Use the
backplate on the top of the elevator to complete the
control horn installation.
If you find any of the screw holes for the control
horns blocked by a CA hinge, use a pin vise
and 5/64-inch (2mm) drill bit to drill through
the hinge so the screw can be installed.