Ducted fan installation – E-flite F-16 400 DF ARF User Manual
Page 5
5
E-flite F-16 ARF Assembly Manual
Ducted Fan Installation
Required Parts
Fuselage
Ducted fan assembly
Motor wire (3)
Motor hatch
Required Tools and Adhesives
6-minute epoxy
Mixing cup
Mixing stick
Epoxy brush
Low-tack tape
Hobby knife with #11 blade
At this time you will need to have chosen either
the Sport or High-Powered Ducted Fan Setup.
The installation of either Ducted Fan Assembly
is identical, but later sections of the manual will
be dedicated to either one setup or the other.
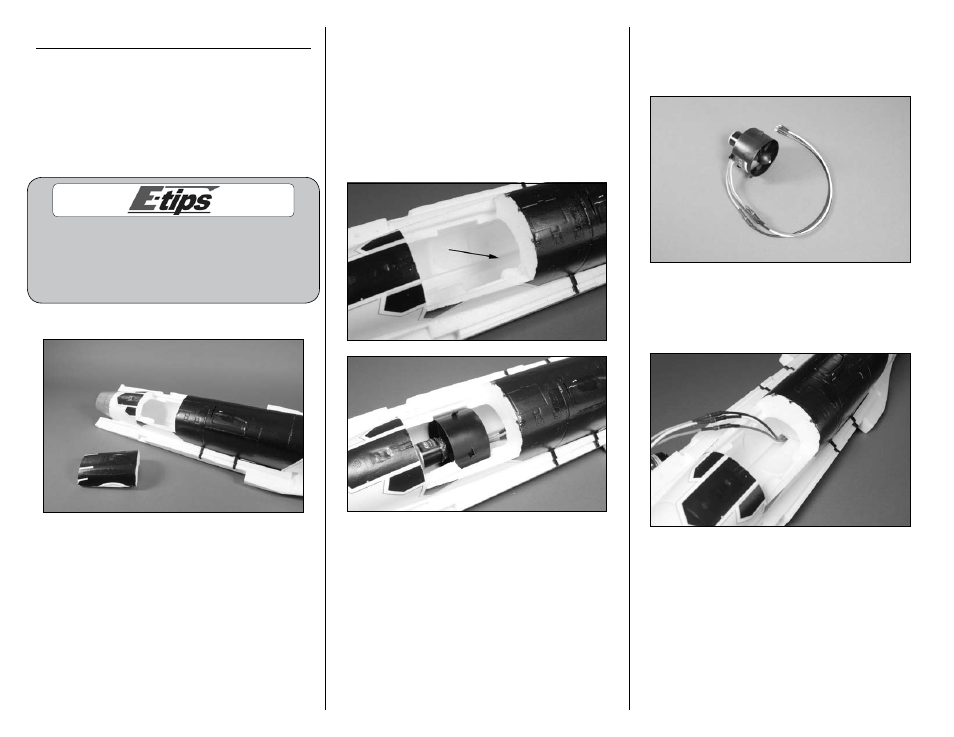
1. Locate the fuselage assembly and motor hatch.
2. Test fit the fan into the fuselage as shown. The
wires from the motor will fit into the channel inside
the fuselage. Press the fan into the fuselage so the
tabs on the fan assembly leave an indentation in
the foam inside the fuselage. If you find that the
fan unit will not fit flush after you have made the
indentions for the 3 tabs on the top of the fan unit
then use a hobby knife to enlarge the indentions
slightly. Make sure that the fan unit fits properly
inside the molded channel in the fuselage.
3. Remove the fan and connect the three motor
wires supplied with the model to the wires from the
motor. The colors may not match from the wires
supplied to the motor.
4. Insert the wires into the opening at the front of
the notch inside the fuselage. This will allow them
to exit into the battery/radio compartment of the
fuselage.