Radio installation – E-flite Sobre 3D Profile User Manual
Page 14
1
E-flite Sobré 3D Profile Assembly Manual
Important: Make sure to use eye protection when cutting
the carbon rods.
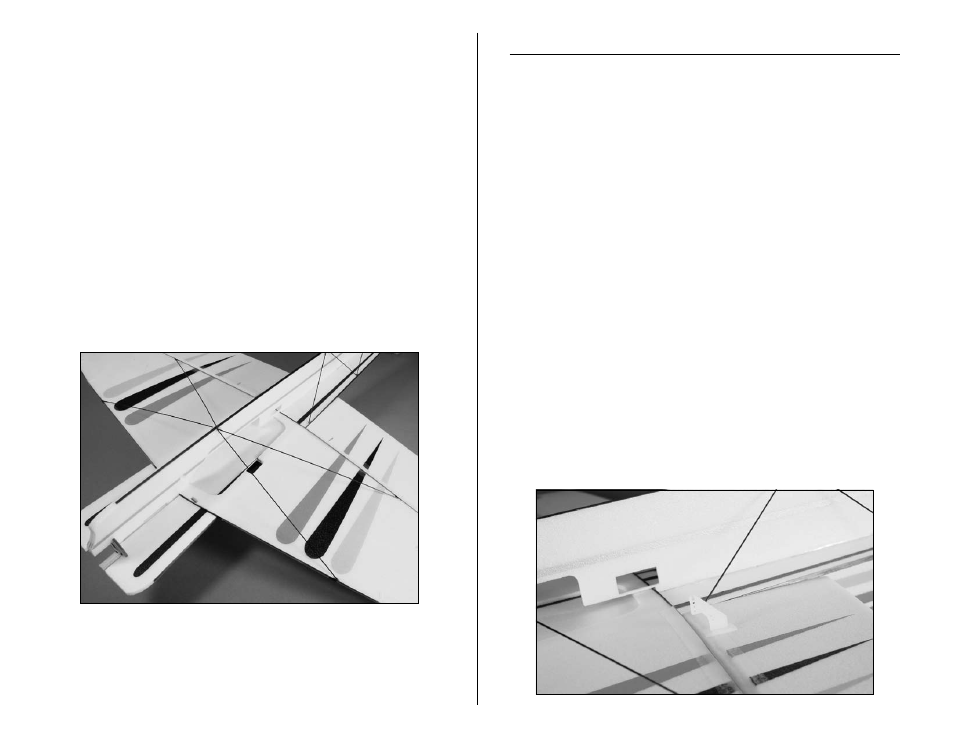
6. Installing the wing bracing is similar to installing
the fuselage bracing, as you want the rods to be
glued to the carbon bracing that has been pre-
installed on the wing and fuselage. The longer
12.7-inch (323mm) rod is positioned toward the
aileron, while the shorter 12-inch (305mm) rod is
toward the leading edge. The rods are staggered and
fit into notches in the fuselage. Make sure the rods
are straight and are not flexing the wing. Use Foam-
compatible CA to glue the rods in position. The wing
should be flat and parallel to the horizontal stabilizer,
while also being perpendicular to the vertical
fuselage. Use side cutters to trim away any excess
carbn rod.
Radio Installation
Required Parts
Airframe
Servos (4)
Micro control connector (4)
Control connector backplate (4)
Micro control horn (4)
Control horn backplate (4)
2mm x 4mm screw (4)
Aileron pushrods, 4.5-inch (115mm) (2)
Rudder pushrod, 19.25-inch (490mm)
Elevator pushrod, 18.5-inch (470mm)
Hook and loop material
Required Tools and Adhesives
Foam-compatible CA, Medium
Low-temperature hot glue
Drill bit:
1
/
16
-inch (1.5mm)
Screwdriver, #0 Phillips
1. Install the micro control horn on the aileron using
the control horn backplate. Use a couple drops
of Foam-compatible CA to keep the backplate in
position.