2 tubing connection – Metrohm 757 VA Computrace User Manual
Page 45
3.8 Connection of 765 Dosimats
757 VA Computrace – Hardware
41
3.8.2 Tubing
connection
For the addition of standard or auxiliary solutions into the measuring vessel of the
757 VA Computrace Stand the 4-way microtip 26 (6.1824.000) can be used. It is fit-
ted with 4 lengths of PTFE tubing with connection nipples for direct attachment to
the Exchange unit of the 765 Dosimat. To ready the 765 Dosimat for automatic dis-
pensing, proceed as follows:
1 Mount Exchange unit on 765 Dosimat
• Procedure, see section 5 of 765 Instructions for Use.
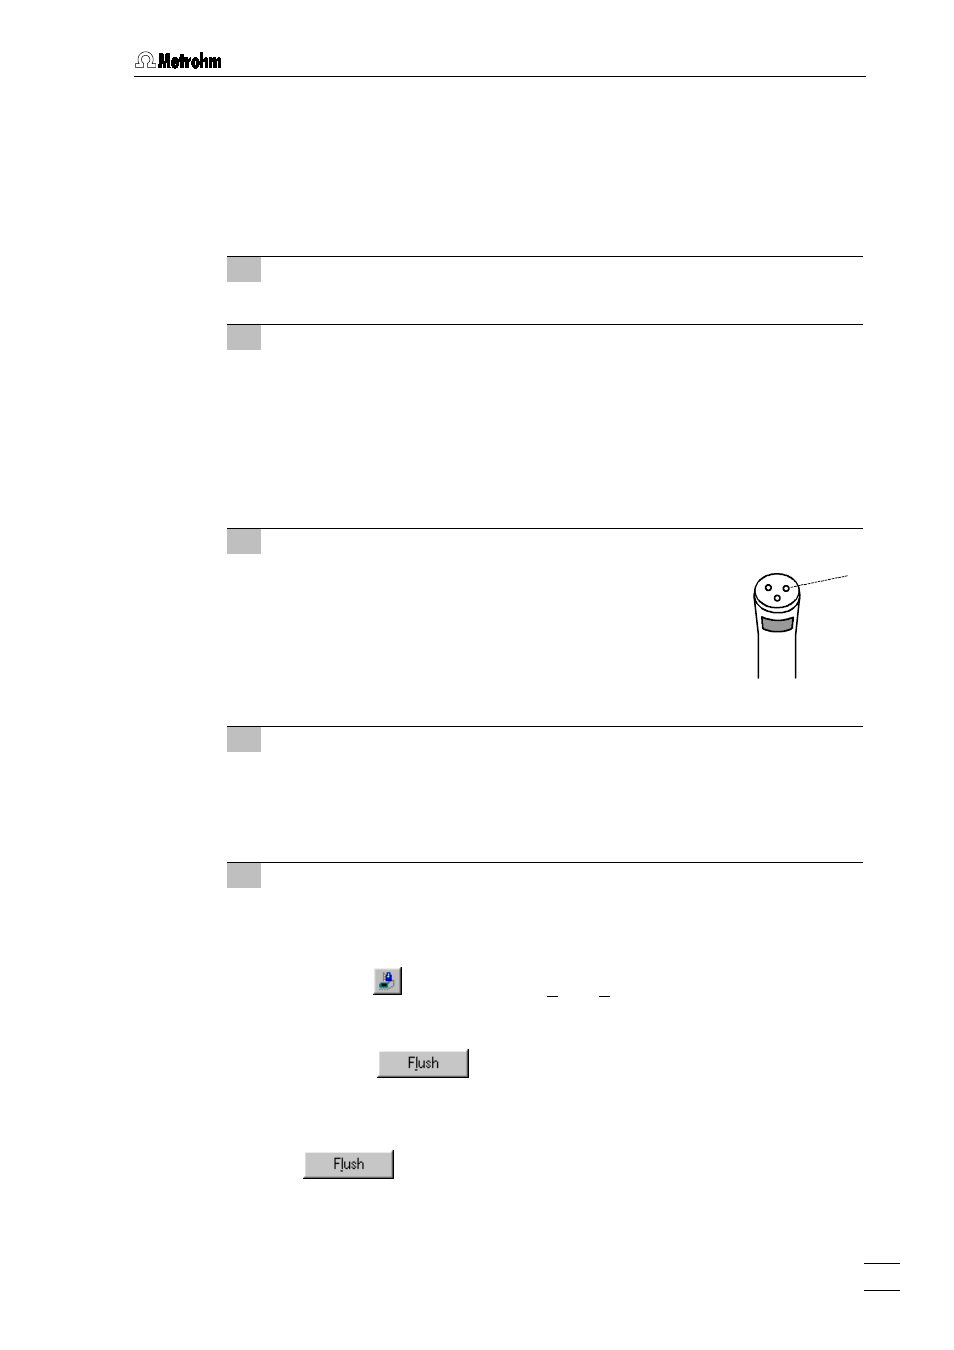
2 Insert 4-way microtip in 757 VA Computrace Stand (see section
3.2.4)
• Remove stopper from nipple 23 and insert 4-way microtip 26 into nipple
23 as far as it will go (see Figs 3 and 6).
• Tighten nipple 23 using a 6.2739.000 Wrench (accessory of 6.3014.XXX
Exchange unit) so that the 4-way microtip 26 can no longer move.
• Pull the 4 lengths of PTFE tubing of the 4-way microtip 26 in succession
from above through the opening 65.
3 Connect PTFE tubing to Exchange unit
• Unscrew the attached 6.1805.100 FEP Tubing
(L = 40 cm) from connection
2 (connection for burette
tip) of the flat stopcock on the Exchange unit mounted
on the Dosimat.
• Screw connection nipple of the PTFE tubing of the
4-way microtip 26 onto connection
2 of the flat stop-
cock on the Exchange unit mounted on the Dosimat.
2
4 Close unused PTFE tubings
• Screw a 6.1808.000 Coupling (accessory of 757 VA Computrace Stand)
on each unused PTFE tubing of the 4-way microtip 26.
• Screw a 6.1446.040 Dummy stopper (accessory of 757 VA Computrace
Stand) on each 6.1808.000 Coupling.
5 Initialize Dosimat(s)
• Switch on the 765 Dosimat.
• Switch on the 757 VA Computrace Stand using the mains switch 12.
• Switch on the PC and start the VA Computrace program.
• Click on
or
MAIN WINDOW / Utility / Dosimat control
to open the
DOSI-
MAT CONTROL
window.
• Select the desired Dosimat in the
Burette
field.
• Click the
button to empty and refill the exchange unit in-
stalled on the Dosimat. Repeat this procedure two times.
• Check if there are air bubbles left in the glass cylinder of the exchange
unit. If this is the case, repeat the flushing procedure by clicking the
button.
• Close the
DOSIMAT CONTROL
window.