Appendix a – Dulce Systems PRO Mini User Manual
Page 41
PRO MINI Installation and User’s Manual
Page 41
12. Appendix A
Replacing a Disk Drive in the MPD Pack
NOTE: 2.5” Disk Drives have aluminum casings. Care must be observed to not
over tighten/torque the disk drive retaining screws during installation & assembly.
The 1
st
step is to identify the disk drive for replacement. The disk drives
contained in a MPD Pack are presented in the RAID Manager’s Raid Set
Hierarchy as ‘Devices’ Slot#1 through Slot#8. The eight disk drives are arranged
in the MPD Pack with Slot#1 on the far left, and proceeding to Slot#8 on the far
right, as shown below:
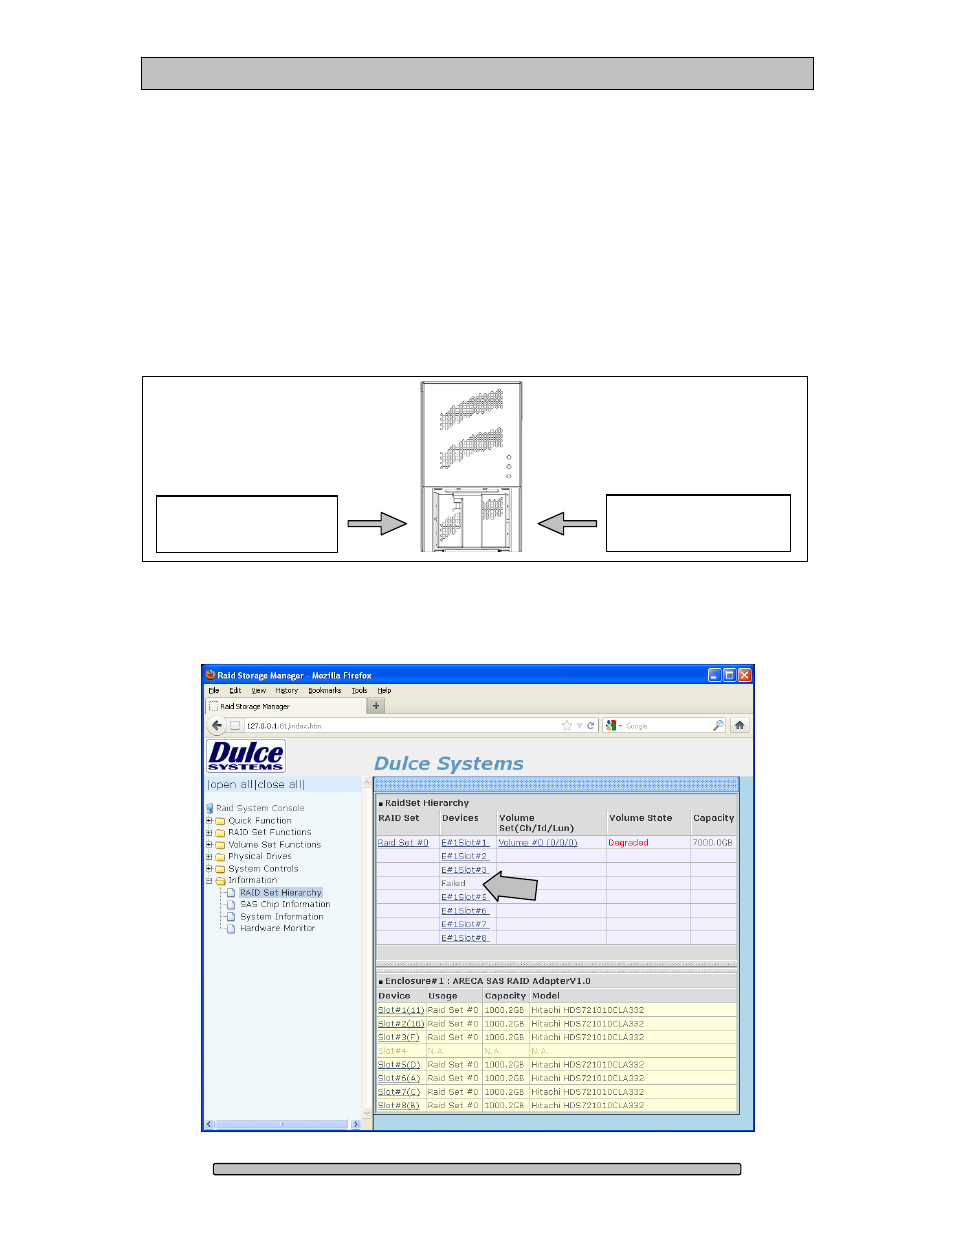
In this example, the RAID Manager Raid Set Hierarchy (shown below) indicates
Disk Drive #4 / Slot #4 has failed, and is the disk drive for replacement. Disk
Drive #4 / Slot # 4 is the 4
th
disk drive from the left.
Disk Drive #1
Slot#1
Disk Drive #8
Slot#8