Installing the eds files – Rockwell Automation Emonitor with an MS SQL Networked Database User Manual
Page 22
I
NSTALLING
E
MONITOR
S
OFTWARE
WITH
AN
MS SQL S
ERVER
M
ULTI
-U
SER
D
ATABASE
18
• •
•
•
•
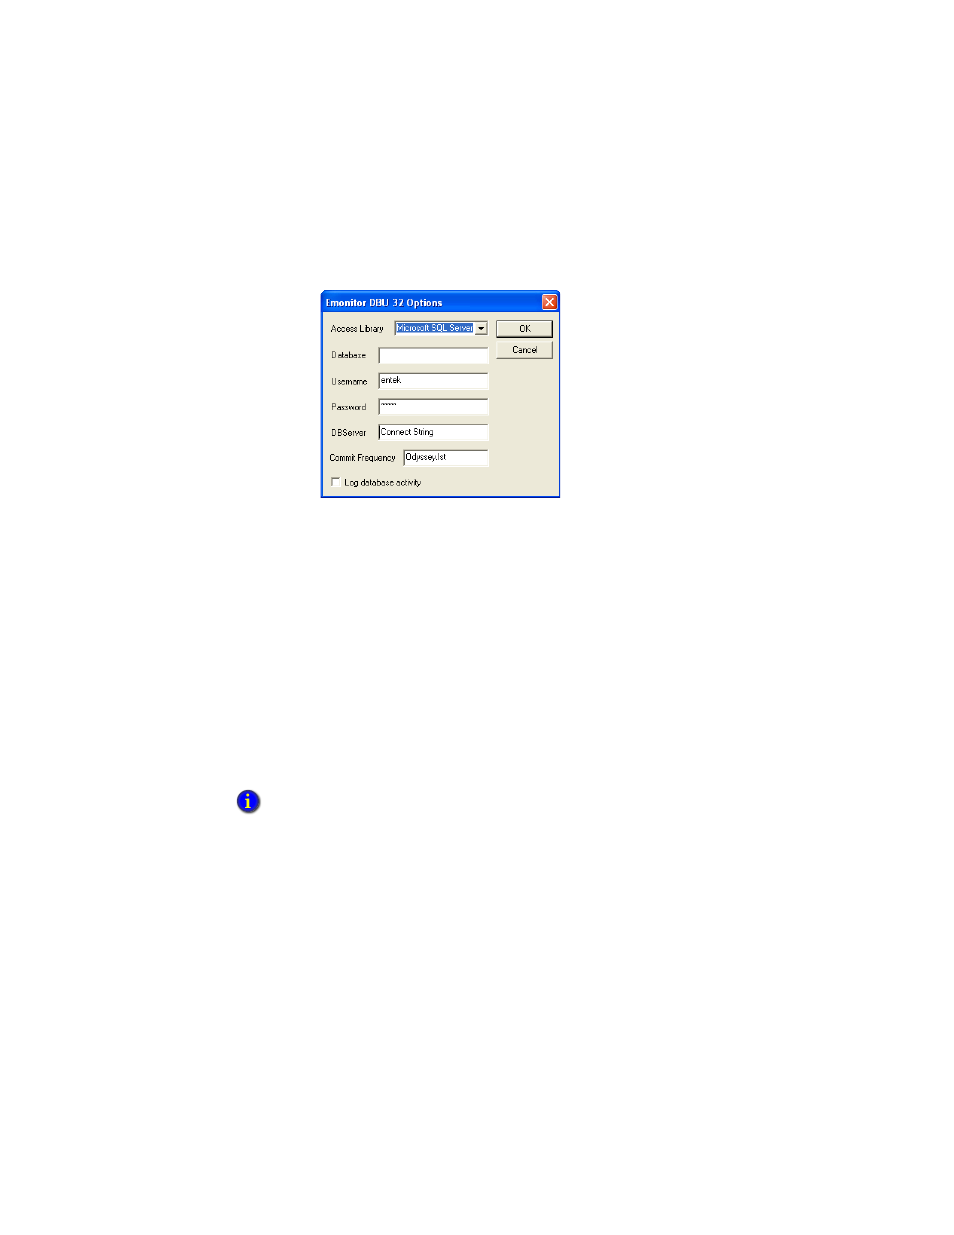
For DBServer, enter the connect string for the database. This is the “Server alias”
from the Microsoft SQL Server Client Network Utility.
3. From the File menu, choose Import Database. Select the dbu file you just created
and choose Open.
The import process may take some time, so please wait. You must import both the
entek.dbu and the econfig.dbu files. When the import is complete, you can install the
client and connect to the database.
Installing the EDS files
If you are want to use Emonitor Online with, or import data from, XM or XM DYN
modules into Emonitor, you must install the latest EDS files for the XM and XM DYN
modules. EDS files are simple text files that are used by network Configuration Tools
such as the Emonitor Online Configuration Utility to describe products so that you can
easily commission them on a network. EDS files describe a product device type, revision,
and configurable parameters.
1. Start the EDS Hardware Installation Tool. Click Start > Program Files > Rockwell
Software > RSLinx > Tools > EDS Hardware Installation Tool.
2. In the EDS Hardware Installation Tool, click Add.
3. Select Register a directory of EDS files.
4. Click Browse, and navigate to the Emonitor program directory and click OK. The
default directory is C:\Program Files\Rockwell Software\Emonitor.
You must install RSLinx Classic 3.60 or later before you can install EDS files.