D. included accessories – Pololu 3pi Robot User Manual
Page 9
all of the sensors should return entirely black readings with IR off. Removing the jumper marked PC5 disables
control of the emitters, causing them to always be on.
5. Motors: Hold down A or C to run the motor on the corresponding side, or hold down both buttons to run
both motors simultaneously. The motors will gradually ramp up to speed; in your own programs, you can switch
them on much more suddenly. Tap A or C to switch the corresponding motor to reverse (the button letter becomes
lowercase if pressing it will drive the corresponding motor in reverse).
6. Music: Plays an adaptation of J. S. Bach’s Fugue in D Minor for microcontroller and piezo, while scrolling
a text display. This demonstrates the ability of the 3pi to play music in the background.
7. Timer: A simple stopwatch. Press C to start or stop the stopwatch and A to reset. The stopwatch continues
to count while you are exploring the other demos.
Note: If the 3pi receives any serial data while the demo program is waiting for a button press from the
user, it will switch into serial slave mode. See
for more information.
The source code for the demo program is included with the Pololu AVR C/C++ Library described in
, in the
folder
examples\3pi-demo-program
.
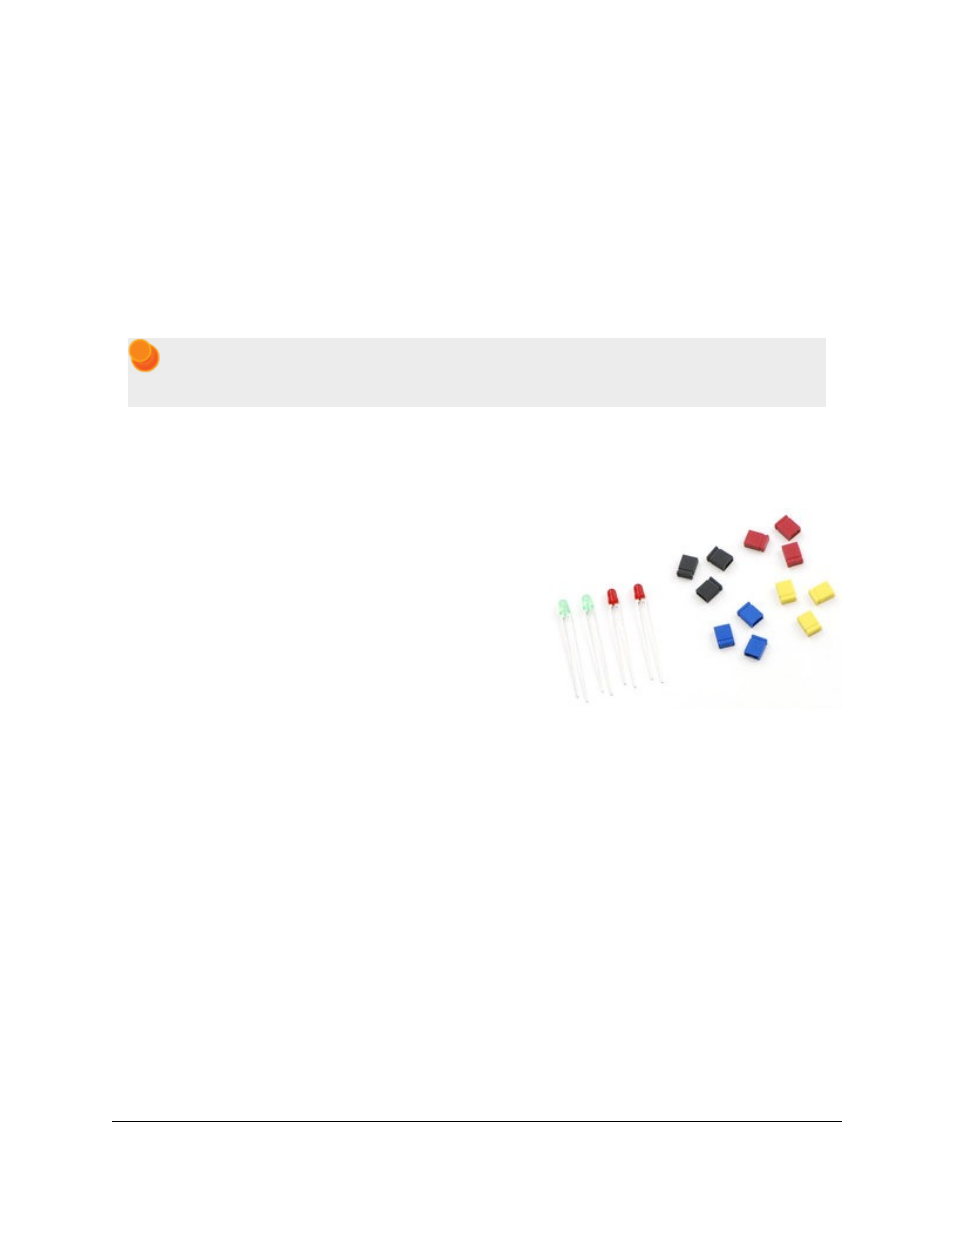
4.d. Included Accessories
The 3pi robot ships with two through-hole red LEDs and two
through-hole green LEDs. There are connection points for three
optional LEDs on your 3pi: one next to the power button to indicate
when the 3pi is on and two user-controllable LED ports near the
front edge of the robot. Using these LEDs is completely optional as
the 3pi will function just fine without them. You can customize your
3pi by choosing your desired combination of red and green LEDs,
or you can even use
if you want more color/brightness options.
Note that you should only add LEDs if you are comfortable
soldering, and you should take care to avoid desoldering any of the
components near the through-hole LED pads. LEDs are polarized, so be sure to solder them such that the longer lead
connects to the pad marked with the +. Before you solder them in you can press-fit them in place and check to make
sure they light as expected. Once soldered in place, carefully trim off the excess portion of the LED leads.
Your 3pi also ships with three shorting blocks of each color: blue, red, yellow, black. This means you can customize
your 3pi by selecting the shorting block color you most prefer, or you can use a mixture of colors!
Pololu 3pi Robot User's Guide
© 2001–2014 Pololu Corporation
4. Getting Started with Your 3pi Robot
Page 9 of 63