Example project #1: line following, A. about line following, B. a simple line-following algorithm for 3pi – Pololu 3pi Robot User Manual
Page 22
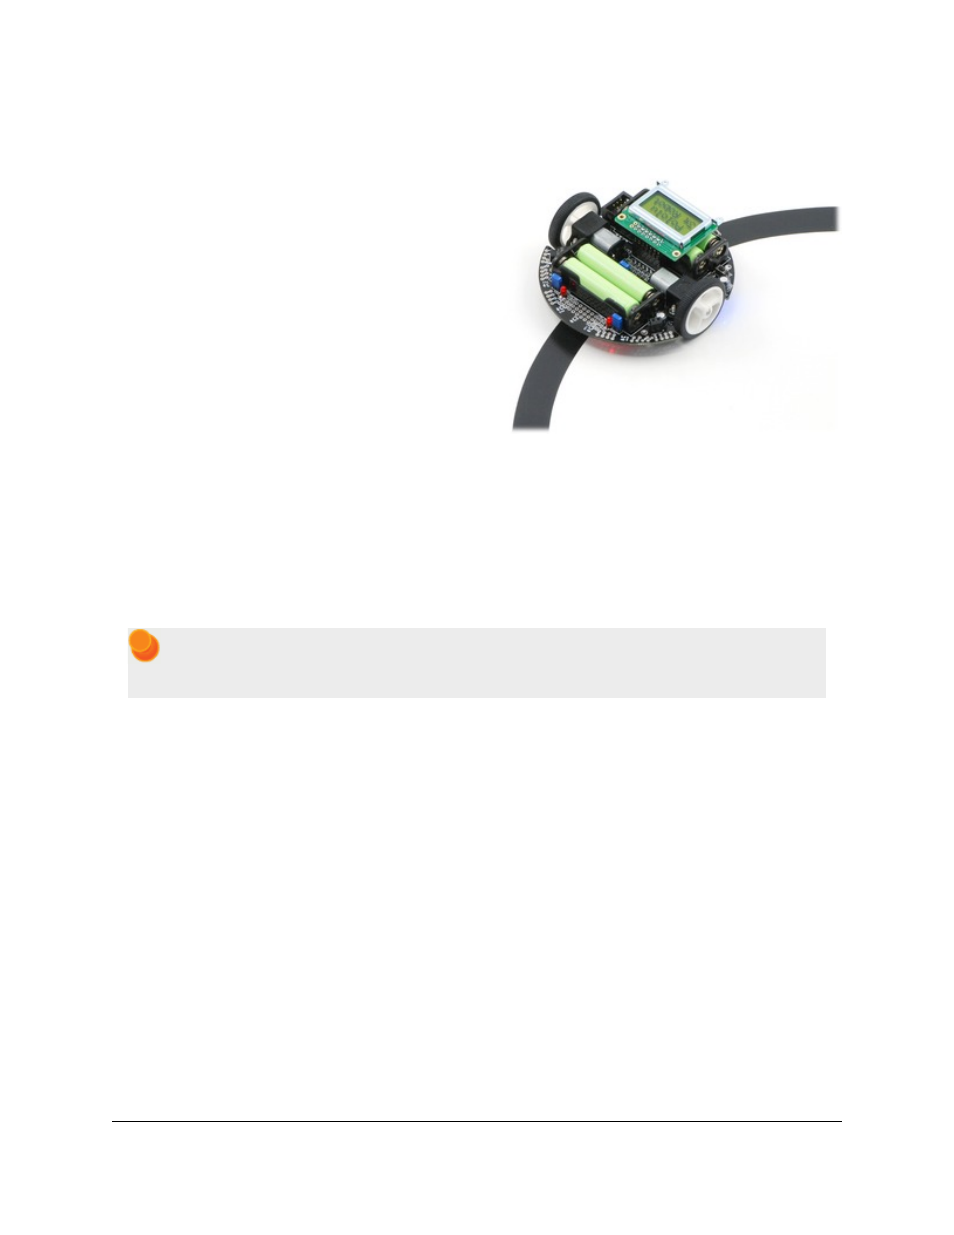
Pololu 3pi robot on a 3/4" black line.
7. Example Project #1: Line Following
7.a. About Line Following
Now that you have learned how to compile a simple
program for the 3pi, it’s time to teach your robot do
something more complicated. In this example project,
we’ll show you how to make your 3pi follow a black line
on a white background, by coordinating its sensors and
motors. Line following is a great introduction to robot
programming, and it makes a great contest: it’s easy to
build a line-following course, the rules are simple to
understand, and it’s not hard to program your 3pi to follow
a line. Optimizing your program to make your 3pi zoom
down the line at the highest speed possible, however, is a
challenge that can introduce you to some advanced
programming concepts.
A great looking line following course can be constructed
for a few dollars in a couple of hours at home. For
information on building your own course, see our tutorial on
.
7.b. A Simple Line-Following Algorithm for 3pi
A simple line following program for the 3pi is available in the folder
examples\atmegaxx8\3pi-linefollower
.
Note: An Arduino-compatible version of this sample program can be downloaded as part of the
(see
).
The source code demonstrates a variety of different features of the 3pi, including the line sensors, motors, LCD,
battery voltage monitor, and buzzer. The program has two phases.
The first phase of the program is the initialization and calibration phase, which is handled by the function intitialize().
This function is called once, at the beginning of the main() function, before anything else happens, and it takes care
of the following steps:
1. Calling pololu_3pi_init(2000) to set up the 3pi, with the sensor timeout set to 2000×0.4 us = 800 us. This
means that the sensor values will vary from 0 (completely white) to 2000 (completely black), where a value of
2000 indicates that the sensor’s capacitor took at least 800 us to discharge.
2. Displaying the battery voltage returned by the read_battery_millivolts() function. It is important to monitor
battery voltage so that your robot does not surprisingly run out of batteries and shut down during the middle
of a competition or during programming. For more information, see
of the
3. Calibrating the sensors. This is accomplished by turning the 3pi to the right and left on the line while calling
the calibrate_line_sensors() function. The minimum and maximum values read during this time are stored in
RAM. This allows the read_line_sensors_calibrated() function to return values that are adjusted to range from
0 to 1000 for each sensor, even if some of your sensors respond differently than the others. The read_line()
Pololu 3pi Robot User's Guide
© 2001–2014 Pololu Corporation
7. Example Project #1: Line Following
Page 22 of 63