Phl- 00 81, Resetting device, Resetting device setting device setting device – Opticon PHL 8100 User Manual
Page 2: Using the applications, Bar code reading, Using peripherals, Phl-8100, User and product safety
RESETTING DEVICE
RESETTING DEVICE
SETTING DEVICE
SETTING DEVICE
1. Initial Boot Up
The initial boot up screen will be displayed
when you install battery pack at the first
time. Do not remove Battery Pack when
system is at initial boot up.
2. Calibrating Touch Screen
This calibration is already done by manufacturer.
If you want to calibrate the touch screen again,
please tap “Start” --- “Settings” --- “Control Panel
” --- “Stylus” --- “Calibration" --- "Recalibrate”,
then hold the stylus and press on the center of
each target as it moves around the screen.
3.Setting Up Wireless LAN
1) Press "Start" – "Programs" -- "Summit" –
"scu" to open SCU.
2) Into Main tab, tap "Enable/Disable Radio
" button to Enable or Disable the WLAN.
3) Into Profile tab, tap "Scan" button to
connect/refresh the network.
4) Select a network, tap the "Connect" button
or double tap it to create a new profile SSID.
5) And setting encryption of the network then
press "Commit" button to commit it.
6) Finally, you can view the SSID of the active
profile on Main tab and select it to use the
network.
availability depends of PDT model.
Note:
5. Brightness Setting
The device is equipped with backlight for both
sunlight-readable LCD display and keypad.
To adjust the LCD backlight brightness, press
the “Fn” key and then press navigation key
“>” or “<” to adjust display brightness.
Press “Start”---“Settings”---“Control Panel” ---
“Control Center” “Brightness”
both LCD
and Keypad brightness.
Or
to set
6. Volume Adjusting
1) Press “Start”---“Settings”---“Control Panel”
-- “Volume & Sounds”.
2) Adjust the volume bar to meet your demand.
To mute the sound, press the “Fn” key and then
press “ESC” key to turn off and on the sound.
Note:
USING THE APPLICATIONS
1. Execute an “Application”
Tap an application icon on the desktop, or tap
“Start”---“Programs”. Select one of the applications.
2. Close an “Application”
Tap the tab of “X” to close the application.
3. Using the Software Input Panel
1) Tap the “Stylus” icon on the “task bar”.
2) Tap the “Keyboard” icon.
3) When Software Input Panel appears, input
characters with the Stylus.
4. Task Switch
Win CE can execute multiple applications
at the same time.
1) Press “Task Switch” icon in the task bar.
2) Select the task(s) you want in the task menu.
During the execution of applications, when you select the menu
“Desktop”, brings the selected application to the foreground.
It does not close the other applications.
BAR CODE READING
BAR CODE READING
Remove the protective film from the scan window before use.
1. Start your application
2. Aim the scan window at the bar code
3. Press one of the three bar code reader trigger
buttons
4. Aiming :
1D laser: aim the red laser beam on the center of the bar code
Bar codes can be read from 50 to 650 mm distance.
USING PERIPHERALS
USING PERIPHERALS
1. Using SD / MMC Type Card
To remove SD/MMC card, press the card again and slot
will pop out card automatically.
3) Put down the SD hold and re-place the battery and battery cover.
1) Remove the battery cover and battery then lift the SD hold.
2) Insert a correctly oriented SD/MMC card.
Note:
The SD/MMC slot support memory card only.
It does not support SD I/O peripherals.
The SD/MMC slot support memory card only.
It does not support SD I/O peripherals.
3. USB Connection
Connect the USB client cable to synchronize data with a computer.
Be sure the HRS mark on the connector of USB cable to be upward
when you insert cable to devices. To remove cable from device,
press both buttons on connector and then remove connector from
device.
Use Microsoft ActiveSync version 3.7 or above.
Note:
1. Warm Reset
1) If an application hangs, initiate Warm Reset to terminate
the application.
2) Warm Reset will close all applications and clear the working
RAM, but all files will be preserved.
3) Only use stylus to press the Reset buttons.
CAUTION:
!
A. Do not stare into the laser beam directly or shine it
into eyes.
B. Never use strong pressure onto the screen or subject
it to severe impact, as the LCD panel could become
cracked and possibly cause personal injury. If the
LCD panel is broken, never touch the liquid inside,
because the liquid irritates the skin.
C. Use only the original approved AC adapter with the
PDT. Use of an unapproved AC Adapter could
result in electrical problems,or even cause a fire or
electrical shock to the user.
D. Do not disassemble the PDT. Servicing should
be done by Authorized Suppliers only. If the device
or accessories gets damaged due to wrong handling
or unauthorized repair, warranty is void.In case the
warranty seals are broken, warranty is void too.
E. Make regularly back-ups of all important data.
F. Under no circumstance will Manufacturer be liable
direct, indirect,consequential or incidental
arising out of use or inability to use both
and software and/or any data loss,
has been informed about the
damages.
for any
damages
the hardware
even if Manufacturer
possibility of such
communication
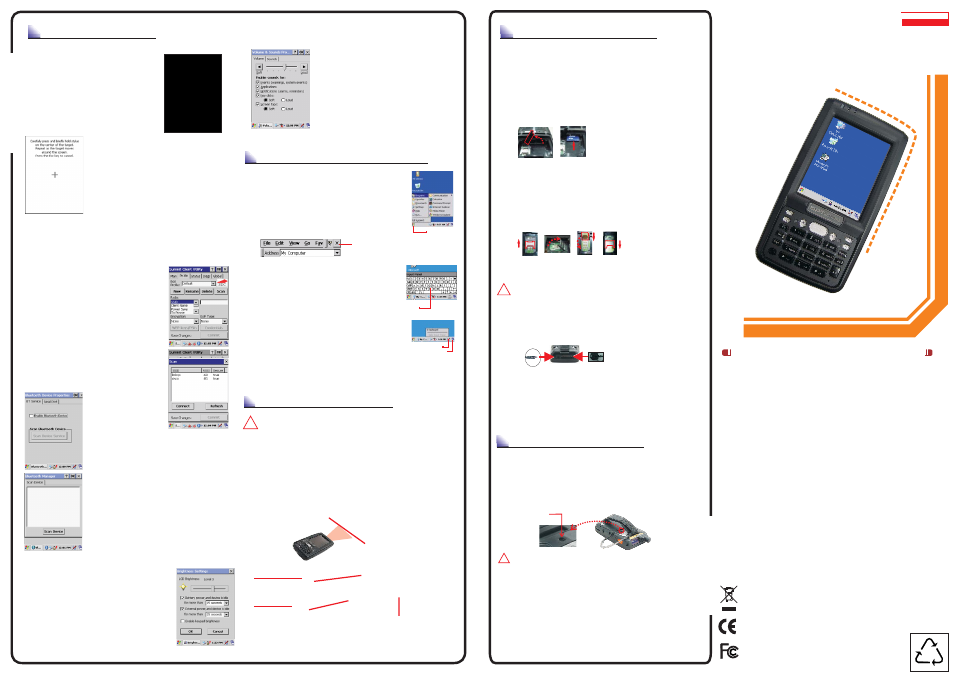
PHL-8100
Quick Guide
huma
nizat
ion
managemen
t
User and Product Safety
CAUTION:
!
CAUTION:
!
Start Button
Close Button
Keyboard input panel.
Task Switch
CAUTION:
Be sure to use the supplied stylus or plastic-
tipped pens for touch screen display. Don't use pencil, pen or any
sharp object on touch screen display.
4. Bluetooth Device Properties
Bluetooth Device Properties to enable
Bluetooth device.
2) Wait for 20 seconds in order to initialize the
Bluetooth hardware correctly.
) Press Scan device button to search for
Bluetooth devices.
availability depends of PDT model.
1) Press “Start”---“Settings”---“Control Panel”--
“
”
3
Note :
PHL-8100
2. Cold Reset
PHL-
00
81
Try
before you initiate Cold Reset. All applications
will be closed, and working RAM as well as all files will be
cleared if you initiate the Cold Reset. It is strongly recommended
to back up your files to Flash ROM, Flash Card or PC.
Warm Reset
Stylus/Keyboard icon
1) You can use Cold Reset to initialize the device if the WinCE.NET
OS locks up or in case a Warm Reset has no effect.
2) To perform Cold Reset, press “Power” , and “Reset” buttons
simultaneously.
3) Device will boot up after Cold Reset.
5. Check the bar code reading result
You can verify the result of the bar code reading in your application,
by beep sound(s) or the LED indicator.
opticon
Opticon
opticon
Opticon
Good scanning positions
Bad scanning positions
opticon
Opticon
opticon
Opticon
opticon
Opticon
4680-810004-01
WPP
Reset button
This device complies With part 15 of the FCC rule Operation is subject to
the following two conditions. (1)This device may not cause harmful
interference. (2)This device must accept any interference received.
Including interference that may cause undesired operation. Complies with
21 CFR 1040.10 and 1040.11 except for deviations pursuant to Laser
Notice No. 50, July 26, 2001
Do not throw this product in the home waste bin.
For proper end-of-life treatment consult the
Environmental care section of www.sccltd.com.tw
For CE, FCC and other DoC's, consult the Regulatory
section of www.Opticon.com
2. Put in SIM Card
1) Remove the battery cover and battery
2) Pushes the iron stock to front unlock the slot and lifts the slot
3 Insert a correctly oriented SIM card.
4 Put down the slot and push the iron stock to back lock the slot).
5) Re-place the battery and battery cover.
Availability depends of PDT model
.
(
)
.
)
)
(
.
Note:
4. IrDA Connection
1) Generally it’s used for synchronized data transmission with a PC.
Aim both devices IR port at each other s.
As IrDA is very sensitive to the distance and the angles,
approach the two devices IR ports as close as possible
The maximum transfer distance is
cm
Availability depends of PDT model
2)
'
'
1.
'
.
40
.
2.
.
Note:
Loading OS ...
Loading OS ...
opticon
Opticon