Setup – Multiquip MQ600TD80 User Manual
Page 21
mq600Td80 TRaSH pUmp• opeRaTion and paRTS manUal — Rev. #11 (10/10/11) — page 21
setup
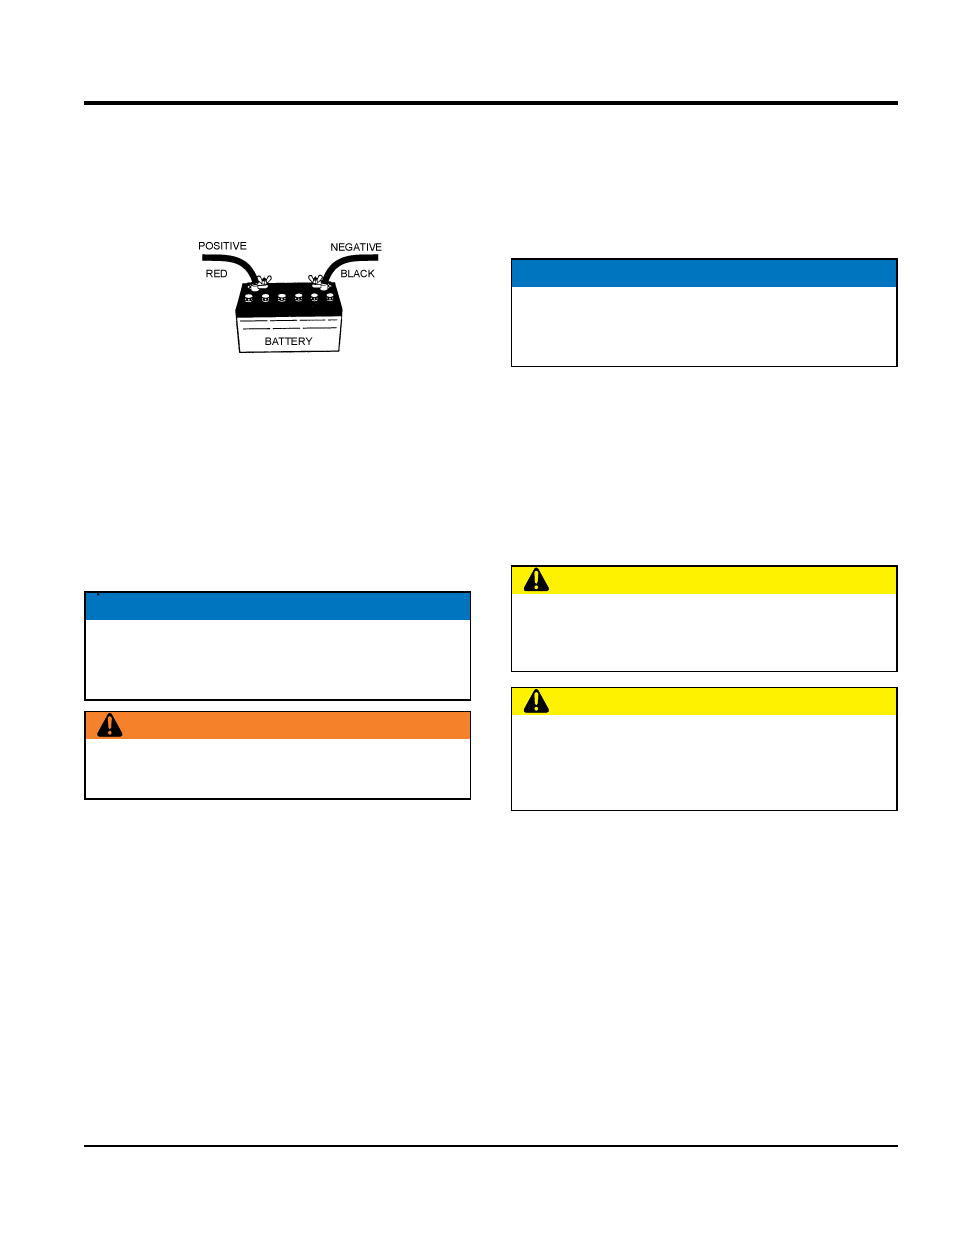
baTTeRy Cable inSTallaTion
alWayS be sure the battery cables are properly connected
to the battery terminals (Figure 5). The
Red cable is
connected to the positive terminal of the battery, and the
blaCK cable is connected to the negative terminal.
Figure 5. Battery Cable Connections
beFoRe STaRTing
1. Read safety instructions at the beginning of manual.
2. Place pump as near to water as possible, on a firm
flat, level surface.
3. To prime pump, remove fill cap (Figure 3) and fill pump
case with water. If the pump case is not filled with water
before starting, it will not begin pumping.
4. Check for
leaks between pump and engine. If water
is leaking between the pump and engine housing,
the seal inside the pump may be worn or damaged.
Continued operation of the pump is not recommended.
Further usage of the pump under these conditions may
cause severe water damage to engine.
HoSeS and ClampS
1. Check that all hoses are
securely attached to the
pump. Make certain suction hose Figure 3) does
not have any air leakage. Tighten hose clamps and
couplings as required.
2. It is recommended that 2 clamps be used when
securing the suction hose to the inlet side of the pump.
NOTICE
Pump casing
must be filled with water before using
pump, otherwise pump will not be able to begin
pumping.
WaRning
Do not open fill cap if pump is hot! Water inside may
be under pressure.
3.
Remember suction hoses must be
rigid enough not to
collapse when the pump is in operation.
4.
Check that the
discharge hose (Figure 3) is not restricted.
Place hose so that it lays as straight as it is possible on the
ground. Remove any twists or sharp bends from hose which
may block the flow of water.
5.
The discharge hose is usually a
collapsible (thin-walled)
hose, however if a thin-walled discharge hose is not
available, a rigid suction hose can be substituted in its
place.
6.
Make sure
the suction strainer (Figure 3) is clean and
securely attached to the water end of the suction hose.
The strainer is designed to protect the pump by preventing
large objects from being pulled into the pump.
7. Pipes, hoses, fittings and elbows all produce friction
that can significantly reduce the flow of water. Keep
hose length to a minimum and minimize the use of
elbows and other fittings to reduce friction.
8. Always use a suction hose or pipe that matches the
size of the pump inlet to insure optimum performance
and reduce the risk of damage to the pump.
9. It is recommended that the discharge hose or pipe
match the size of the pump outlet to reduce friction as
much as possible. Using a discharge line that is larger
than the pump outlet will reduce friction and improve
water flow. Similarly, a smaller line will reduce water
flow by increasing friction.
NOTICE
Suction and discharge hoses are available from
Multiquip. Contact your nearest dealer for more
information.
CaUTion
The strainer should be positioned so it will remain completely
under water. Running the pump with the strainer above
water for long periods can damage the pump.
CaUTion
do noT pump flammable fluids, corrosive chemicals or
fluids containing toxic substances. These fluids can create
potentially dangerous health and environmental hazards.
Contact local authorities for assistance.