Inspection – Multiquip MVH206D User Manual
Page 16
PAGE 16 — MVH206D PLATE COMPACTOR • OPERATION AND PARTS MANUAL — REV. #1 (10/25/11)
INSPECTION
Before Starting
1. Read safety instructions at the beginning of manual.
2. Familiarize yourself with the operating and
control elements of the machine and the
working environment. This includes
obstacles in the working area, bearing
capacity of the ground and the necessary safety
provisions.
3. Check the air filter for dirt and dust. If air filter is dirty,
replace air filter with a new one as required.
4. Check fastening nuts and bolts for tightness. Loose
threads may cause damage to the machine when
vibrating.
5. Understand the geographical features and regulations
of the job site.
6. Clean the compactor, removing dirt and dust.
Particularly, the bottom of the plate, engine cooling air
inlet.
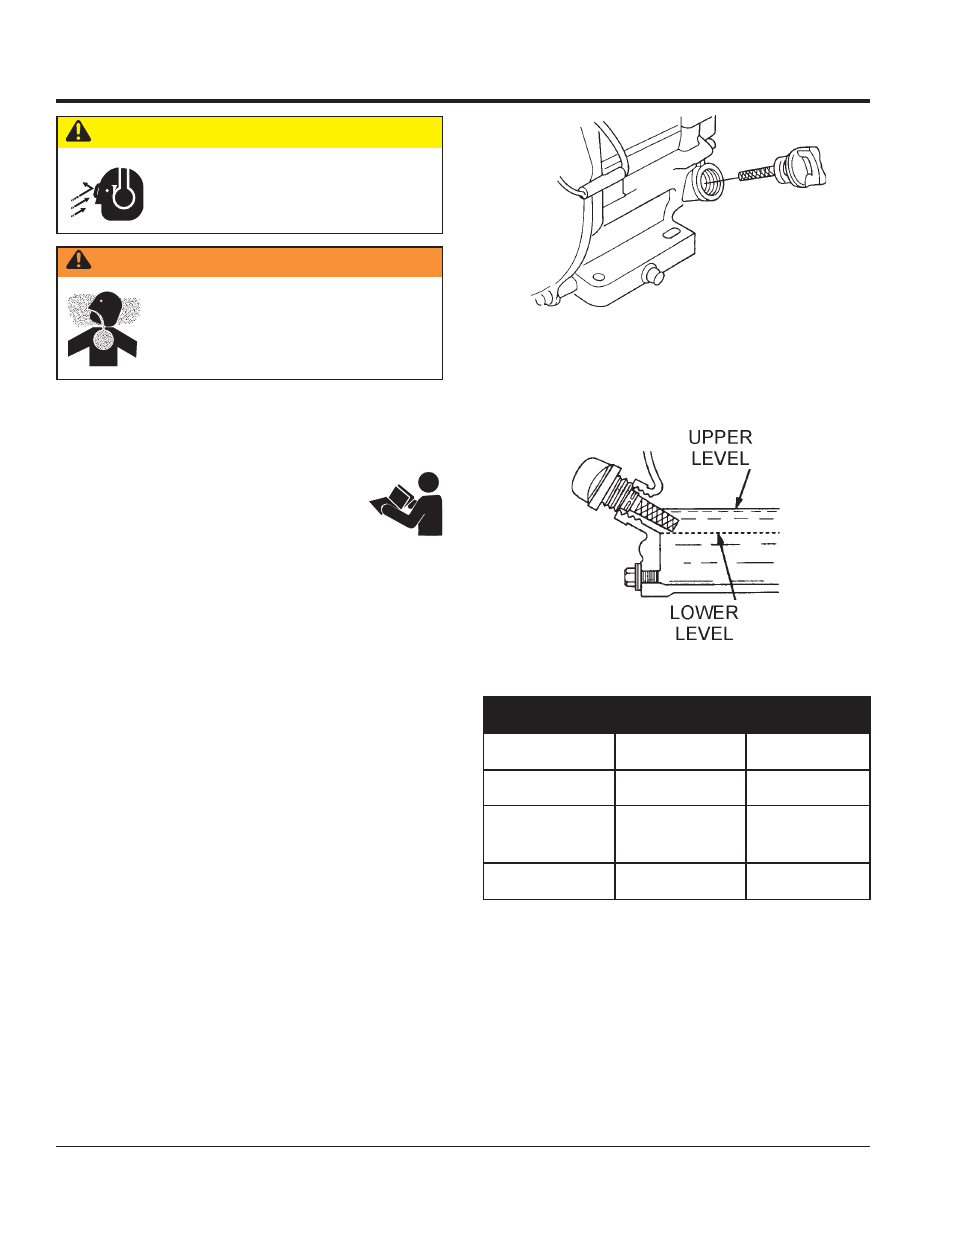
Checking Engine Oil Level
1. To check the engine oil level, place the compactor on
secure level ground with the engine stopped.
2. Remove the dipstick from the engine oil filler hole
(Figure 4) and wipe it clean.
3. Insert and remove the dipstick without screwing it into
the filler neck. Check the oil level shown on the dipstick.
4. If the oil level is low (Figure 5), fill to the edge of the oil
filler hole with the recommended oil type (Table 4).
WARNING — Lethal Gas Exhaust Hazard
NEVER operate the compactor in a
confined area or enclosed area structure
that does not provide ample
free flow of
air.
CAUTION — Eye and Hearing Hazards
ALWAYS wear approved eye and hearing
protection when required.
Maximum oil capacity is 1.2 quarts (1.10 liters).
Checking the Hydraulic Oil Level
1. To check the engine oil level, place the compactor on
secure level ground with the engine stopped.
2. Remove the hydraulic oil breather cap located at the
top of the hydraulic oil tank (Figure 6).
3. Using a 24 mm wrench, remove the hydraulic oil filler
plug.
e
p
y
T
li
O
.
4
e
l
b
a
T
n
o
s
a
e
S
e
r
u
t
a
r
e
p
m
e
T
e
p
y
T
li
O
r
e
m
m
u
S
r
e
h
g
i
H
r
o
C
°
5
2
0
3
-
W
0
1
E
A
S
ll
a
F
/
g
n
i
r
p
S
C
°
0
1
~
C
°
5
2
-
W
0
1
E
A
S
0
2
/
0
3
r
e
t
n
i
W
r
e
w
o
L
r
o
C
°
0
0
1
-
W
0
1
E
A
S
Figure 5. Engine Oil Level
Figure 4. Engine Oil Dipstick Removal