Katun Canon iR/imageRUNNER 4570 Drum Unit Kit User Manual
Page 4
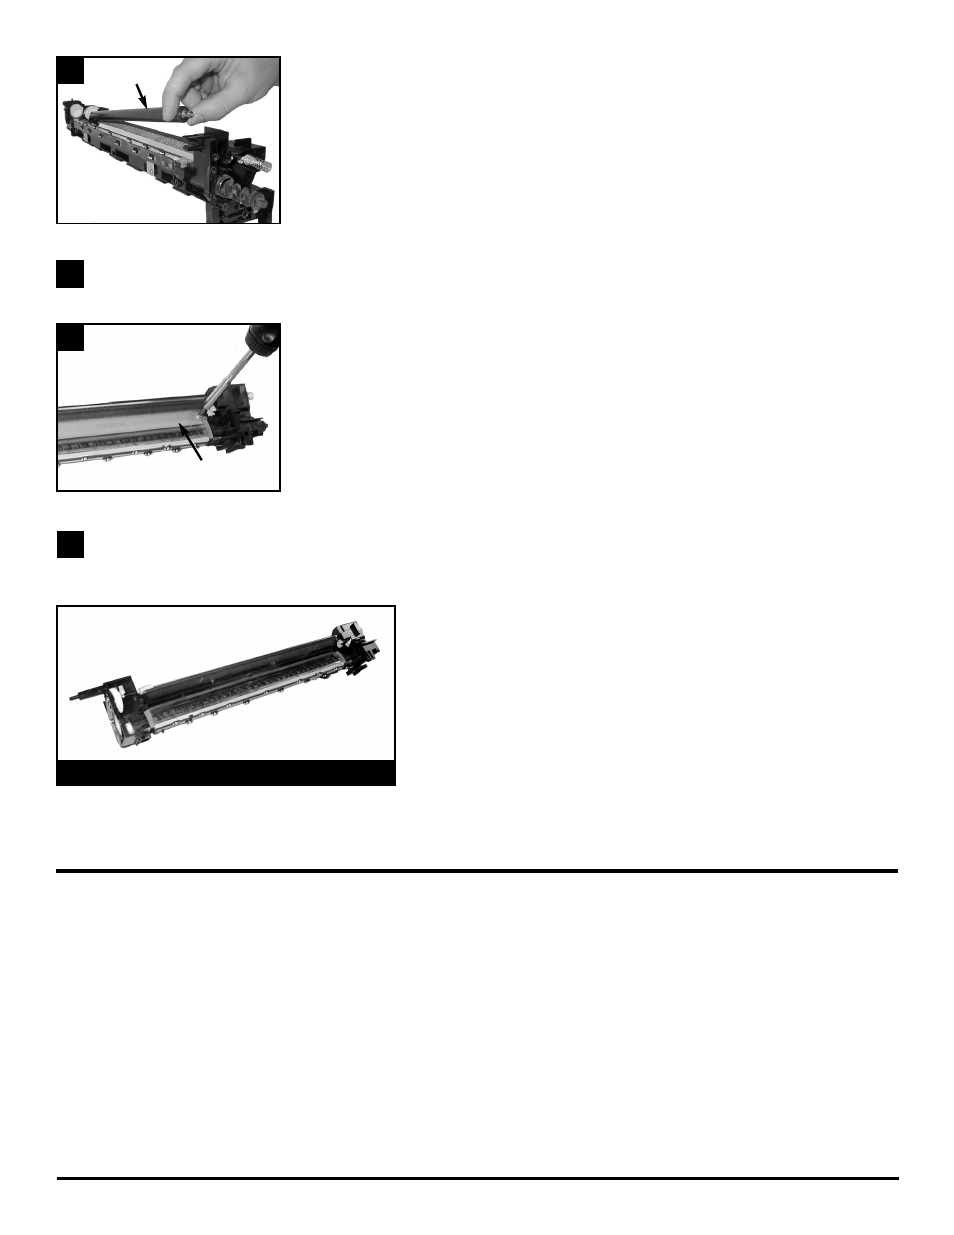
3
5
Remove the primary charge roller (PCR) (D) from drum unit.
Clean the primary charge roller with charge roller cleaning wipe, or with clean deionized water and white Chicopee Chix Cloth.
NOTE: Insufficient cleaning of the PCR can cause dark streaks, or heavy background on copies.
Remove the used drum-cleaning blade (E) by removing the two screws that secure it to the
cartridge frame. Discard the used drum-cleaning blade.
Vacuum waste toner from the entire cleaning unit auger system, being careful not to damage the toner recovery blade Mylar.
NOTE: A damaged toner recovery blade Mylar will cause toner dropping/random black spots on copies.
Rebuilding
1. Install the new drum-cleaning blade (E) provided in the Katun Rebuild Kit.
NOTE: DO NOT TOUCH THE URETHANE BLADE SURFACE WHEN HANDLING.
IMPORTANT: Apply a dusting of fresh Kynar powder to the edge of the new drum-cleaning blade. Secure the blade with
the two screws removed in step 5.
2. Reinstall cleaned primary charge roller (D).
3. Install the new OPC drum (C), securing it with the front metal retaining plate (B) and spring-loaded toner auger shutter (A) (four
screws removed in step 1). Manually rotate the drum downward (normal rotation direction) at least one complete revolution to
properly distribute Kynar powder and minimize the likelihood of “blade flip.”
NOTE: If Kynar is visible on the primary charge roller rotate and dry wipe to eliminate copy quality issues.
D
D
E
E
4
6
Complete disassembled drum unit