General Machine Products 70400 Apollo Cable Lasher User Manual
Page 7
7
4.0 Operating instructions
4.1 General
As mentioned at the beginning of this manual, you should never operate a
lasher unless you’ve been properly trained in advance or are being directed by
a properly trained linesperson who is responsible for your work. However,
you should find this section of the book helpful in outlining the correct se-
quence of steps to take in using your Apollo lasher.
4.2 Preparing a lashing wire coil
The first step in any lashing oper-
ation is to prepare the lashing
wire coil. Note: It is important
that the lashing wire is loaded
properly to ensure proper lasher
operation.
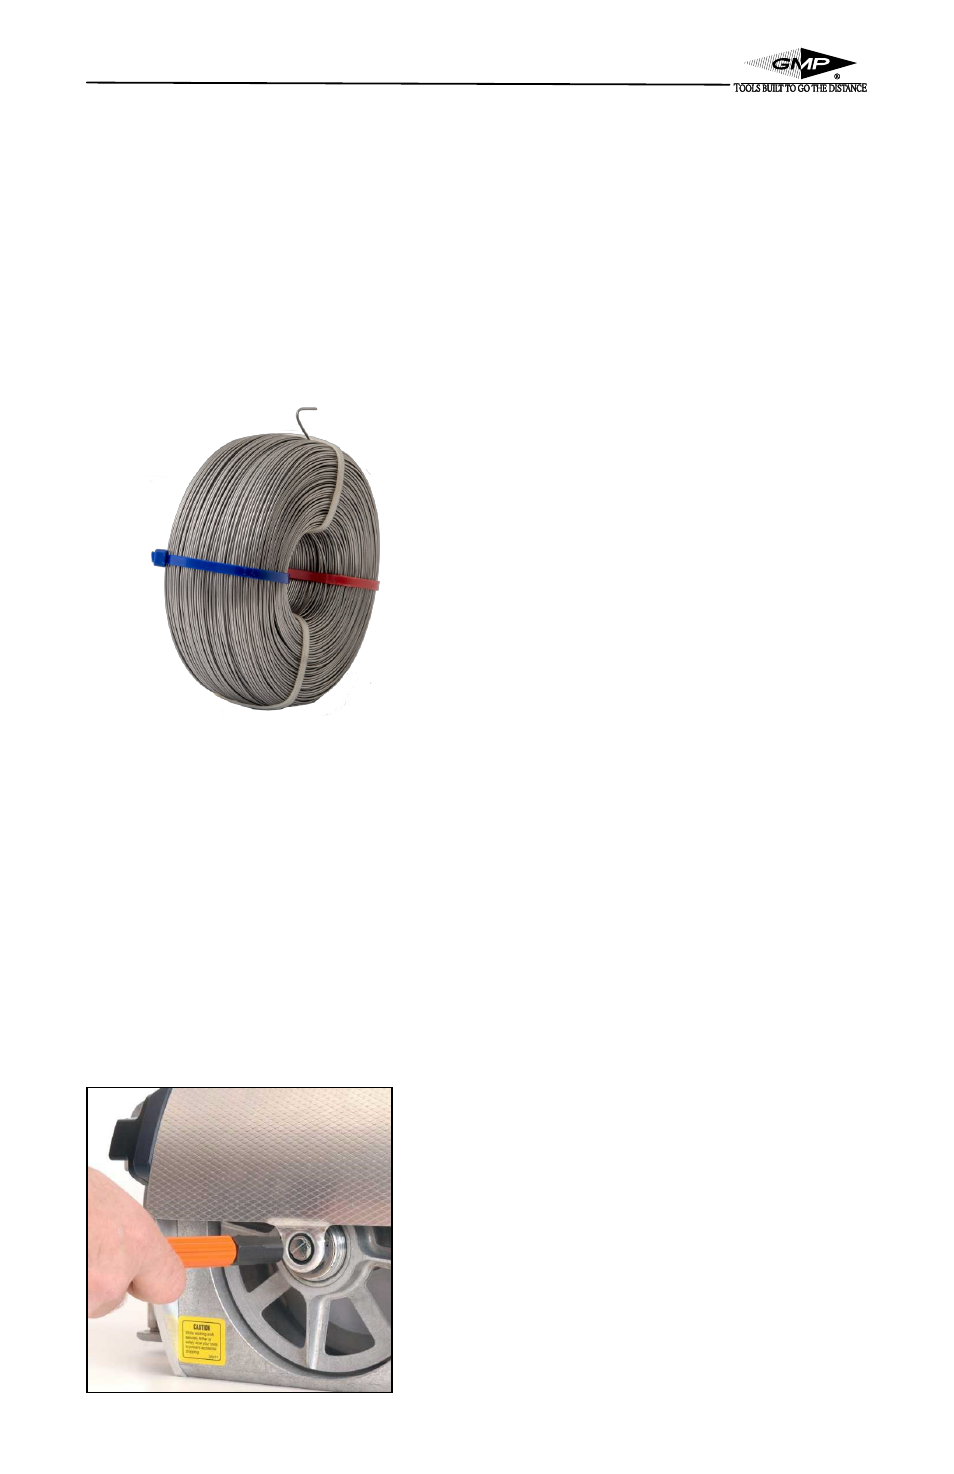
1. If the lashing wire is wrapped
with wire ties, rotate the head of the
wire tie attached to the looped end of
the lashing wire to the center of the
coil (see figure 4). This will facilitate
the cutting of the wire tie in a later
step and help ensure that the com-
plete wire tie is removed.
2. Do not cut all of the cable ties! Leave the cable tie attached to the
looped end of the lashing wire, and cut the remaining 3 cable ties
on the lashing wire coil.
3. Cut the looped end of the wire on the inside diameter of the wire
coil. This step will help in the loading of the coil onto the hub and
subsequent steps.
4.3 Install the prepared wire coil
The proper installation of the wire coil is a must for hassle-free
lashing. Many of the problems in lashing can be traced to improper
preparation of the lashing wire coil.
1. Open the cover with a screw- driver
or 7/16 in. socket as found on the
216C tool, or any tool used to tighten
the bugnut. Turn the fastener 1/4
turn (counter-clock wise) until the
fastener unseats. The spring loaded
cover should open to expose the lash-
ing wire reel.
Figure 4
Figure 5