Gamber-Johnson KEYBOARD3 User Manual
Page 3
Attaching the keyboard mount to the mounting surface:
1. The keyboard mount has a tilt/mounting bracket that allows for mounting the support on
any flat surface ranging from horizontal to vertical. Attach the tilt/mounting bracket using
1/4-20unc hex bolts, washers, and nuts that were provided in hardware bag 7120-0232.
NOTE: The bolt provided may be to long or short for your application. Should that
condition occur please substitute an appropriate length which can be purchased at any
hardware store.
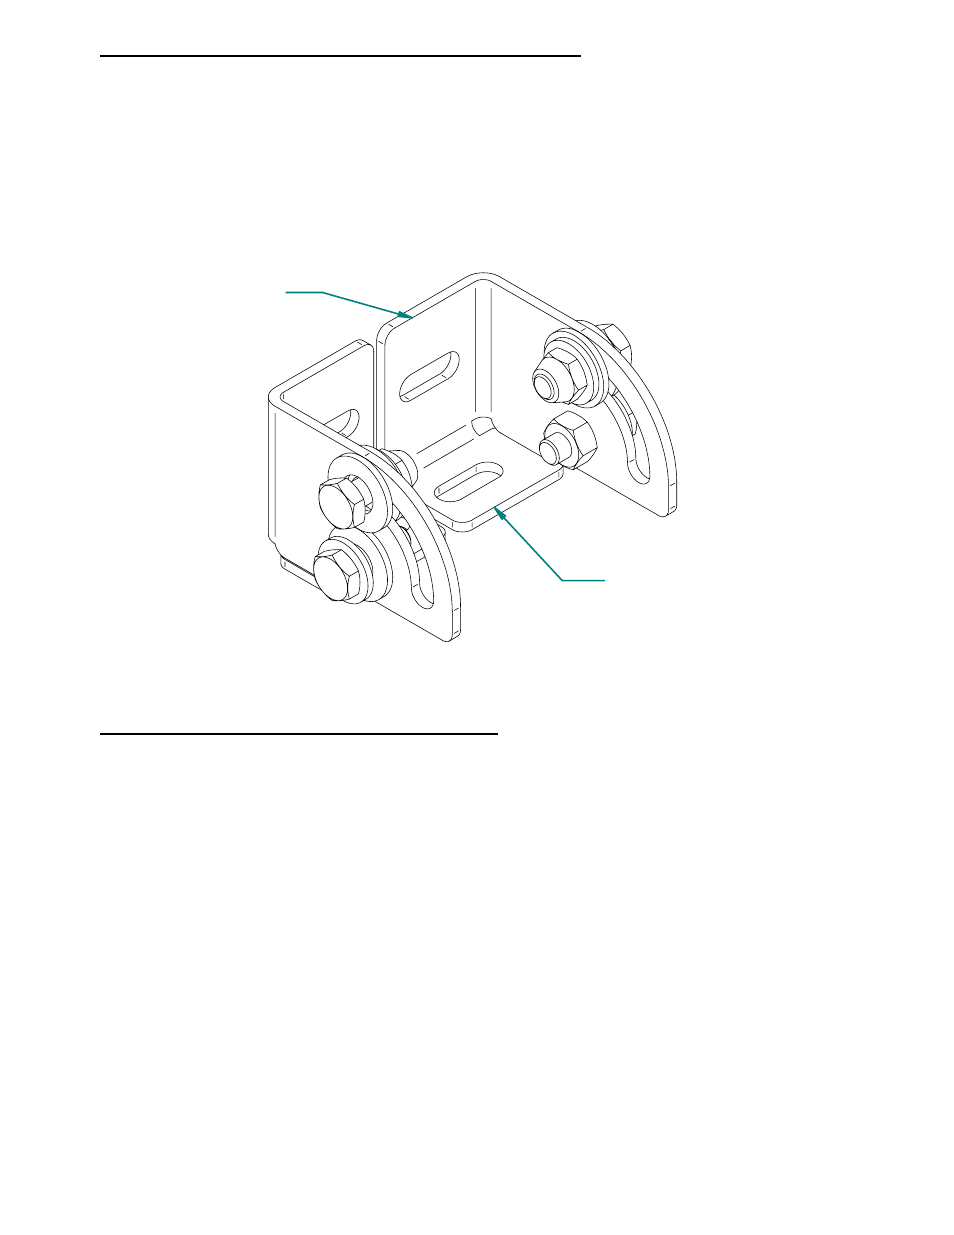
Mounting flange for
horizontal to 45
v
mounting surfaces
Mounting flange for
vertical to 45
v
mounting surfaces
Installing the Keyboard and Checking the Fit:
The keyboard, when installed in the mount, is retained by spring tension applied to the
left-hand side hold-down clips and the optional three wing safety knob that can be used to
lock the left-hand side in place. The keyboard is installed in the mount by sliding the
keyboard between the front stop and left hand hold-down clips. Push the keyboard to the left
to extend the sping. When the keyboard has cleared the right-hand side hold-down clips,
lower the keyboard onto the tray. The spring load should slide the keyboard under the
right-hand hold-down clips to secure the keyboard. The optional three wing safety knob can
be turned to tighten the left-hand side in place and reduce the possibility of the keyboard
accidentally being knocked out of the mount.
Removal of the keyboard is accomplished by loosening the three wing safety knob and
pulling the right-hand side of the keyboard to the left until it is free of the right-hand
hold-down clips. When it is free, pull the right-hand side of the keyboard up and away from
the mount.
Re-adjust the hold-down clips if necessary to allow the keyboard to easily slide in and out of
the mount.