Upgrading the rack door – ETC Sensor+ Touring Rack CEM+ to CEM3 Retrofit User Manual
Page 18
16
CEM3 Sensor Touring Rack Retrofit Manual
Upgrading the Rack Door
Depending on the kit you ordered, you may be replacing the rack door or you may only be
replacing the baffle at the top of the existing door. If you are replacing the door, and your
old door has a cylindrical lock without a flip lever handle, you will need to remove that lock
and install it in the new door that you received. If you would like a new lock, you may
purchase one separately.
If your rack has the flip lever handle, you do not need to remove it. On these doors, only
baffle replacement is necessary.
Rack door replacement
Doors with curved baffles and cylindrical locks
will need to be replaced. The lock from the old
door must be removed and installed on the new
door. The new door will come with the required
baffle installed.
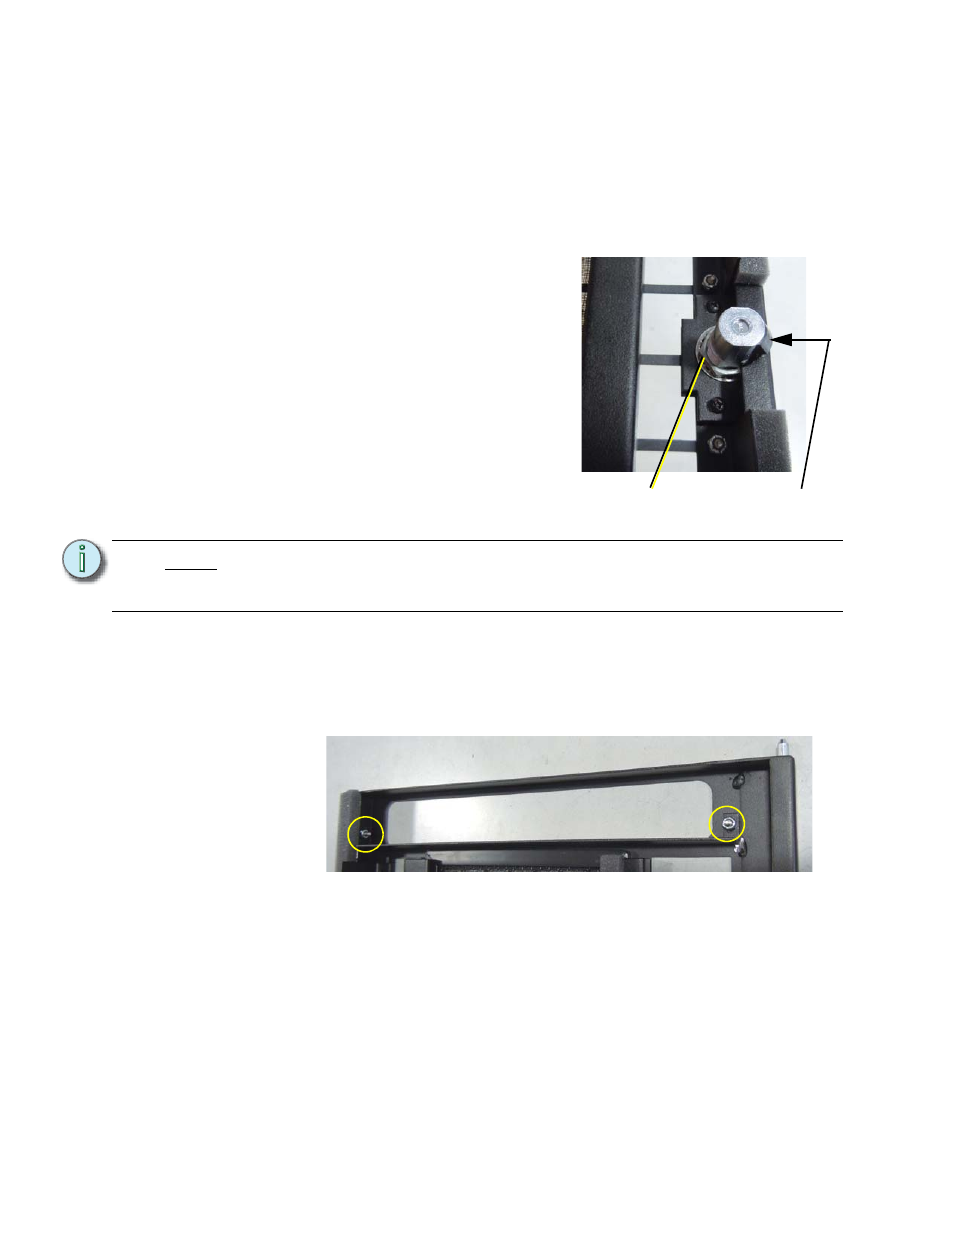
Step 1:
Remove the retention nut from the
lock using a 7/8” open end wrench
Step 2:
Continue loosening the nut while
sliding the lock assembly out through
the front of the door.
Step 3:
Place the lock assembly in the new
door and secure it with the retention
nut using a 7/8” open end wrench.
Rack door baffle replacement
Doors with straight baffles (regardless of lock type) will need to have the baffles replaced
with new, curved baffles. The doors will be reused and the locks need not be removed.
Step 1:
Remove the old CEM rack door baffle from the door (outlined below) by removing
the two 5/16” nuts.
Step 2:
Install the new CEM3 door baffle on the rack door with the two 5/16” nuts.
N o t e :
Locks must go back in the same door location from which they were removed. If
you removed the lock from a left opening door, it must be installed back in a left
opening door.
Remove nut
Press to slide lock
through door