Make connections and install the new backplane – ETC Sensor+ CE Rack (ESR+) CEM+ to CEM3 Retrofit User Manual
Page 11
2
The Retrofit
9
wires to the new location.
•
Carefully pull excess slack in the beacon wires down from the top of the rack.
•
Cut one or two of the bottommost wire ties that bundle the wires. This will free
up more slack.
•
Prise one or more sticky backs off of their mounting locations to free up more
slack.
•
Use the 3 enclosed wire connectors (ETC Part# J4629 - use
one for each wire) and lengths of additional black/red/blue
wires to splice new lengths onto the existing wires so they may
reach the new connector location.
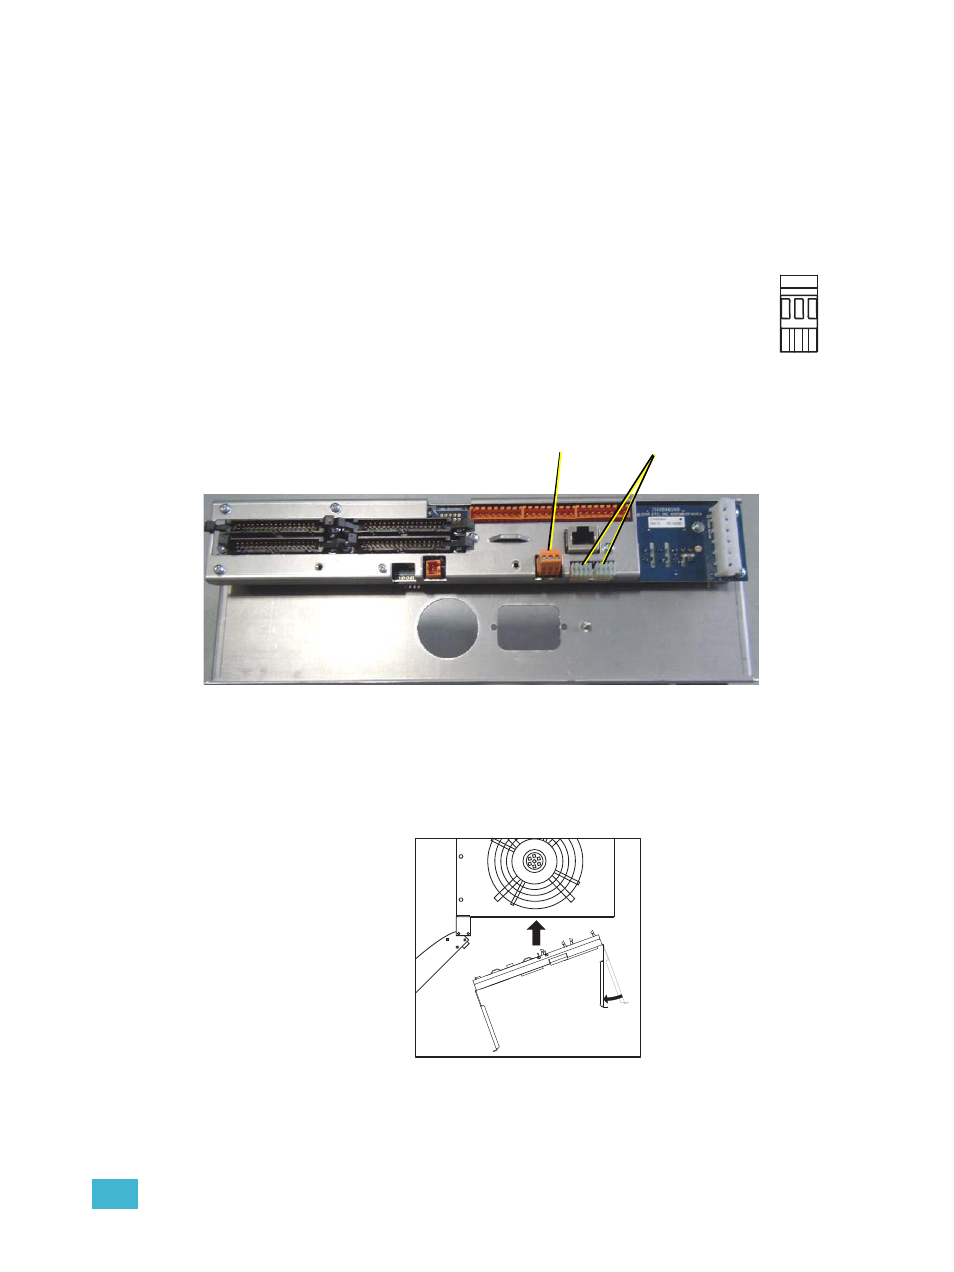
Make Connections and Install the New Backplane
Step 1:
Remove the 3-pin Phoenix connector that ships attached to the
rear of the backplane. It will not be used in this retrofit.
Step 2:
Verify that the 4-pin Molex caps are in place over the connectors next to where
the phoenix connector was attached.
Step 3:
Bend one arm of the backplane metal in towards the opposite arm (about 30
deg).
Step 4:
Insert the backplane metal on an angle. Then straighten it once it is past the face
of the rack. Push it into the rack far enough that it stays in place, but leave
yourself some room to make the power and data connections.
1
2
3
Beacon
Pin-out
Blac
k
Blue
Red
Verify
Remove