Dakota Ultrasonics DFX-7 plus MANUAL2 User Manual
Page 58

Dakota Ultrasonics
54
Known Thickness
Sometimes the sound velocity of a material is unknown. In this case a sample with
one or two known thicknesses can be used to determine the sound velocity. As
previously discussed, the DFX-7 has a one or two point calibration option. The one
point calibration option is most suited for linearity over large ranges, as noted above.
The user should also consider calibrating on high side of the intended measurement
range, when using the one point option, minimize overall error. For example, if the
measurement range is .100” (2.54mm) to 1.0” (25.4mm), the user should calibrate on
a known thickness sample close to 1.0” (25.4mm). Note: It’s always handy to carry a
set of mechanical calipers to use in conjunction with the DFX-7 for calibration in the
field:
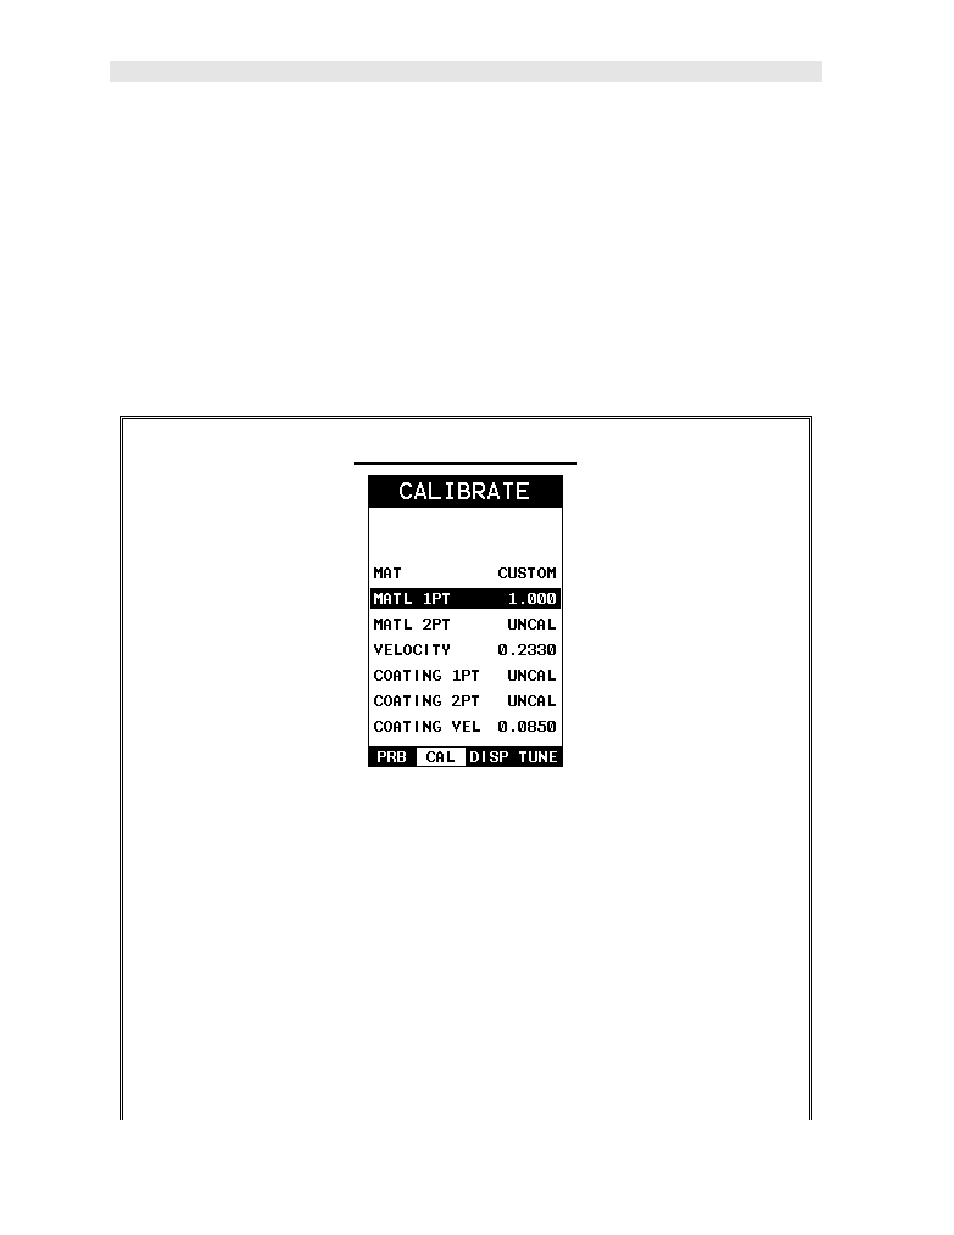
One Point Calibration
Note: Be sure that the probe zero procedure has been performed prior to
performing this calibration procedure.
1) Physically measure an exact sample of the material or a location directly on
the material to be measured using a set of calipers or a digital micrometer.
2) Apply a drop of couplant on the transducer and place the transducer in
steady contact with the sample or actual test material. Be sure that the
reading is stable and the repeatability indicator, in the top left corner of the
display, is fully lit and stable. Press the MENU key once to activate the
menu items tab. Press the MENU key multiple times to tab right and the
