Condux APS75 Underground Pulling Trailer User Manual
Page 16
16
NOTE: The trailer may be disconnected from the tow vehicle or left connected
depending on specific site conditions.
After placing wheel chocks, stabilize the trailer using the five supplied adjustable
leveling jacks - two on boom arm, two at rear of trailer, and one on trailer tongue.
Raise and lower jacks by rotating crank handle (Figure 3). Adjust the two jacks
on the boom arm until the arm is level to the ground.
C. START PULLER
Open the Control Panel lid on the side of the APS-75. Ensure that the Joystick is
in the mid or neutral position, and turn the Take-up Reel Pressure Control Valve
counter-clockwise for minimum pressure. Move the engine epeed throttle lever to
minimum speed (Full Up Position).
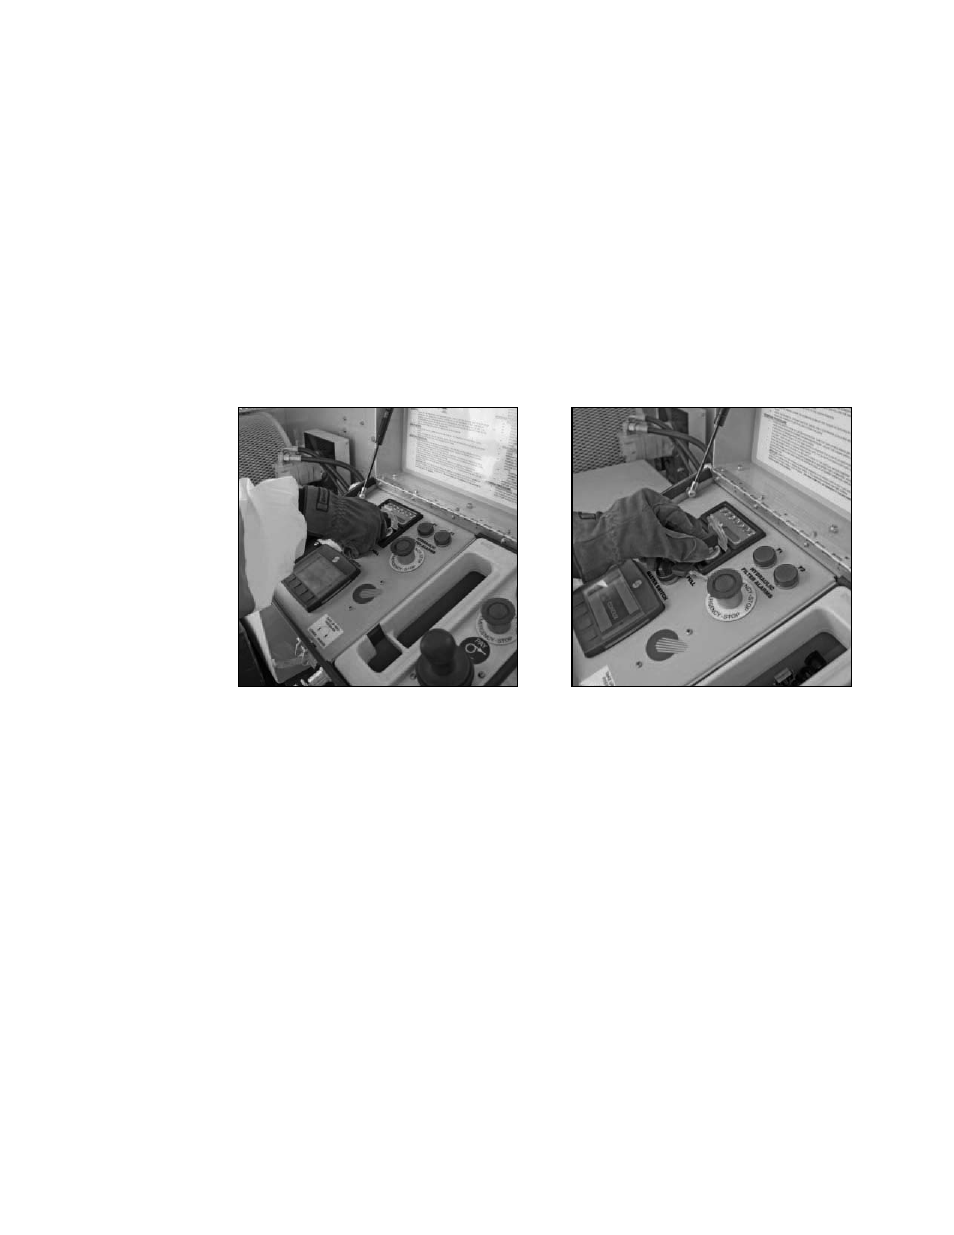
Turn the key to "Run" (vertical) position. The Glow Plug Indicator will light. Hold
until Glow Plug Indicator light goes out (Figure 4).
Turn the ignition key clock-wise to engage Starter (Figure 5). When the engine
starts, release key back to the Run (vertical) position.
Allow the engine and hydraulic system to warm up at idle speed for 5-10 minutes.
Filter alarms may light when the system is cold. If these lights are lit during
operation, replace the indicated filter.
IMPORTANT: After starting the engine, verify that the hydraulic pressure warning
is not flashing on the display screen at engine idle speed. If this warning appears
during operation, STOP IMMEDIATELY TO FIX THE PROBLEM. Please refer to
the troublehooting guide at the end of this manual.
D. PAYOUT WINCH LINE
Turn the Take-Up Reel Pressure Control Valve full counter clock wise. During
payout, this pressure should be between 500-800 psi. Increase engine speed
by moving the throttle lever to the middle or bottom detent. Payout winchline by
pushing the joystick up towards the "payout" label. Increase Take-Up Reel
pressure as needed to ensure constant tension on the winchline. The joystick is
infinitely variable so payout speed can be varied by the degree to which the
joystick is moved.
Figure 4. Turn Key to "Run"
Position
Figure 5. Turn Ingition Key
Clock-wise to engage Starter