Adding and adjusting fades, Adding, And adjusting fades – Apple WaveBurner 1.5 User Manual
Page 36
36
Chapter 3
Working With Regions
Adding and Adjusting Fades
Fade-ins and fade-outs are commonly used at the beginning and end of songs in music
production. Commercially recorded albums make frequent use of these types of edits
to create a sense of continuity when moving from one track to the next.
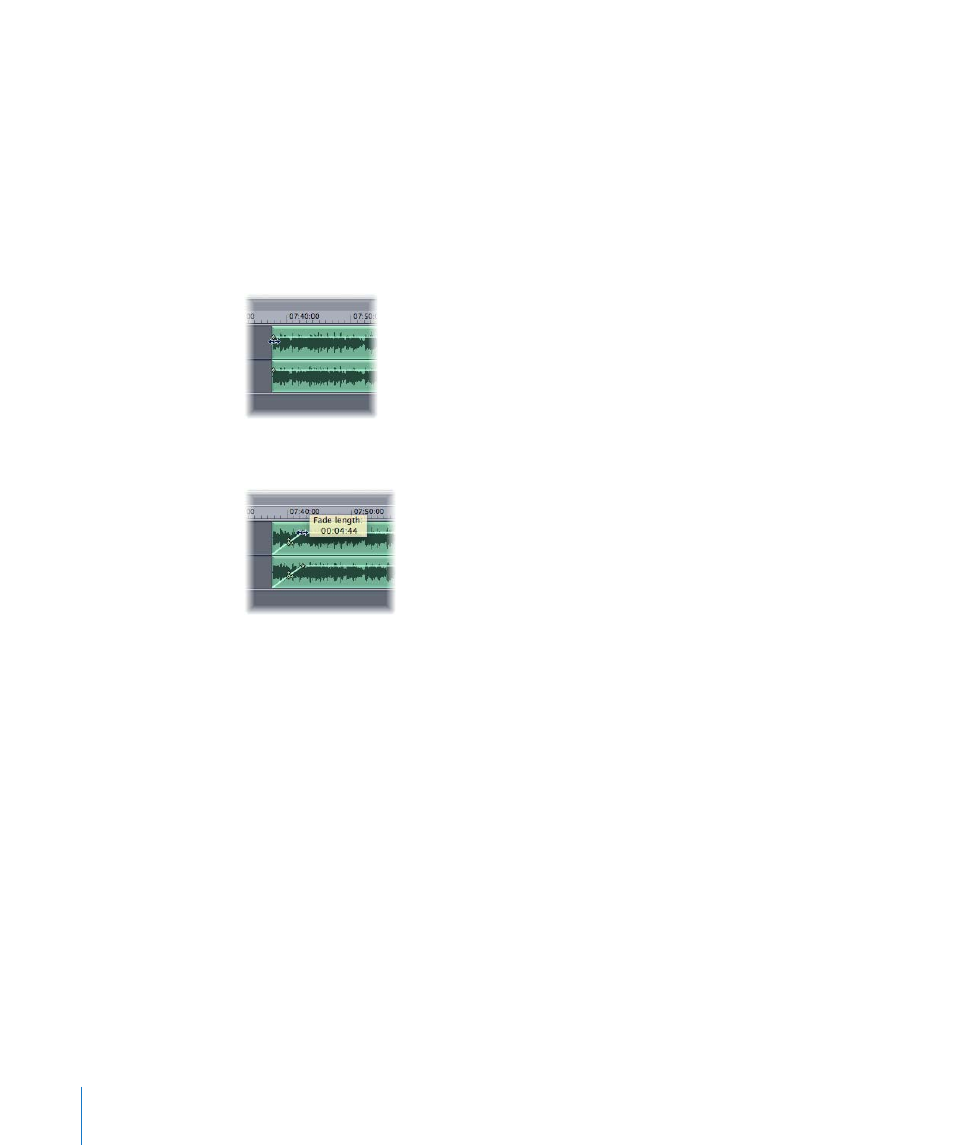
To add a fade-in:
1
Move the pointer over the fade-in handle located on the volume envelope—at the left
edge of the region.
The pointer changes to a left-right arrow.
2
Drag the envelope point to the right to set the length of the fade-in.
As you drag, the envelope changes to show the length of the fade.
To add a fade-out:
1
Move the pointer over the fade-out handle located on the volume envelope—at the
right edge of the region.
The pointer changes to a left-right arrow.
2
Drag the envelope point to the left to set the length of the fade-out.
As you drag, the envelope changes to show the length of the fade.
When you drag a region (in the Wave View area) to a position that overlaps an adjacent
region, the overlapping portions of the regions are automatically crossfaded—a fade-
out is added to the earlier region, and a fade-in is added to the later region.
Note: This automatic fade functionality only applies if you haven’t already created a
fade manually.