Overview, Wave view area – Apple WaveBurner 1.5 User Manual
Page 13
Chapter 1
The WaveBurner Interface
13
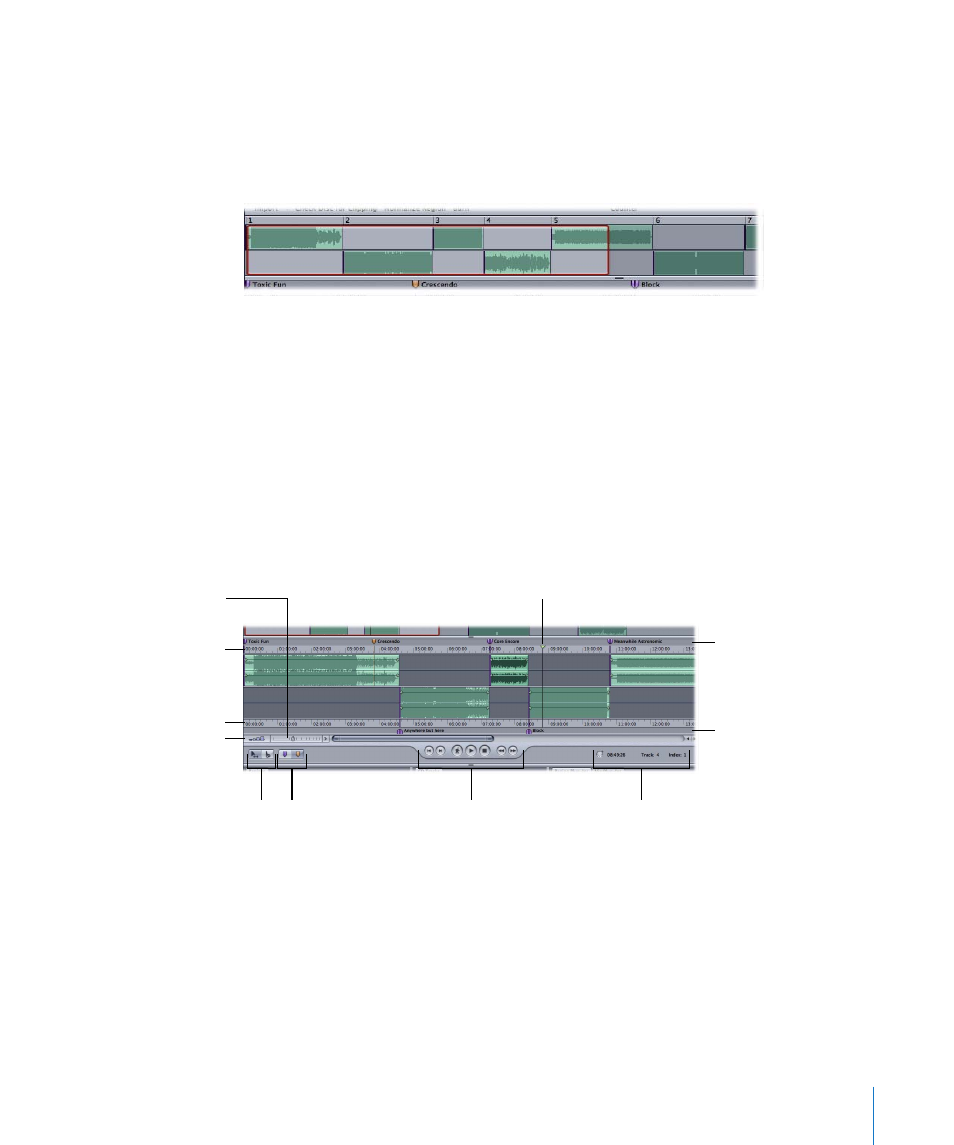
Overview
The Overview displays the entire duration of the project. A red rectangle in the
Overview indicates the part of the project currently visible in the Wave View area. You
can navigate to a different part of the project while simultaneously zooming in or out
on the Wave View, by dragging horizontally (move) and vertically (zoom) in the rectangle.
Wave View Area
The Wave View area is the main workspace for your projects. You view and graphically
edit regions and markers in the Wave View area. Regions are arranged, alternately,
between the top and bottom rows in the Wave View area. The two rows are
functionally identical—the reason for two of them is to simplify the editing of
overlapping regions.
Each region is displayed as a green rectangle, containing a waveform. Each region also
features a volume level line, which you can adjust. Track start markers are displayed as
purple flags, index markers as brown flags.
The Wave View area includes the following features:
Â
Marker bars:
You add and arrange markers in the marker bars, located at the top and
bottom of the Wave View area.
Â
Time rulers:
These show time units, enabling you to precisely place regions and
transitions at specific locations. Clicking the arrow button to the right of the Zoom
control opens a menu that allows you to change the ruler time format. You can also
access this menu by Control or right-clicking the time rulers. If you enable the CD
Track Time option in the menu, the time rulers will display the track time (rather than
the disc time).
Vertical Waveform
Zoom control
Marker bar
Time ruler
Transport controls
Marker buttons
Time, Track, and Index fields
Edit mode buttons
Marker bar
Horizontal Zoom control
Time ruler
Position line