2 address input registering an e-mail address – Konica Minolta bizhub PRO 920 User Manual
Page 90
Configuring Destination for the Network Scanner Features
6
bizhub PRO 920 Scanner
6-5
6.2
Address Input Registering an E-Mail Address
When using the function to send the scanned data as an E-Mail attached file,
you can register the destination E-Mail address in advance. The registration
is done in the following steps.
!
Detail
For E-Mail/FTP/HDD/SMB, destinations can be registered as many as
500 in sum.
1
Press the [Scan] on the control panel.
The Select Destinations/Storage Locations screen appears.
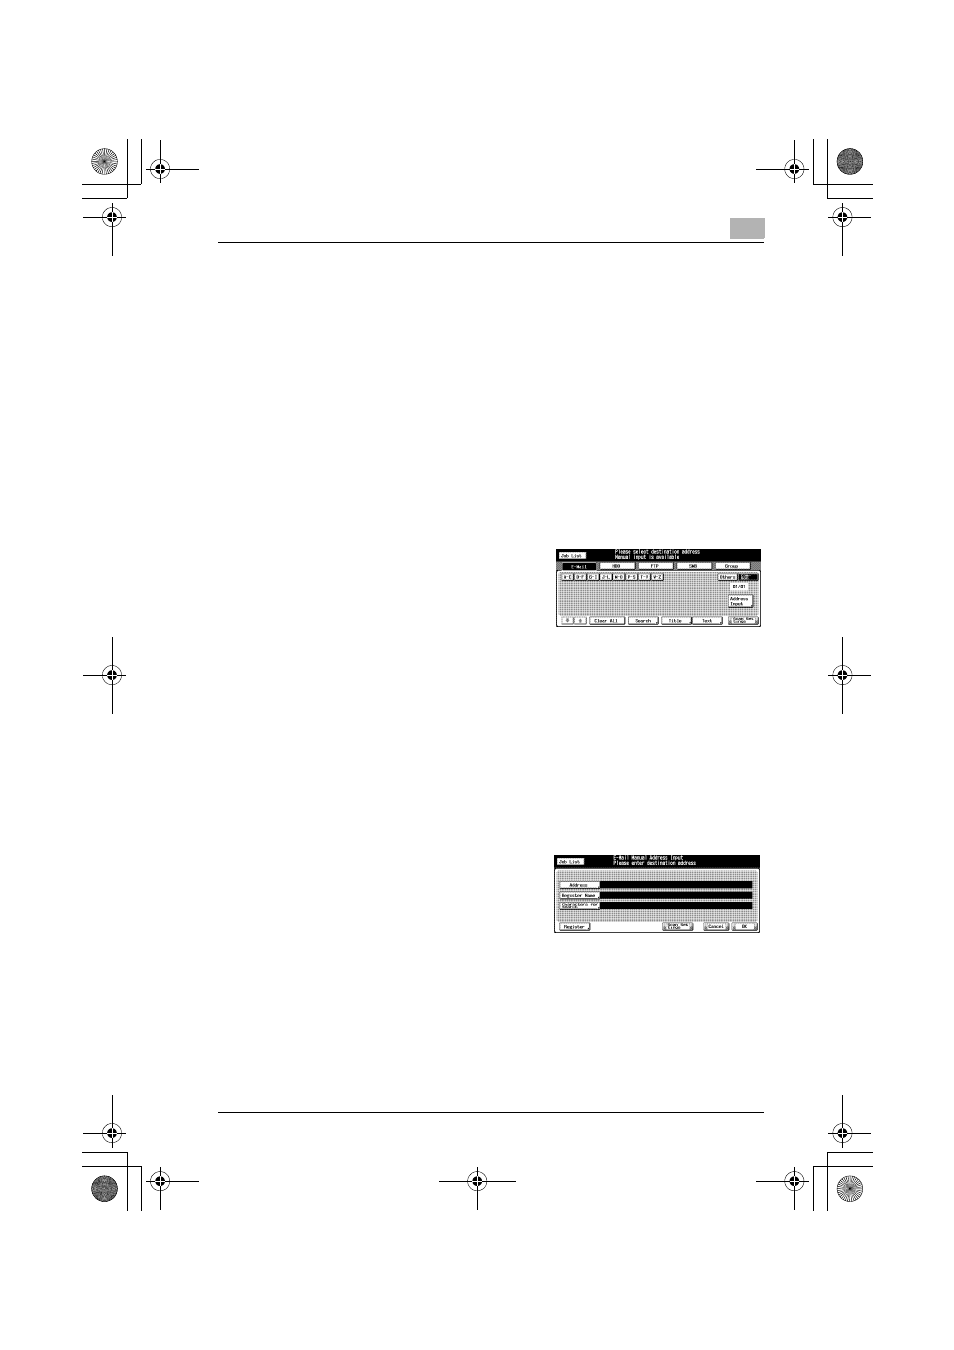
2
Make sure that [E-Mail] is selected.
–
In the initial settings, the Select
Destinations/Storage Locations
screen (E-Mail) is displayed. For
information on the initial settings
of the Scan screen, contact your
administrator of the copier.
3
Press the [Address Input] key.
–
If the E-Mail address is already registered, the Name is displayed.
–
In the initial settings, such index keys as [A-C] and [D-F] are dis-
played.
–
On how to edit/delete a registered address, contact your adminis-
trator of the copier.
The Destination Manual Input screen appears.
4
Configure the necessary items on
the Address Input screen. Pressing
an each item displays the character
input screen.
–
For more information on how to
input characters, refer to "How
to Input Characters" on Page 3-7.
–
[Address]
Enter an E-Mail address within 250 characters in alphameric char-
acters and signs.
–
[Register Name]
Enter a Name that is displayed on the Select Destinations/Storage
00_920_scan_e.book Page 5 Thursday, April 28, 2005 5:04 PM