Konica Minolta bizhub PRO 920 User Manual
Page 112
Using the Network Scanner Features
7
bizhub PRO 920 Scanner
7-13
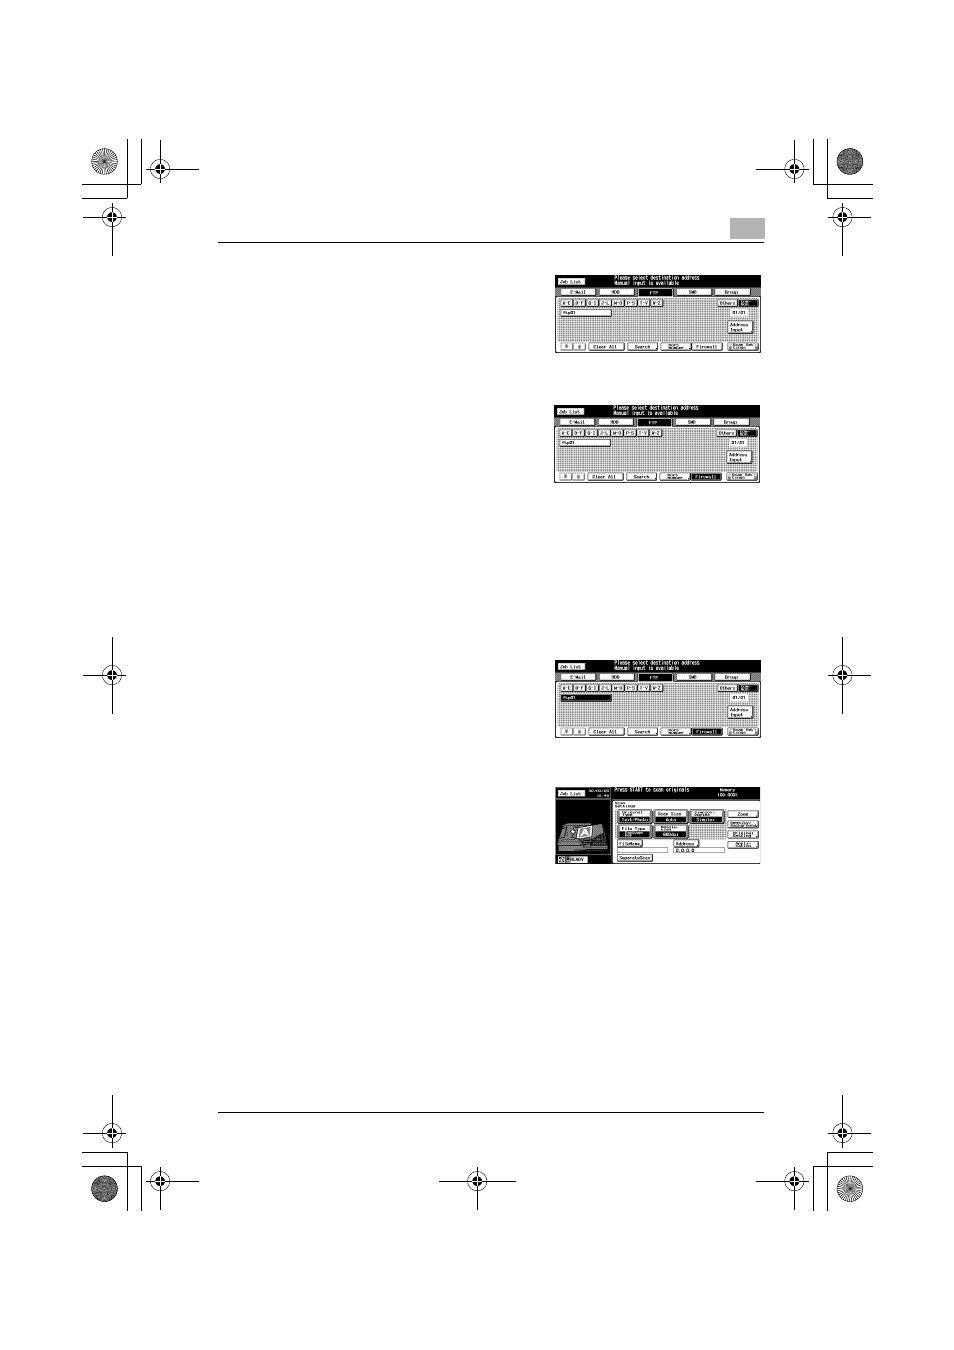
5
When the firewall is set, press Fire-
wall.
–
The firewall is set by the admin-
istrator. For more information,
contact your administrator.
6
Press the Name of the destination
FTP server.
–
You can refine the registered
destination by the search func-
tion. For more information on
how to search, refer to "How to
Search" on Page 3-8.
–
You can refine the Name by the search function. For more informa-
tion on the search function, refer to "The keys on the Select Desti-
nations/Storage Locations Screen" on Page 7-3.
–
To deselect the Name, press the selected Name again.
–
If you input a destination manually, refer to "When an FTP server is
Input Manually" on Page 7-14.
7
Press the [Scan Setting] key.
The Scanner Setting Basic screen
appears.
8
Configure the necessary items.
–
For more information on the
configurations on the Scanner
Setting Basic screen, refer to
"About the Scanner Setting Ba-
sic Screen" on Page 8-3.
9
Set an original and press the [Start] button.
–
The original is scanned, and the scanned data are sent to an spec-
ified destination.
00_920_scan_e.book Page 13 Thursday, April 28, 2005 5:04 PM