Myron L 9PTK with FCE Free Chlorine User Manual
Page 35
31
1.
Ensure pH protective cap is secure to avoid contamination.
2.
Install the cell extender by pushing the base of the cell extender
into the conductivity cell until it is fully seated.
3.
Rinse the conductivity cell cup and cell extender 3 times with
Alkalinity Standard 100PPM.
4.
Refill cell cup and cell extender with Alkalinity Standard 100PPM.
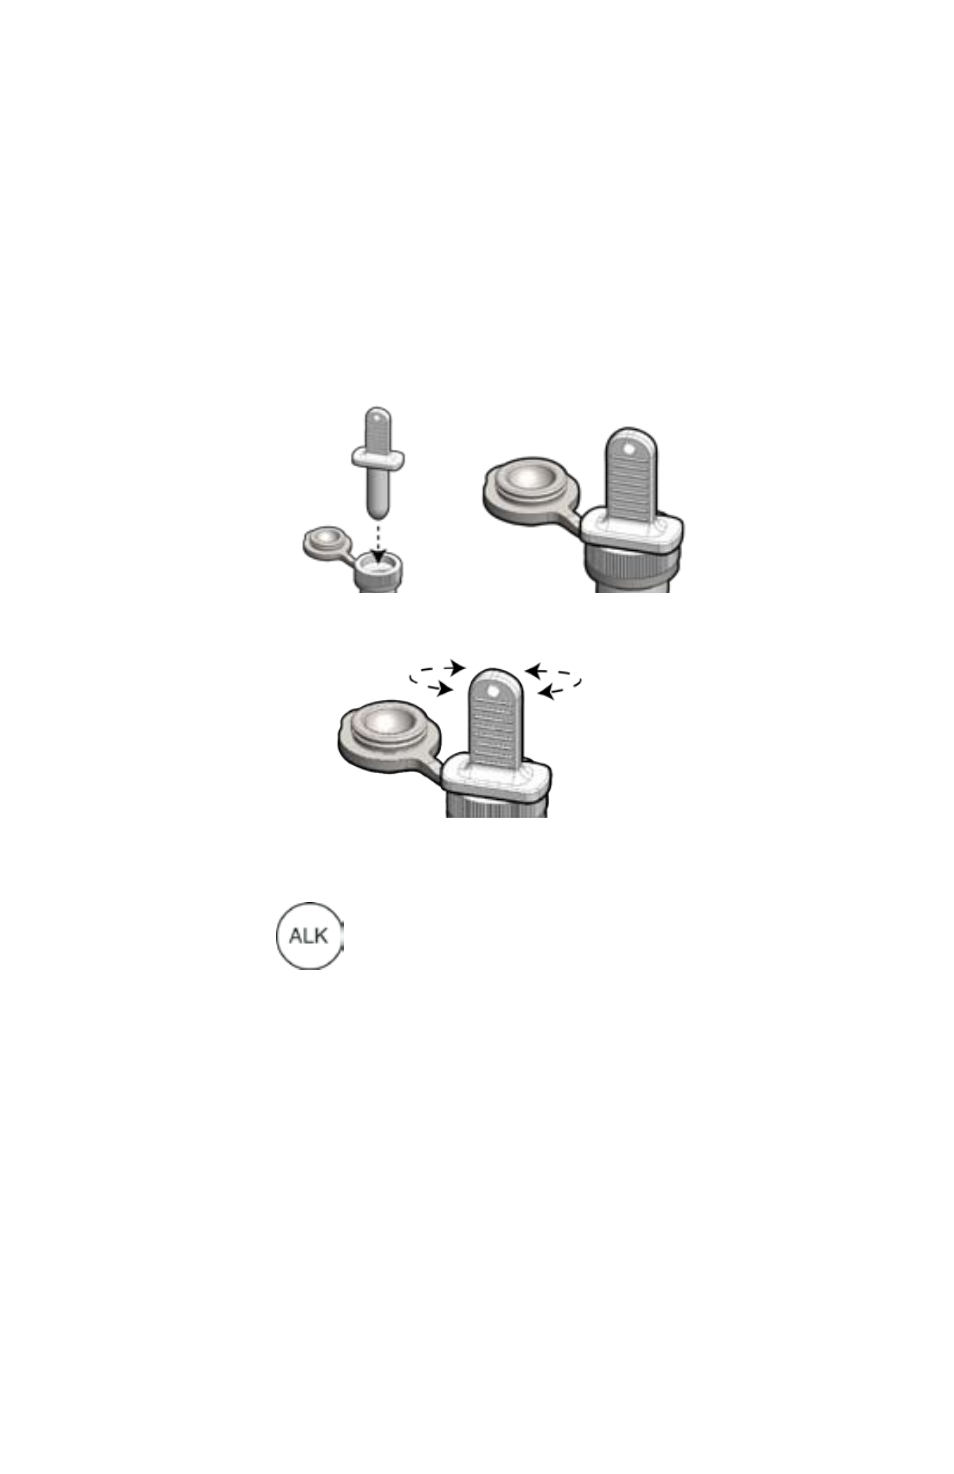
5.
Insert T-plunger into open cell extender until the “T” rests flush
on the lip of the cell extender. This will cause fluid beyond what
is required for titration to overflow the cell extender.
6.
Rotate the T-plunger from side to side, allowing the arms of the
T-plunger to slide along the rim of the cell extender.
7.
Carefully remove the T-plunger so as not to flick or spill remaining
sample. Tap the T-plunger on the side of the cell extender to
remove sample that may be stuck to the T-plunger.
8.
Press
. “al” alternating with “tds” briefly displays along
with the “PPm” value of the sample. “P
r
es cal” will display
when the reading stabilizes.
9.
Press cal to accept and advance to the first titration prompt.
“add” alternating with “a1” displays; then “agit t1” alternating
with “hOld” displays. (The number after “t” indicates which
titration point you are on. The number “1” here indicates this is
the first titration point. Subsequent titration points are sequenced
numerically: 2, 3, 4, etc.)
10.
Using the pipette, add 100 µL of Reagent: A1, close the cell
extender cap securely, then agitate and hold. Repeat as
prompted. “P
r
es cal” will display.
11.
Press cal to advance to the next titration point. “add”
alternating with “a1” displays; then “agit t2” alternating with
“hOld” displays.