Taking pictures using the built-in flash, Switching to the appropriate flash setting, P66) – Panasonic DMC-TS5D User Manual
Page 66
- 66 -
Recording
Taking Pictures Using the Built-in Flash
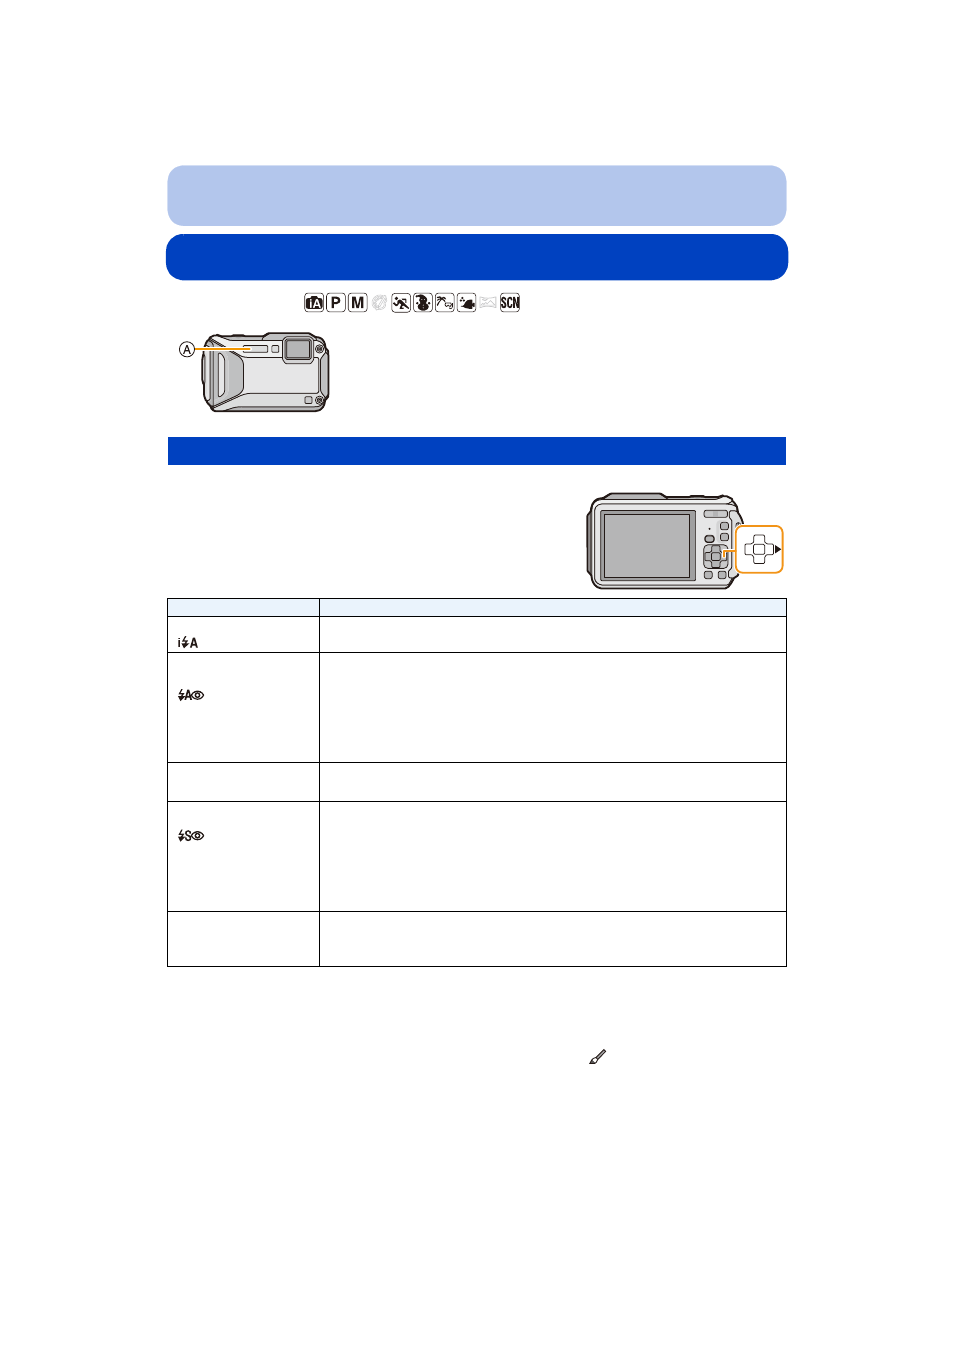
Applicable modes:
Set the flash to match the recording.
1
Press
1 [‰].
2
Press
3/4 to select the item and then press
[MENU/SET].
¢1 This can be set only when Intelligent Auto Mode is set. The icon changes depending on the type
of subject and brightness.
¢2 The flash is activated twice. The subject should not move until the second flash is
activated. Interval until the second flash depends on the brightness of the subject.
[Red-Eye Removal]
on the [Rec] menu is set to [ON], [
] appears on the flash icon.
A Photo flash
Do not cover the flash with your fingers or other objects.
Switching to the appropriate flash setting
Item
Description of settings
[‡]
([Auto])
The flash is automatically activated when the recording conditions make it
necessary.
[
]
([iAuto])
¢1
[
]
([Auto/Red-Eye])
¢2
The flash is automatically activated when the recording conditions make it
necessary.
It is activated once before the actual recording to reduce the red-eye
phenomenon (eyes of the subject appearing red in the picture) and then
activated again for the actual recording.
•
Use this when you take pictures of people in low lighting conditions.
[‰]
([Forced Flash On])
The flash is activated every time regardless of the recording conditions.
•
Use this when your subject is back-lit or under fluorescent light.
[
]
([Slow Sync./
Red-Eye])
¢2
If you take a picture with a dark background landscape, this feature will
slow the shutter speed when the flash is activated so that the dark
background landscape will become bright. Simultaneously it reduces the
red-eye phenomenon.
•
Use this when you take pictures of people in front of a dark
background.
[Œ]
([Forced Flash Off])
The flash is not activated in any recording conditions.
•
Use this when you take pictures in places where the use of the flash
is not permitted.