When sending images to av device – Panasonic DMC-GH3KBODY User Manual
Page 230
230
Wi-Fi
1
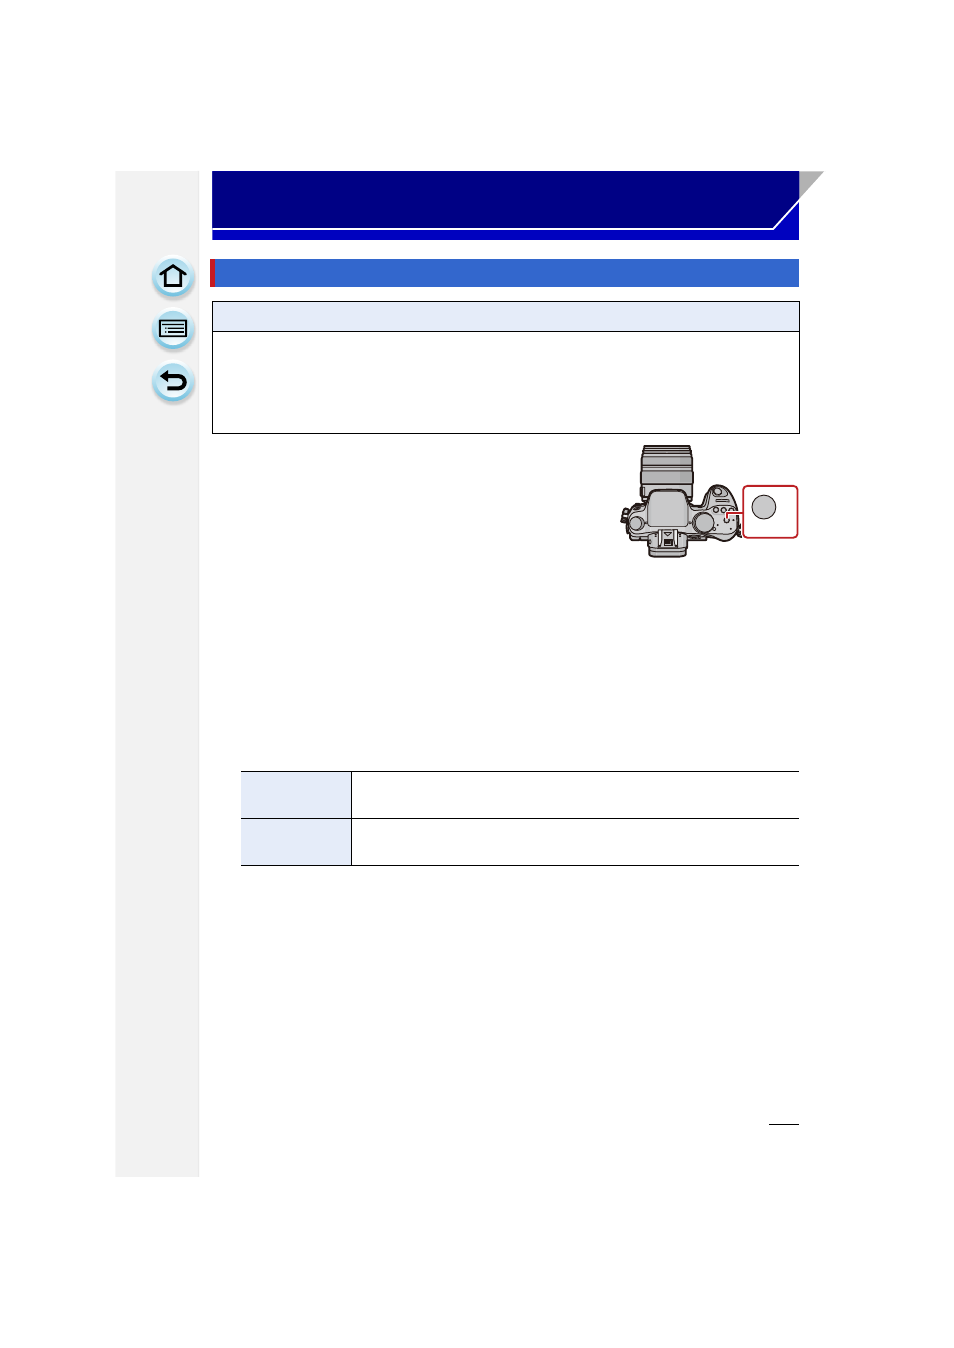
Press [Wi-Fi].
2
Press 3/4 to select [New Connection], and then
press [MENU/SET].
•
When connecting with the setting you used before, you can select the connection
destination from [Select a destination from History]
or [Select a destination from
Favorite]
3
Press 3/4 to select [Send Images While Recording], and then press [MENU/SET].
4
Press 3/4 to select [AV device], and then press [MENU/SET].
5
Press 3/4 to select [Home] or [External], and then press [MENU/SET].
6
Press 3/4 to select connection method, and then press [MENU/SET].
•
When [External] is selected, the screen for setting a wireless access point is displayed.
7
Press 3/4 to select a device you want to connect, and then press [MENU/SET].
•
When the connection is complete, the screen is displayed. To change the send setting,
press [DISP.].
8
Take pictures.
•
To change the setting or disconnect, press [Wi-Fi].
You cannot change the settings while sending pictures. Wait until sending is complete.
When sending images to AV device
Preparations:
When sending a picture to [Home], set your device to DLNA waiting mode.
•
Read the operating instructions of your device for details.
When sending images to [External], the following are required:
•
Registration to “LUMIX CLUB”.
•
Address number and access number acquired by the destination External AV device.
[Via Network]
When you want to connect to an AV device via a wireless access
point.
[Direct]
When you want to directly connect an AV device to this unit with
[Wi-Fi Direct], [WPS Connection], or [Manual Connection].
ョㄏヒ
ヸㄊノョㄊ