Updating rsa or bios firmware – Avaya S8500 User Manual
Page 64
Using the Avaya Remote Supervisor Adapter
Performing RSA tasks
64
Avaya Remote Supervisor Adapter User Guide
November 2003
Updating RSA or BIOS firmware
This option updates the firmware of the RSA or the server (BIOS) in which it is installed. Updating the
firmware also enables the BIOS code, diagnostics, power backplane, front panel, and the serial peripheral
interface (SPI) of the server in which the RSA is installed.
If available, new RSA and BIOS firmware can be downloaded from
To update the RSA firmware:
1
Click on the file.
A download window opens.
2
Select the name and location for the file you are downloading and click OK.
A progress window opens as the files are transferred to the selected location. A confirmation
window opens when the transfer is completed.
3
Log in to the RSA. See
Connecting and logging in to the RSA
for log in instructions.
4
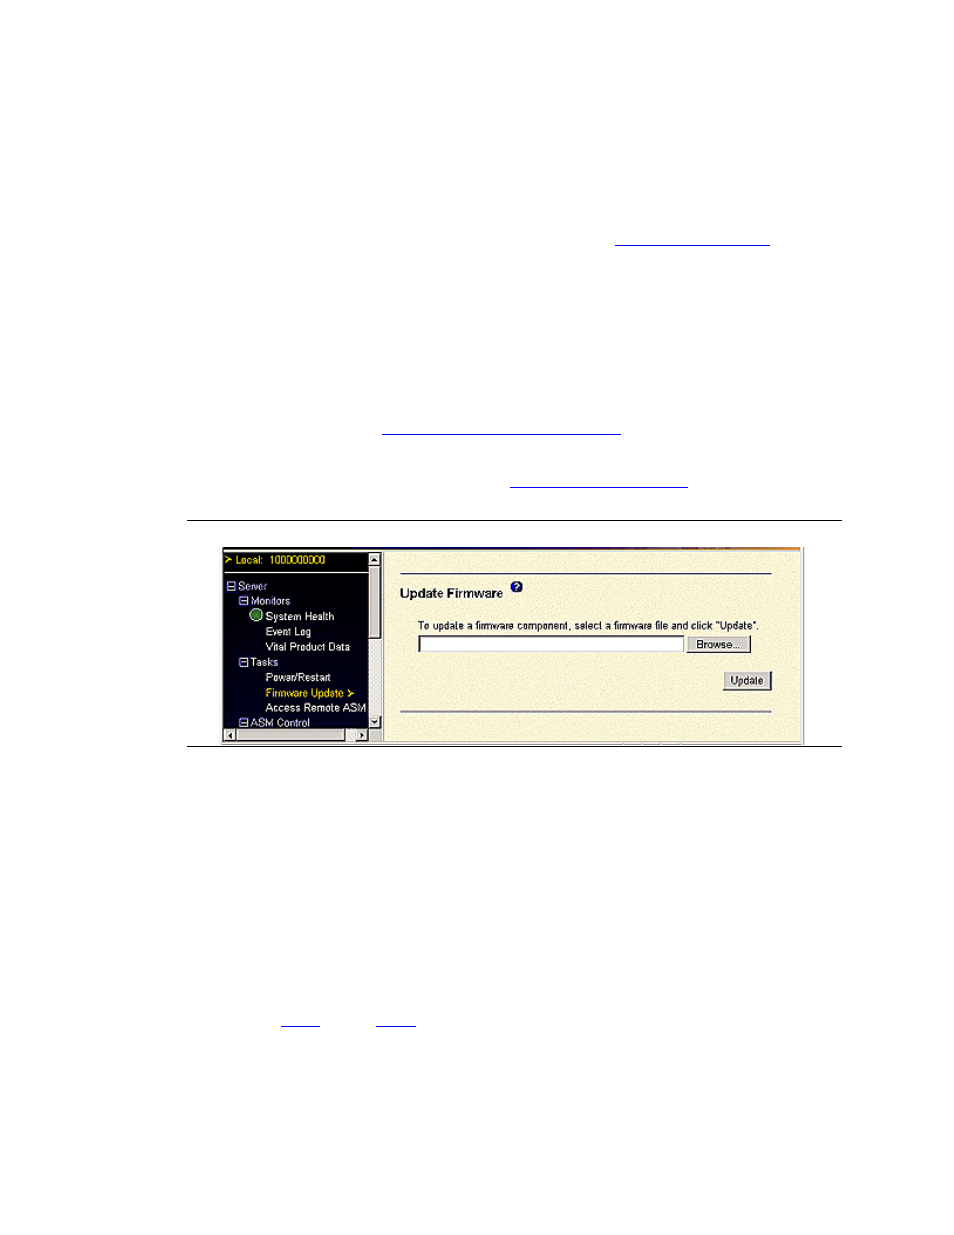
In the navigation pane, select Firmware Update under the Tasks heading.
The Update Firmware window appears (see
Figure 35: Update firmware
5
Click Browse. Go to the saved location from step 3.
6
Click Open to select the cnetbrus.pkt file and have it appear in the box beside Browse.
7
Click Update to begin the firmware update. A progress window opens as the files are transferred
to temporary storage on the RSA.
A confirmation window opens when the transfer is complete.
8
Verify that the file in the confirmation window is the file that you wish to use for the update. If
you do not wish to continue with the update, click Cancel.
9
To continue with the firmware update, click Continue.
A progress window opens as the firmware on the RSA updates. A confirmation window appears
when the update is completed.
10
Repeat
through
each time to update the cnetmnus.pkt and cnetrgus.pkt files.
NOTE:
You should update all three components (cnetbrus.pkt, cnetmnus.pkt and cnetrgus.pkt)
from the Avaya support website before restarting the RSA.