Enabling dns – Avaya S8500 User Manual
Page 46
Using the Avaya Remote Supervisor Adapter
Alerts
46
Avaya Remote Supervisor Adapter User Guide
November 2003
4
Host Name or IP Address [no default]: In the field that corresponds with the Community Name,
type the IP Address or Host Name for each community manager.
5
If a DNS server is not used or available, scroll down and click Save. If a DNS server will be used,
continue to
on page 46 before restarting the ASM.
NOTE:
You must restart the ASM to activate the Network Protocols changes.
6
To restart the ASM, click Restart ASM under the ASM Control heading in the navagation pane.
Enabling DNS
To enable the Domain Name System (DNS) and specify the DNS IP address:
1
In the navigation pane, select Network Protocols under the ASM Control heading.
The Simple Network Management Protocol (SNMP) window appears.
2
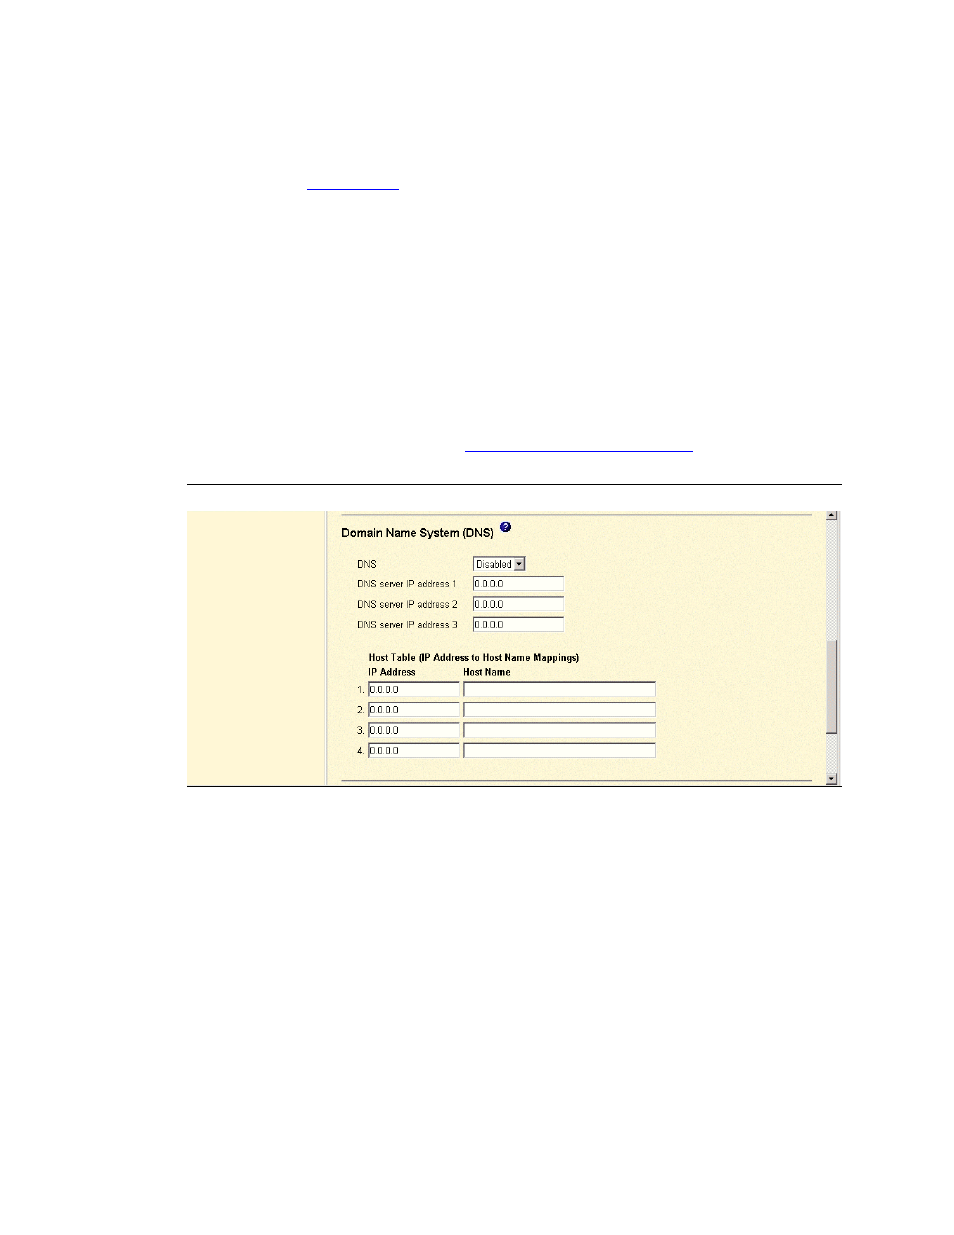
Scroll down to the DNS section (see
Figure 18, Advanced Ethernet setup,
Figure 21: DNS
3
In the DNS field [default: Disabled]: Select Enabled from the drop-down menu if a DNS server
will be used.
4
In the DNS server IP address 1, 2, and 3 fields [default: 0.0.0.0]: You can specify up to three
DNS server IP addresses once the DNS field is Enabled. Each IP address should contain integers
0 through 255, separated by periods.
5
Scroll to the bottom of the page and click Save.
NOTE:
You must restart the ASM to activate the Network Protocols changes.
6
To restart the ASM, select Restart ASM under the ASM Control heading in the navigation pane.