Assigning advanced modem settings – Avaya S8500 User Manual
Page 40
Using the Avaya Remote Supervisor Adapter
Alerts
40
Avaya Remote Supervisor Adapter User Guide
November 2003
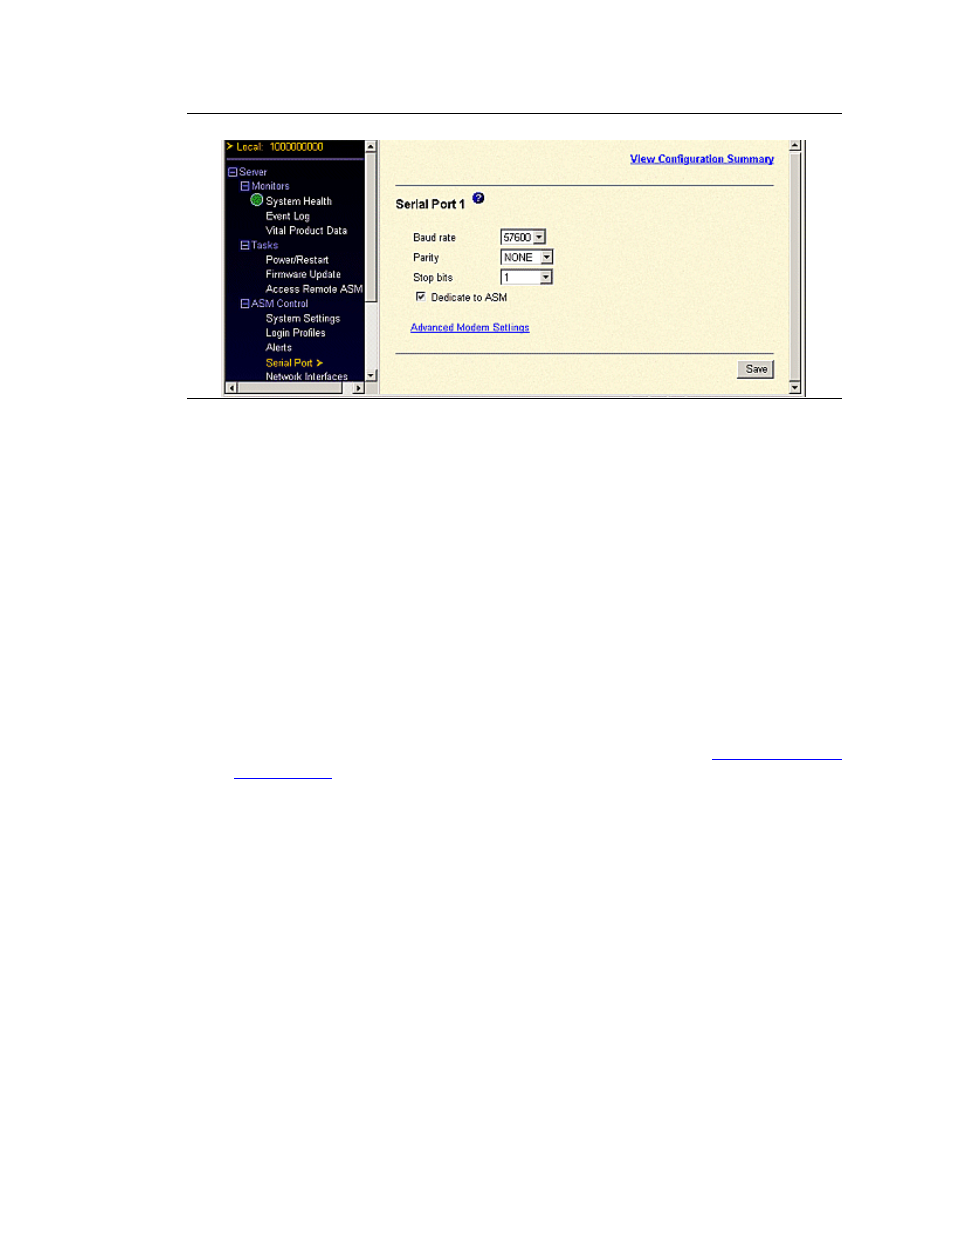
Figure 16: Serial port
2
In the Baud Rate [default: 57600] field: Select the baud rate to specify the data-transfer rate of
your serial port connection. Possible bits per second options that can be selected from the drop-
down menu are: 2400, 4800, 9600, 19200, 38400, and 57600.
3
In the Parity field [default: NONE]: Select the error detection to be used for your serial port
connection. Possible parity options from the drop-down menu are: NONE, ODD, EVEN,
MARK, and SPACE.
4
In the Stop bits field [default: 1]: Select the data-terminating 1-bits or parity bit that marks the
end of transmission. Possible stop bits that can be selected from the drop-down menu are: 1 and
1.5 or 2.
NOTE:
For the following step, Dedicate to ASM is the only option supported by Avaya.
5
In the Dedicate to ASM field [default: Enabled]: Select the Dedicate to ASM check box.
Failure to do so may cause the RSA not to report problems on the modem or the RSA may not
answer incoming calls.
6
Click Save, or for advanced settings, click Advanced Modem Settings (see
Assigning advanced modem settings
To set the advanced modem settings:
1
After clicking Advanced Modem Settings, fill in the following fields:
•
Initalization string [default: ATZ^M]: Type the initalizatiion string to be used for this specific
modem.
•
Dial prefix string [default: ATDT]: Type the initialization string to be used before the number to
be dialed.
•
Hangup string [ATHO^M]: Type the initialization string to be used to disconnect the modem.
•
Dial postfix string [default: ^M]: Type the initialization string to tell the modem to stop dialing
after the number is dialed.
•
Modem query [default: AT^M]: Type the initialization string to be used to tell if the modem is
connected.