Nikon D7100 User Manual
Page 210
182
%
❚❚u Selective Color
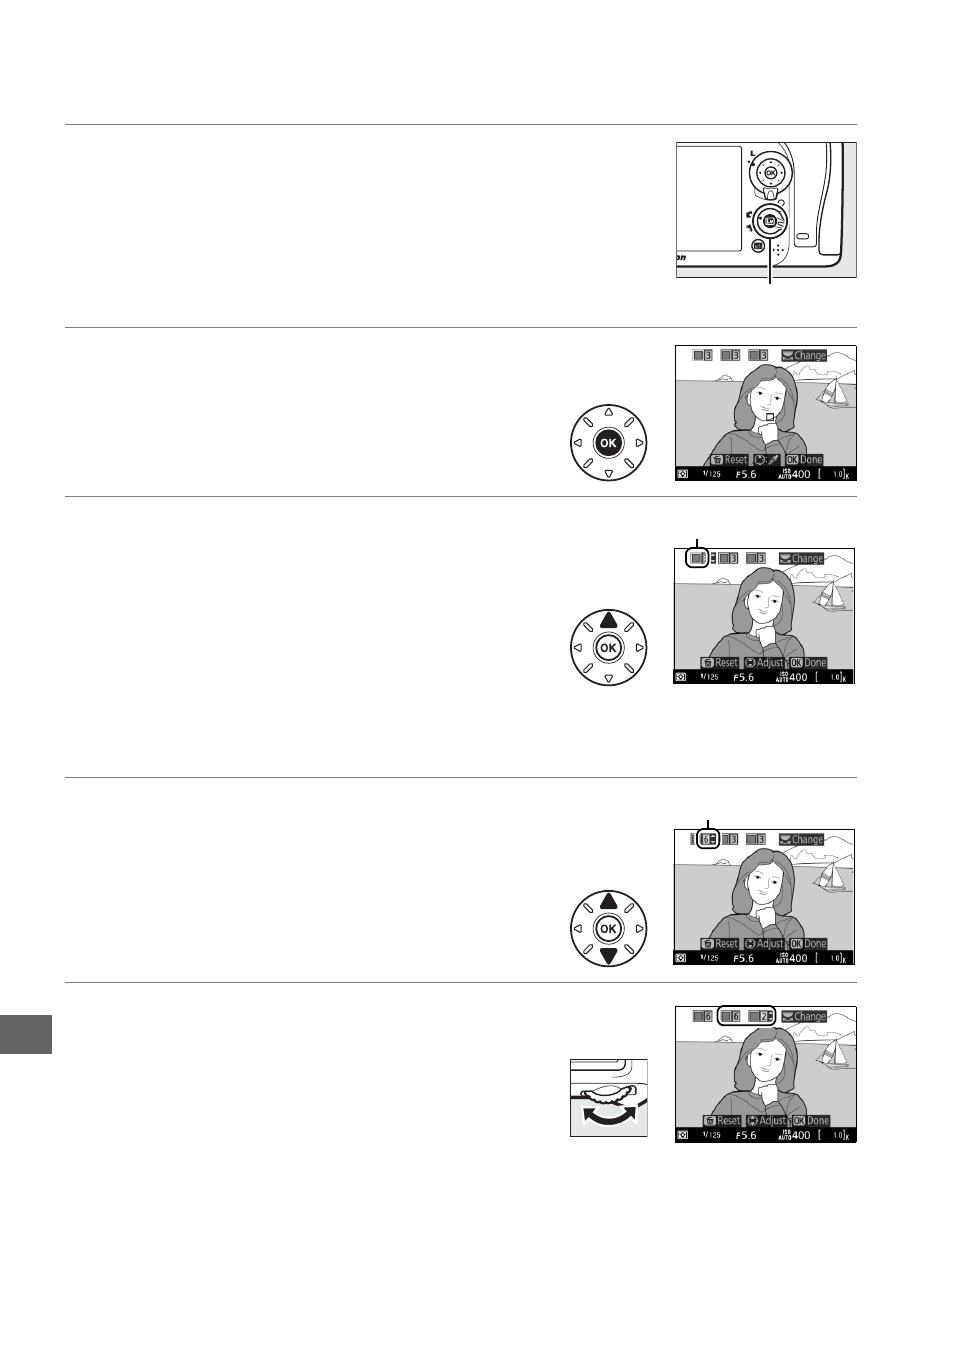
1
Press the
a button.
The mirror will be raised and the view through
the lens will be displayed in the camera
monitor.
2
Display options.
Press J to display selective color options.
3
Select a color.
Frame an object in the white square in the
center of the display and press 1 to choose the
color of the object as one that will remain in
the final image (the camera may have difficulty
detecting unsaturated colors; choose a
saturated color). To zoom in on the center of
the display for more precise color selection, press X (T). Press W (S) to
zoom out.
4
Choose the color range.
Press 1 or 3 to increase or decrease the range
of similar hues that will be included in the final
image. Choose from values between 1 and 7;
note that higher values may include hues from
other colors.
5
Select additional colors.
To select additional colors, rotate the main
command dial to highlight another of the 3
color boxes at the top of the display and repeat
Steps 3 and 4 to select another color. Repeat
for a third color if desired. To deselect the
highlighted color, press O/Q (To remove all colors, press and hold O/Q. A
confirmation dialog will be displayed; select Yes).
a
button
Selected color
Color range