Standard range testing, Advanced range testing using a flight log – Spektrum SPMAR9110 User Manual
Page 18
18
EN
Standard Range Testing
Before each flying session, and especially with a new model, it’s important to
perform a range check. All Spektrum aircraft transmitters incorporate a range
testing system, which reduces the output power allowing a range check.
Range Testing
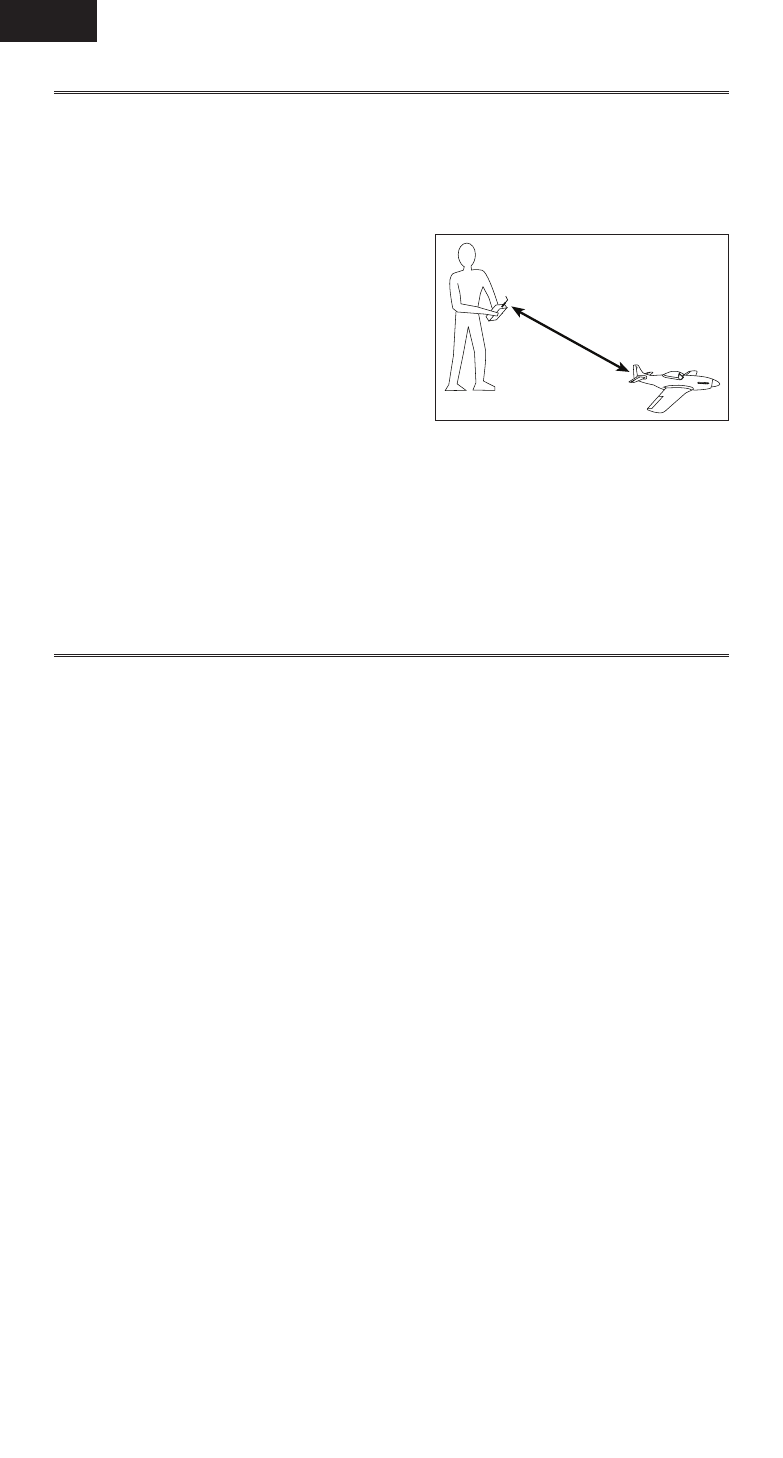
1. With the model resting on the ground,
stand 30 paces (approx. 90 feet/28
meters) away from the model.
2. Face the model with the transmitter
in your normal flying position and put
your transmitter into range test mode.
This causes reduced power output
from the transmitter.
3. You should have total control of the model in range test mode at 30 paces
(90 feet/28 meters).
4. If control issues exist, call the appropriate Horizon Product Support
department for further assistance.
Advanced Range Testing Using a Flight Log
The Standard Range Testing procedure is recommended for most sport aircraft.
For sophisticated aircraft that contain significant amounts of conductive
materials (e.g. turbine powered jets, some types of scale aircraft, aircraft with
carbon fuselages, etc.), the following advanced range check will confirm that
all remote receivers are operating optimally and that the installation (position of
the receivers) is optimized for the specific aircraft. This Advanced Range Check
allows the RF performance of each remote receiver to be evaluated and to
optimize the locations of each individual remote receiver.
Advanced Range Testing
1. Plug a Flight Log into the data port in the AR9110 and turn on the system
(Transmitter and Receiver).
2. Advance the Flight Log until frame losses are displayed by pressing
the button on the Flight Log.
3. Have a helper hold your aircraft while observing the Flight Log data.
4. Standing 30 paces away from the model, face the model with the
transmitter in your normal flying position and put your transmitter into
range test mode. This causes reduced power output from the transmitter.
5. Have your helper position the model in various orientations (nose up,
nose down, nose toward the Tx, nose away from the Tx, etc.) while your
helper watches the Flight Log noting any correlation between the aircraft’s
orientation and frame losses. Do this for 1 minute. The timer on the
transmitter can be used here. For giant-scale aircraft it’s recommended
that the airplane be tipped up on its nose and rotated 360 degrees for
one minute then the data recorded. Next place the airplane on its wheels
and do a second test rotating the aircraft in all directions for one minute.
30 paces (90 feet/28 meters)