Swiftech STEALTH User Manual
Page 2
Step-by-step instructions
Step 1:
Fasten the provided fittings to the Stealth
water-block using a 5/8” “deep socket”. Give each
fitting a firm lock to prevent it from loosening.
Step 2:
Remove the existing cooling solution from the
graphics card, then carefully clean off the GPU, the
RAM modules and the NVIO chip with an electronics
degreaser; squeeze the equivalent of a dime of Arctic
Céramique™ thermal compound at the center of GPU
and a tiny drop on each of the memory modules and
NVIO chip.
Peel-off the plastic protection from the copper base
of the Stealth, BUT DO NOT PEEL-OFF the thin blue
film covering the memory module thermal pads, as
it is a permanent part of the thermal pads.
Step 3:
Position the Stealth on your graphic card
then flip the card over while keeping the water block
mounting holes aligned with the card mounting holes,
and fasten the 6 spring-loaded screws progressively &
alternatively. The memory pads do compress quite a
bit, so make sure to reach a positive lock when
tightening the screws!
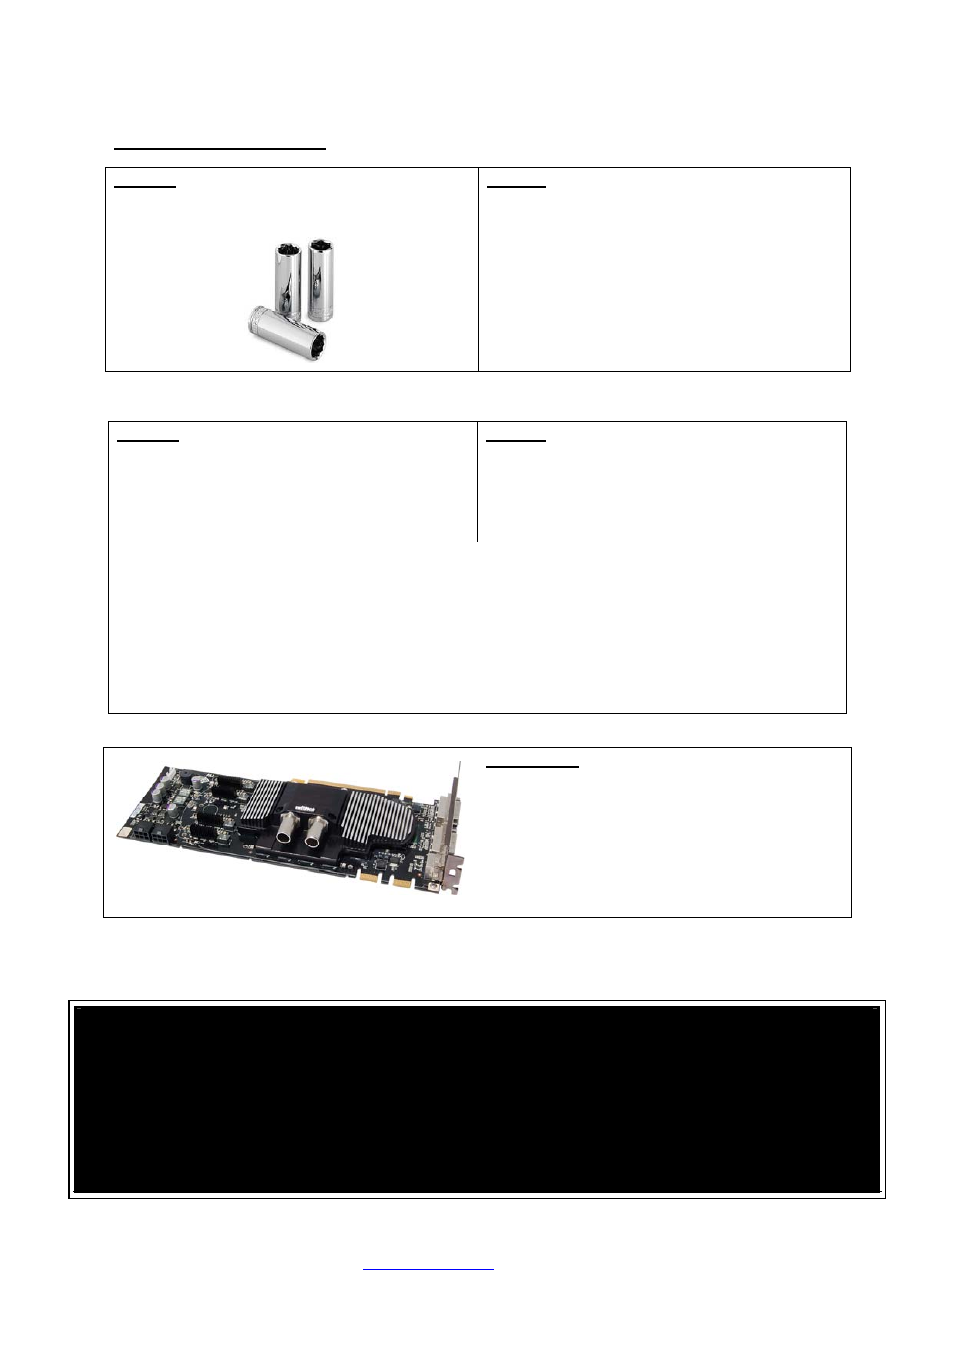
Step 4:
Peel-off the protective paper from the MC21
heatsinks base and install(*) a heatsink on each set of
mosfets as shown in the example below. Apply firm
pressure with your fingers onto the heatsink for a few
seconds to make sure that it stays in place.
(*) IMPORTANT NOTE: MOSFET SURFACE CLEANING
Substrate surfaces should be clean and dry prior to the thermal pad application to ensure best thermal
performance and adhesion. Isopropyl alcohol (isopropanol) applied with a lint-free wipe or swab should be
adequate for removing surface contamination such as dust or fingerprints. Do not use “denatured alcohol” or
glass cleaners, which often contain oily components. Allow the surface to dry for several minutes before
applying the thermal pad.
More aggressive solvents (such as acetone, methyl ethyl ketone (MEK) or toluene are required to
remove heavier contamination from previous thermal grease but should be followed by a final
isopropanol wipe as described above.
Last Step:
Re-install the graphics card to the
motherboard, connect the tubing to the Stealth water-
block and secure the tubing with the provided hose-
clamps.
Always test your setup extensively for
leaks before you energize your
system!
IMPORTANT DISCLOSURES
While all efforts have been made to provide the most comprehensive tutorial possible, Swiftech assumes no liability
expressed or implied for any damage(s) occurring to your components as a result of using Swiftech cooling products, either
due to mistake or omission on our part in the enclosed instructions, or due to failure or defect in the Swiftech cooling
products. WARRANTY Our products are guaranteed for 12 months from the date of delivery to the final user against
defects in materials or workmanship. During this period, they will be repaired or have parts replaced provided that: (I) the
product is returned to the agent from which it was purchased; (II) the product has been purchased by the end user and not
used for hire purposes; (III) the product has not been misused, handled carelessly, or other than in accordance with any
instructions provided with respect to its use. This guarantee does not confer rights other than those expressly set out above
and does not cover any claims for consequential loss or damage. This guarantee is offered as an extra benefit and does not
affect your statutory rights as a consumer.
Copyright Swiftech 2007 – All rights reserved – Last revision date: 6-2-07 – One or more Patents Pending
Rouchon Industries, Inc., dba Swiftech –3700 Industry Avenue, suite 104, Lakewood, CA 90712 – Toll free (US) 888-857-9438 – Fax 562-
595-8769 - E Mail: [email protected] – URL:
http://www.swiftech.com
- Information subject to change without notice