Importing a preferred wlan profile – Allied Telesis AT-WCU201G User Manual
Page 50
Chapter 2: Using the Adapter’s Configuration Utility
50
The Save As window is displayed for saving the profile file.
7. Specify the location where you want to store the profile and a filename.
The filename extension must be “.AWP”.
8. Click OK.
The profile is saved as a separate file on your computer.
This completes the procedure for exporting a Preferred WLAN profile.
By saving the profile onto a floppy disk or CD, you can transfer the disk
to another computer that has an AT-WCU201G adapter and the
configuration utility, and import the profile onto that system, as
explained in the next procedure.
Importing a
Preferred WLAN
Profile
To import a Preferred WLAN profile into the configuration utility, perform
the following procedure:
1. Start the configuration program by clicking the program’s icon, shown
in Figure 23 on page 35, located in the toolbar on the desktop.
The main window of the configuration utility is shown in Figure 24 on
page 35.
Note
Perform step 2 if you created profile groups, which are optional. For
further information, refer to “Working with Profile Groups” on
page 52
2. In the Profile Group Control section of the Configuration tab, click the
name of the group where you want to import the profile.
3. Click Import.
4. In the Open window, specify the filename and location of the profile to
import and click OK.
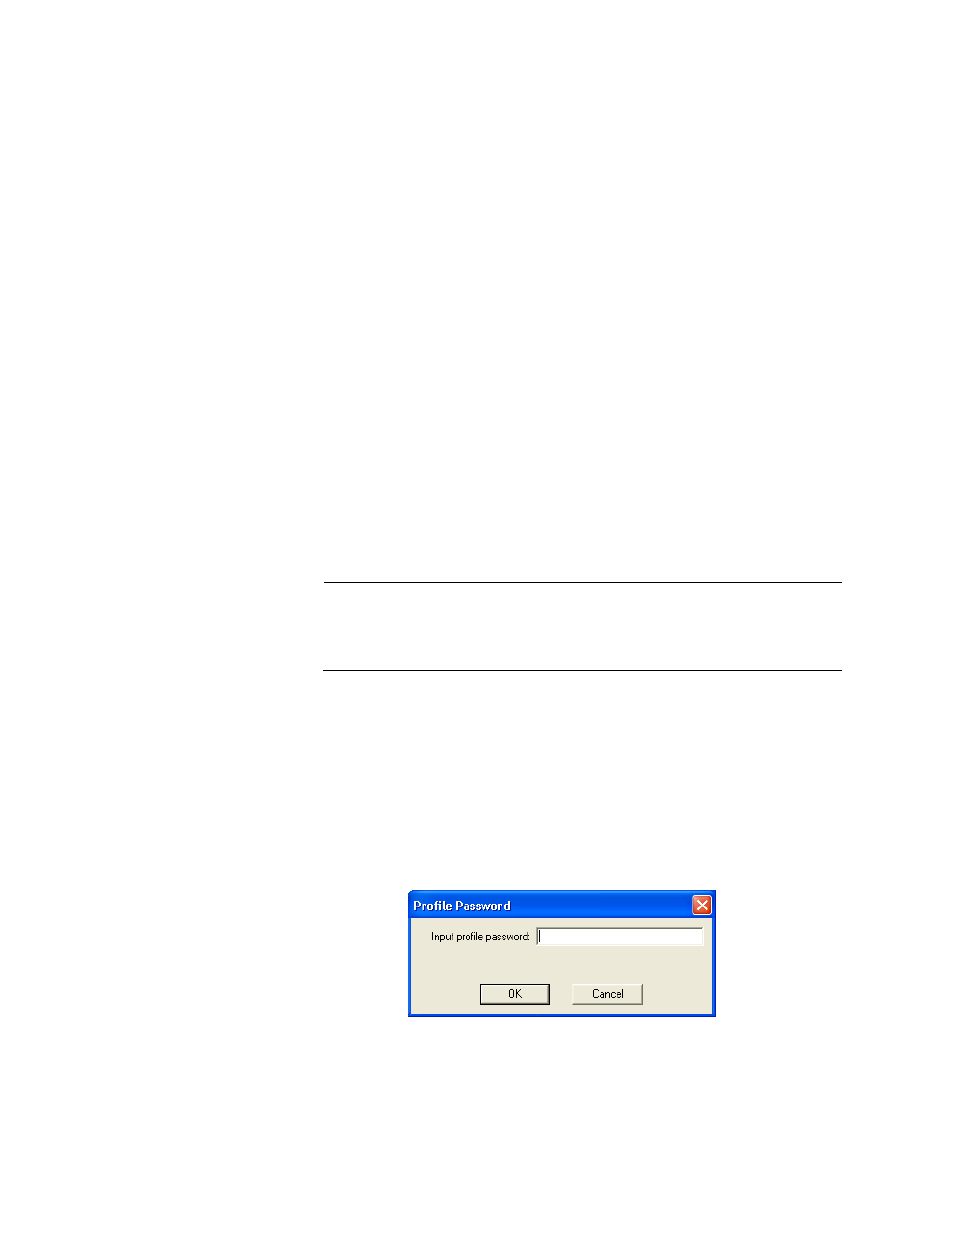
The Profile Password window is shown in Figure 30.
Figure 30. Profile Password Window
5. Enter the profile’s password and click OK. The password is case
sensitive.