AMX Modero CV7 User Manual
Page 64
Configuring Communication
52
7" Modero Touch Panels
5.
Toggle the blue Type field (from the Master Connection section) until the choice cycles to USB.
Refer to the System Settings Page section on page 130 for more information about the fields on this
page.
6.
Press the Back button on the touch panel to return to the Protected Setup page.
7.
Press the on-screen Reboot button to both save any changes and restart the panel. Remember that
the panel’s connection type must be set to USB prior to rebooting the panel and prior to inserting
the USB connector.
8.
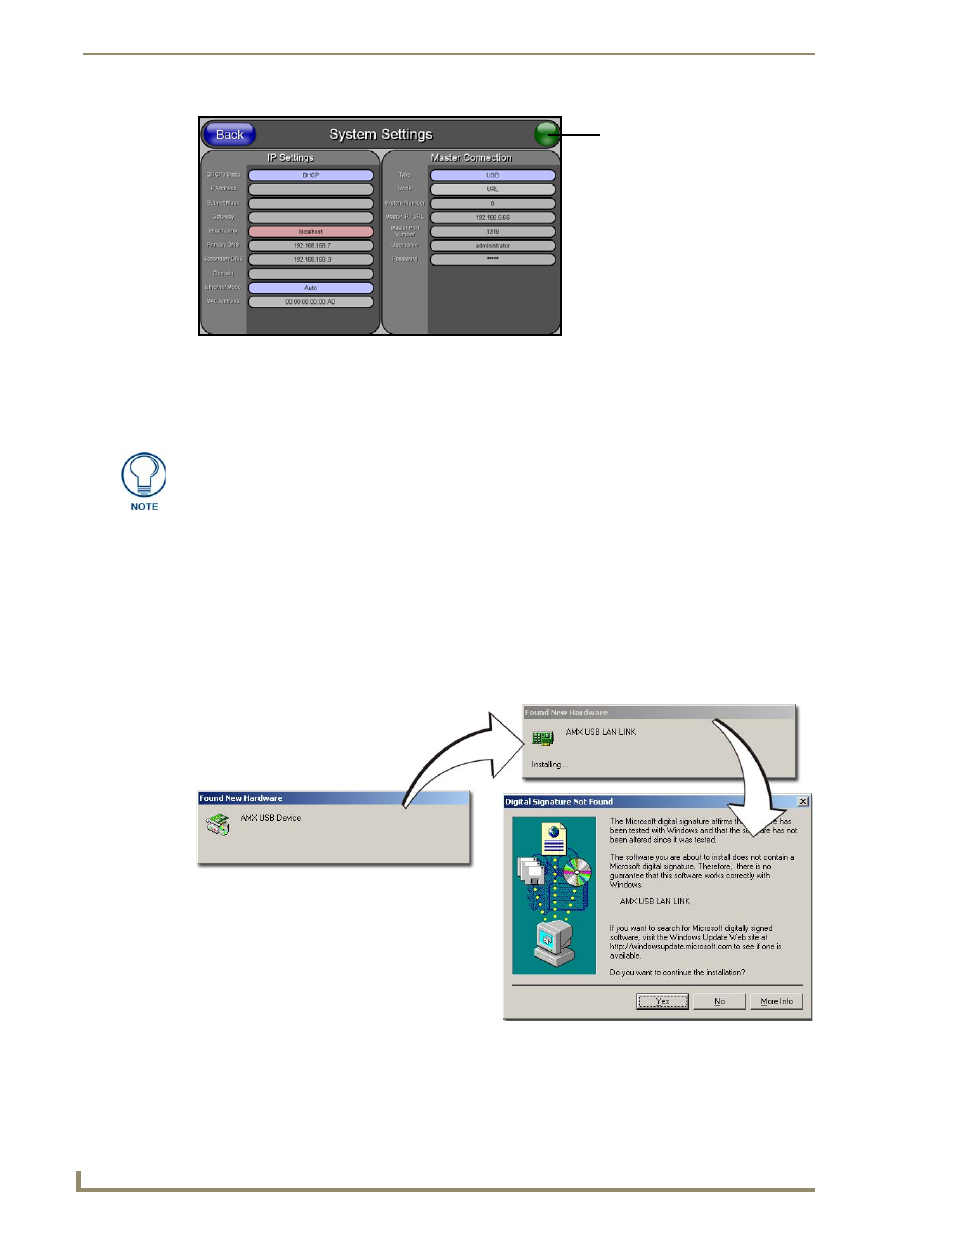
ONLY AFTER the unit displays the first panel page, THEN insert the mini-USB connector into
the Program Port on the panel. It may take a minute for the panel to detect the new connection and
send a signal to the PC (indicated by a green System Connection icon). If this is your first time
installing the USB driver, a USB driver installation popup window (FIG. 53) appears on the PC.
This window notifies you that the panel has been detected by the PC as a USB-compliant
device and the PC is installing an appropriate USB driver to establish a proper communication
to the panel.
FIG. 52
USB System Settings page - using a USB Connection Type
No connection is established until
the Virtual Master becomes
active within Studio
Red Connection Status icon -
Green Connection Status icon -
indicates no connection to a Virtual
indicates communication to a Virtual
Master
Master
Yellow Connection Status icon -
indicates an unreliable network
connection
ALL fields are then greyed-out and read-only, but still display any previous network
information.
FIG. 53
USB driver installation popup window