AMX Modero CV7 User Manual
Page 50
Installation
38
7" Modero Touch Panels
3.
Remove the Faceplate/bezel (A in FIG. 39) from the main NXD unit (B in FIG. 39) by gripping the
faceplate and pulling with gentle outward force.
4.
Thread the incoming power, RJ-45, Ethernet, USB, and any optional audio/video wiring (from their
terminal locations) through the surface opening. Leave enough slack in the wiring to accommodate
any re-positioning of the panel.
5.
Connect all data and power wiring connectors to their corresponding locations along the left side of
the (un-powered) NXD touch panel.
Verify that the terminal end of the power cable is not connected to a power source before
plugging in the 2-pin power connector.
The USB connectors can be from a either a USB extension cable, or a wireless USB RF
transmitter.
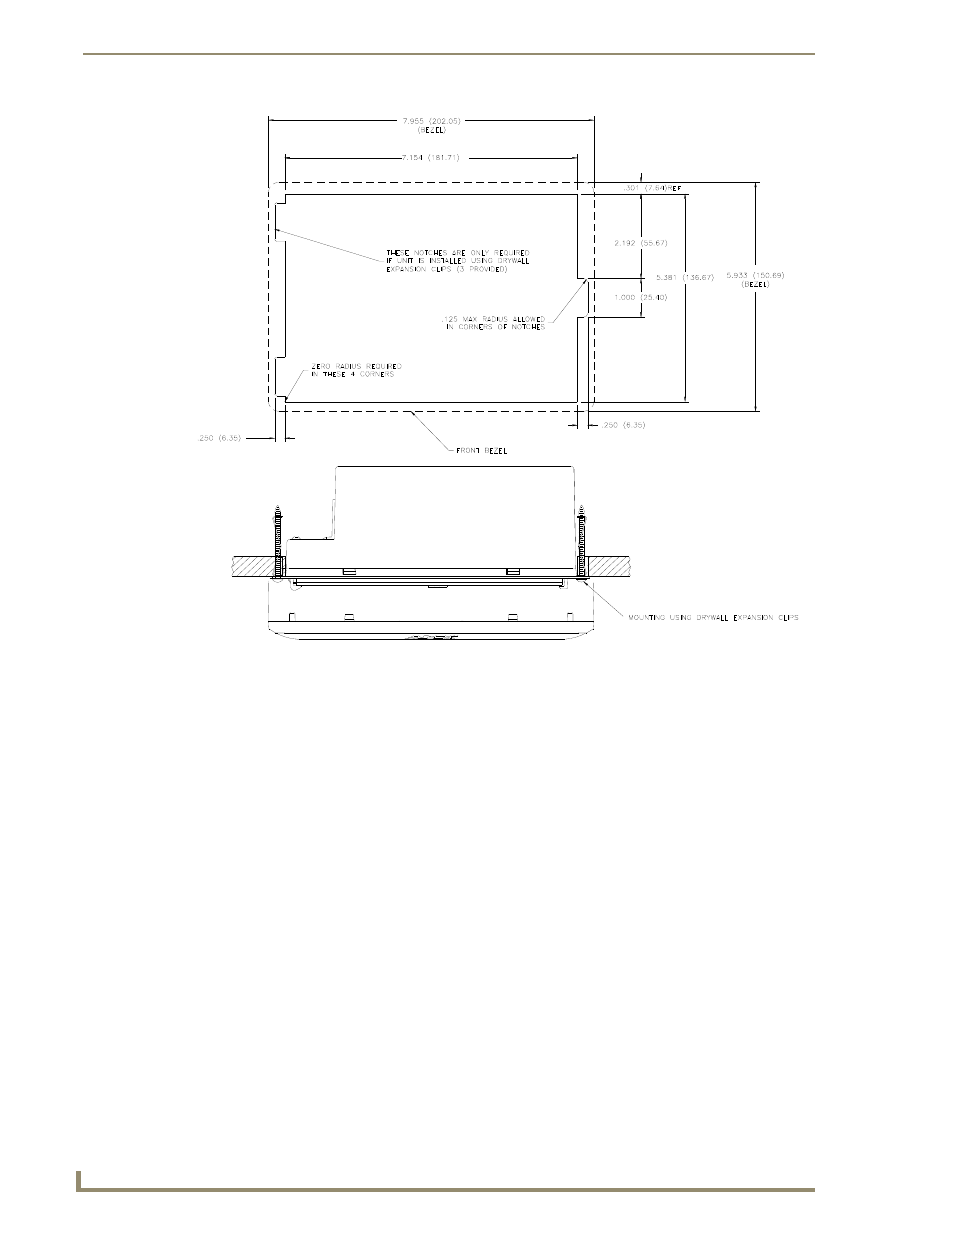
FIG. 38
NXD-CV7 Wall Mount panel dimensions using expansion clips