Lokar EHB-9201 Under-the-Dash Hand Operated Parking Brake User Manual
Under-the-dash hand operated parking brake
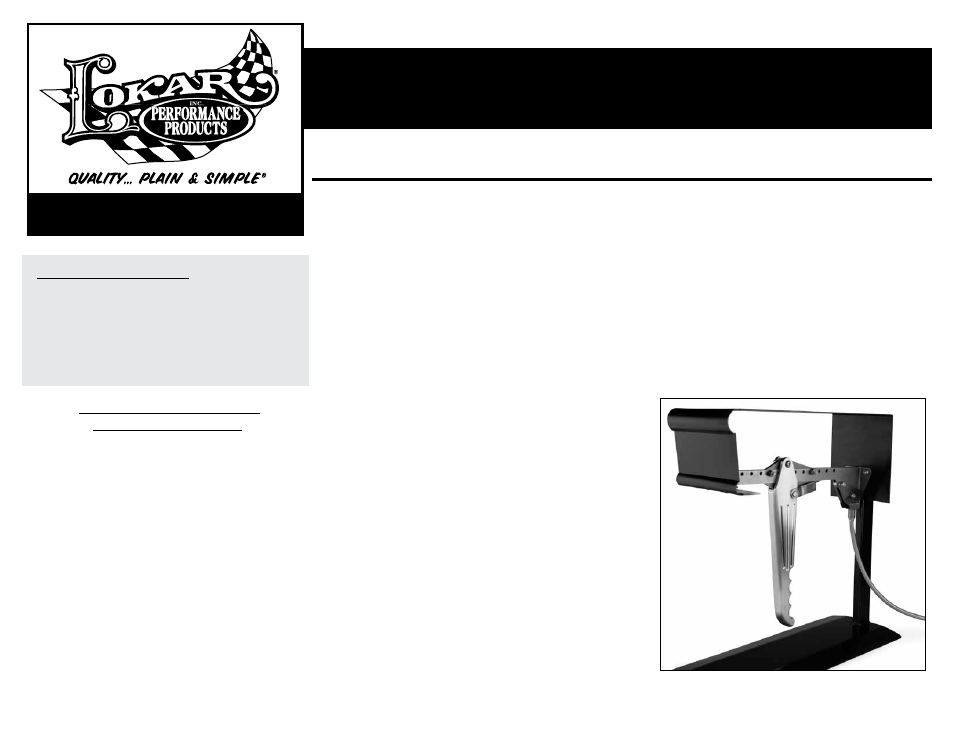
Under-the-Dash Hand Operated Parking Brake
General Installation Notes:
Please read instructions completely before beginning
installation. If you have any questions please don’t
hesitate to call.
NOTE: Kit requires Lokar Connector Cables, Part Nos.
EC-8001U (Black Housing) or EC-8001HT (Stainless
Housing) Sold Separately
Under-the-Dash Hand Operated
Parking Brake Installation
Step 1: Disconnect battery and scotch the tires to keep
vehicle from moving.
Step 2: Remove any existing or original under dash
parking brake mechanism.
Step 3: Locate preassembled under-the-dash mounting
brackets to prepare for installation.
See Fig. 1 on back.
Step 4: Determine the mounting location for the
under-the-dash parking brake and brackets.
(Re-route any wiring or vacuum hoses in the way of
the Lokar under-the-dash parking brake.) Measure
the distance from the firewall to the bottom lip of
the dash. The bracket assembly can be mounted in
a span from 11” to 15”. To shorten the assembly
the main brackets will need to be cut. (Note: Using
a die grinder with a cut off wheel or band saw works
well).
See. Fig. 2 on back.
Step 5: Hold the bracket assembly in the desired
location and drill four .250” (1/4”) holes
in firewall and two holes in the dash; mount
the bracket assembly using the six supplied
1/4-28 x 7/8 button head bolts and six 1/4-28
nylock nuts.
Step 6: Decide the final position of the lever (toward
the dash or toward the firewall). Remove
the bolts from the gear plate and slide to the
selected position and mount, using the
1/4-28 x 7/8 button head bolts and two 1/4-
28 nylock nuts.
See Fig. 3 on back. (Note: the
gear plate location will move the brake lever
from front to rear of the vehicle).
Step 7: To keep alignment when installing the parking
brake, it is important to depress the chrome
trigger when sliding parking brake into position.
Install the lever with the chrome trigger facing
toward the firewall of the vehicle. Install using
5/16-24 x 7/8 bolt, and 5/16-24 nylock nut.
See Fig. 4 on back. (Caution: Do Not over
tighten 5/16 bolt and nut – as the lever will
not move freely and the brake will not operate
correctly).
Step 8: Check handbrake for proper operation before
installing connector cable. When brake is
pulled toward cockpit without depressing
trigger, it will click on each gear and lock.
To disengage the brake, depress the trigger
and push lever toward the firewall. (When
cables are attached and adjusted correctly,
spring tension will pull parking brake lever
toward firewall when trigger is depressed).
Step 9: Install a Lokar connector cable housing as shown
in Fig. 5 on back. [Part No. EC-8001U (Black) or
EC8001HT (Stainless)]. Route inner wire through
clevis as
shown in Fig. 6 on back. Install clevis
onto lever and put clevis pin through clevis and
lever. Secure clevis pin with flat washer and
cotter pin.
See Fig. 7a and 7b on back. Route
inner wire over nylon roller assembly.
Adjust connector cable and Lokar emergency
brake cables or any existing brake cables until
parking brake holding power has reached your
personal preference.
Building American Quality… With A Lifetime Warranty!
Part# EHB-9200 & EHB-9201
Step 10:
Continued on back…
Under-the-Dash Hand Operated Parking Brake
Part# EHB-9200 & EHB-9201
10924 Murdock Dr. • Knoxville, TN 37932
TOLL FREE 1-877-469-7440 • (865) 966-2269 • FAX (865) 671-1999 • [email protected] • www.lokar.com
© 2004 Lokar, Inc.
Rev. 7/27/06