Flex-a-Lite 51008 Jeep CJ Radiator Only Kit: Left hand inlet: GM V8 conversion. Kit Fits 1972-1986 Jeep CJs User Manual
Page 2
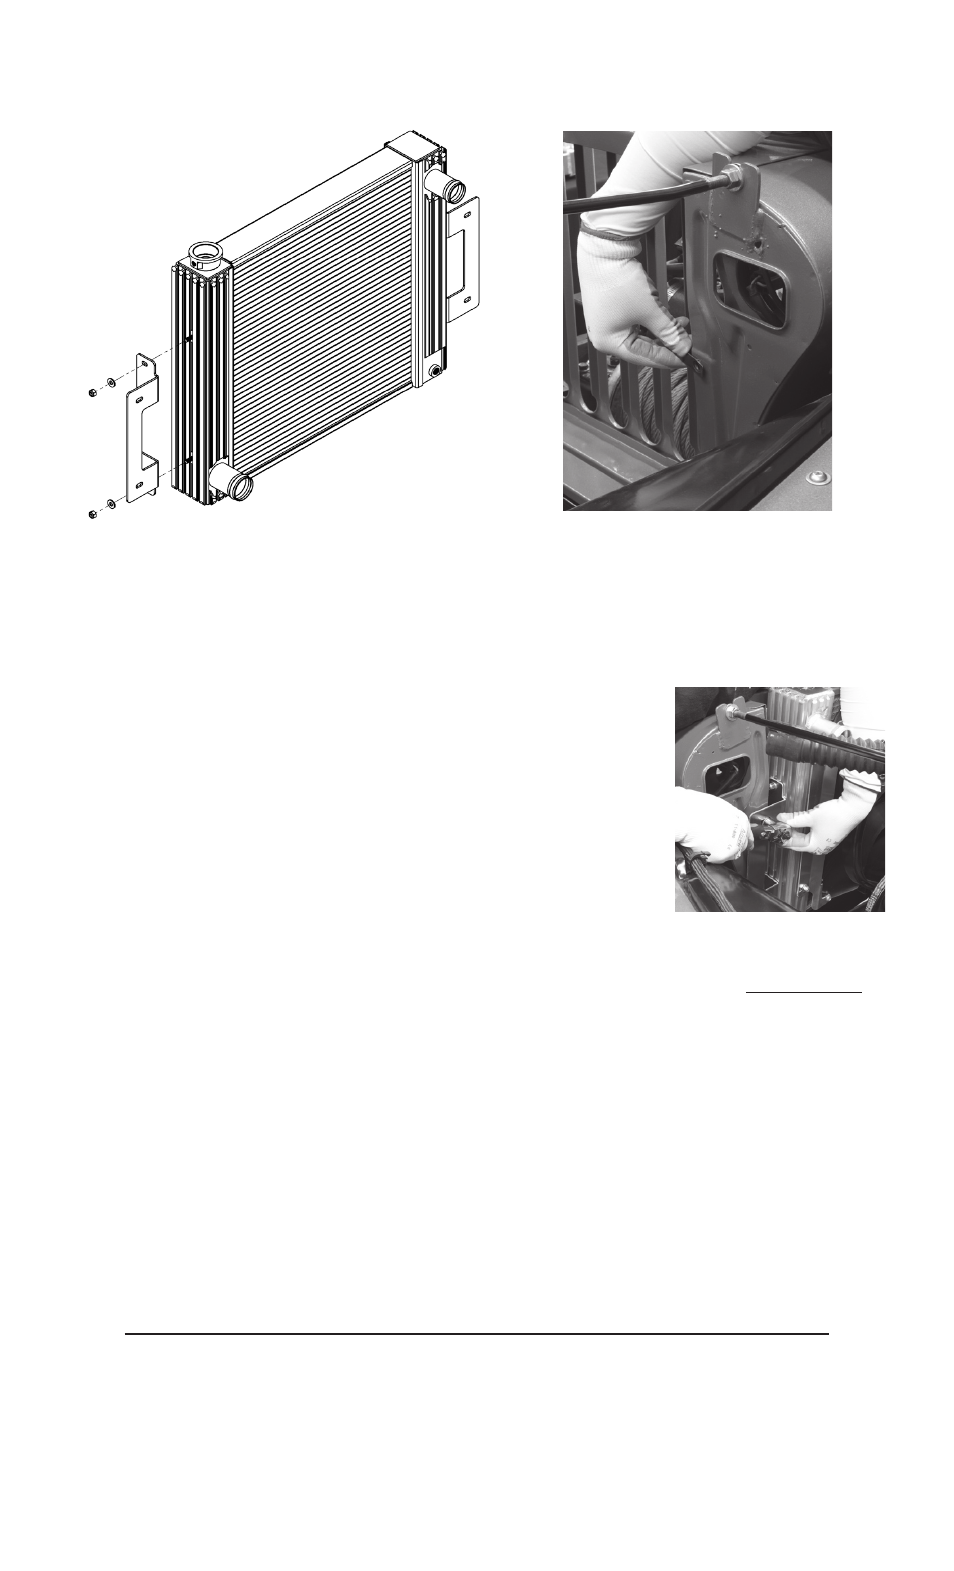
Lower the radiator into the engine compartment.
4.
Utilizing the included 5/16” hex bolts (4ea.), 5/16” flat washers (4ea.), and
5.
5/16” lock washers (4ea.), mount radiator through previously attached
brackets to previously installed spring / clip on nuts on radiator support.
Loosely attach but do not tighten securely yet.
see Detail 4
6. Flex-a-Fit
®
radiator tanks are made for maximum adjustability. Depending
on space limitations within your engine compartment, you will need to
adjust bracket positioning by sliding the T-bolts up / down or even select
an alternate tank slot. Be sure all bracket mounting hardware has been
sufficiently tightened after proper positioning has been achieved.
Note: BE SURE that all moving parts of the engine and electric fan
(where applicable) are clear of each other before proceeding!!
Re-secure the pulley to the water pump, using the four (4) bolts that
7.
held the fan to the water pump, then reinstall fan belt. If replacing the
radiator only, reattach the fan to water pump.
Note: Be sure to check the clearance of these bolts on
the backside of the pulley to the water pump. After being tightened, there should be no less than ¼” of
clearance to the water pump. If they are too close, they may cause severe damage to the water pump upon
start-up. It may be necessary to replace these bolts with shorter ones.
Connect the upper and lower radiator hoses to the new radiator. Make sure they are properly clamped to
8.
the inlet and outlet tubes.
Note: Once again.... BE SURE that all moving parts of the engine and electric fan (where applicable) are
clear of each other before proceeding!!
Install the pipe-nipple for the overflow tube to the filler neck of the radiator. Route and trim the overflow
9.
hose as needed.
Note: Be sure that there is enough clearance between the hose and any moving engine
components.
Fill radiator/ cooling system with vehicle manufacturer recommended coolant. Remember to fill reservoir to
10.
cold fill level if equipped. Check for leaks before proceeding.
Rev. 01-13-12 54988 Page 2 of 4
Detail 3
Detail #2
Detail 4
Note: For automatic transmission equipped vehicles.
We chose not to install a transmission cooler within our radiator’s side tank. This maximizes the cooling
efficiency of both your engine and transmission. If your vehicle is equipped with an automatic transmission, you
will need to install an aftermarket transmission cooler. Flex-a-lite makes a full line of transmission coolers along
with customized mounting options.
For more mounting options, call Technical Assistance at: 1-877-767-0554 or FAX: (253) 922-0226.
or visit “www.flex-a-lite.com”
Replace the OEM radiator support “spring / clip on nuts” (4ea.) with the 5/16” nuts provided in the mounting
3.
hardware kit bag. These will be used to secure the radiator mounting brackets to the radiator support.
see Detail 3
- 51009 Jeep CJ Radiator Only Kit: Right hand inlet: stock application or Ford V8 conversion. Kit Fits 1972-1986 Jeep CJs 51168 Jeep CJ Radiator & Fan Kit: Left hand inlet: GM V8 conversion. Kit Fits 1972-1986 Jeep CJs 51169 Jeep CJ Radiator & Fan Kit: Right hand inlet: stock application or Ford V8 conversion. Kit Fits 1972-1986 Jeep CJs