Defining a san storage entry, San storage entry definition, Create logical server storage configuration – HP Matrix Operating Environment Software User Manual
Page 77
For information about creating a storage pool entry, see
.
1.
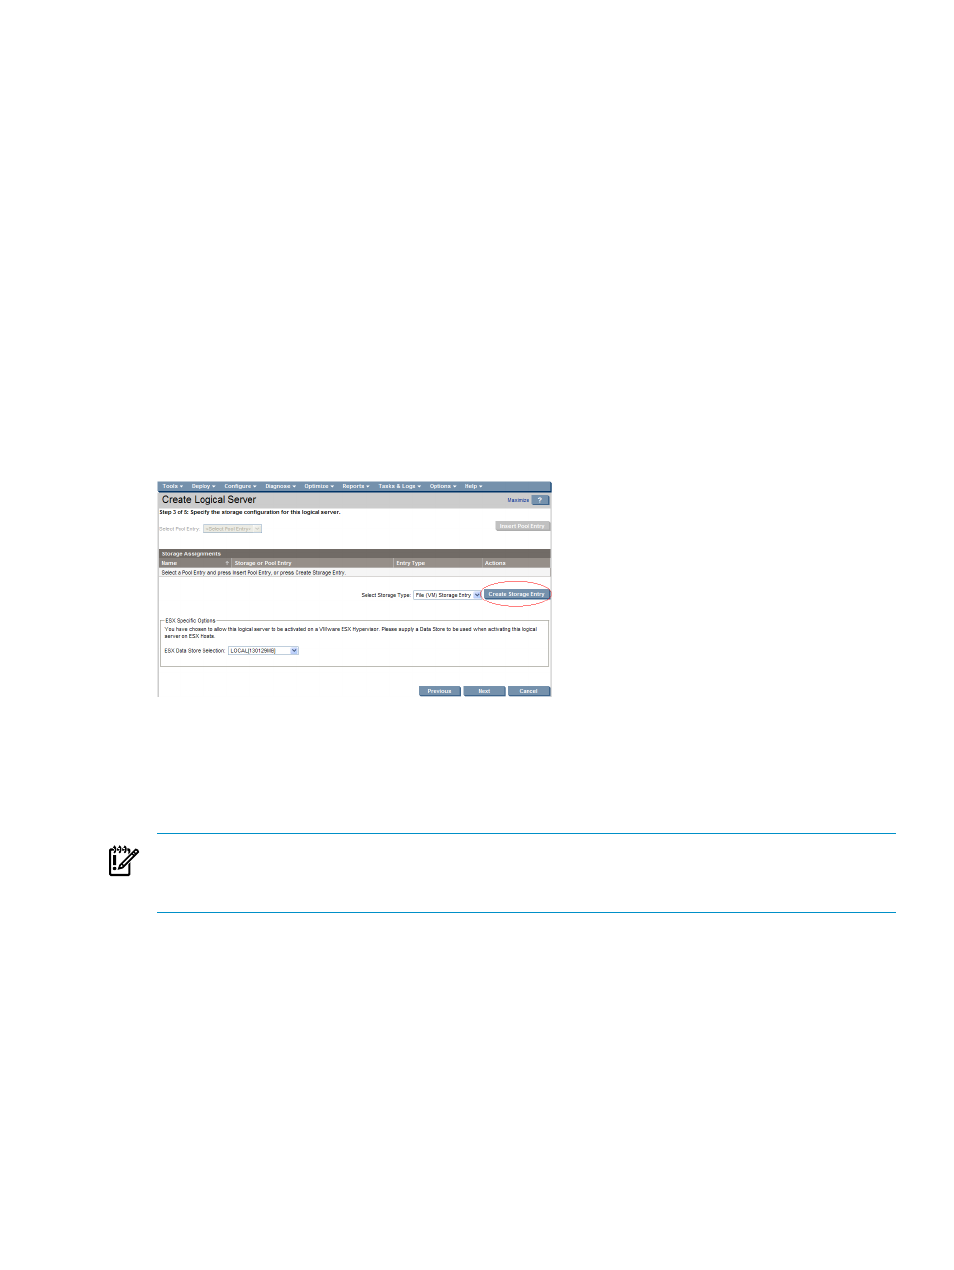
Click the Select Storage Type drop-down menu and select one of the following storage
types.
Available selections depend on the Portability Group for the logical server.
(The SAN Catalog Storage Entry and SAN Pre-populated Catalog Storage Entry storage
types are available on the Manage Storage Pool screen only.)
•
SAN Storage Entry
: For cross-technology logical servers (Server with Virtual Connect
and ESX Host), Virtual Connect logical servers, Operations Orchestration workflow
logical servers, and virtual machine logical servers using RDM
•
File (VM) Storage Entry
: For virtual machine logical servers. File (VM) storage can
reside on a datastore (local drive or SAN)
2.
If you are creating a virtual machine logical server, select a Data store from the drop-down
menu.
3.
Press the Create Storage Entry button, which displays the Storage Entry: SAN or Storage
Entry: File (VM)
screen, depending on the storage type you selected. This screen allows you
to define and view your logical server storage configuration.
Figure 6-3 Create logical server storage configuration
Defining a SAN storage entry
The SAN Storage Entry screen allows you to add, modify, or view a SAN or RDM storage entry.
You can optionally save the storage entry details you enter on this screen into a storage pool
entry that can be shared by other logical servers.
IMPORTANT:
If you configure your Virtual Connect logical server to use a local disk, you
cannot move that logical server. Additionally, after you activate the logical server, you cannot
reactivate it on a different system.
Perform the following steps to define a SAN or RDM storage entry.
1.
Enter the
“SAN storage entry definition” (page 77)
2.
Enter the
3.
Enter the
“Volume and path definition” (page 79)
4.
Optional: Verify
SAN storage entry definition
1.
Optional: Change the name of the storage entry by typing in the name box. Each storage
entry is given a unique default name.
2.
Optional: Enter a description for the storage entry. If you enter a description and insert the
entry into the storage pool, it is displayed in the Select Pool Entry drop-down menu on
the Modify Storage Configuration tab and the Create Storage Configuration screen.
Logical server storage
77