Enter setup mode, Select a view, E 34) – Milestone XProtect Smart Client 2013 User Manual
Page 34
Milestone XProtect
®
Smart Client
2014
User's Manual
www.milestonesys.com
34
Get to know the XProtect Smart
Client
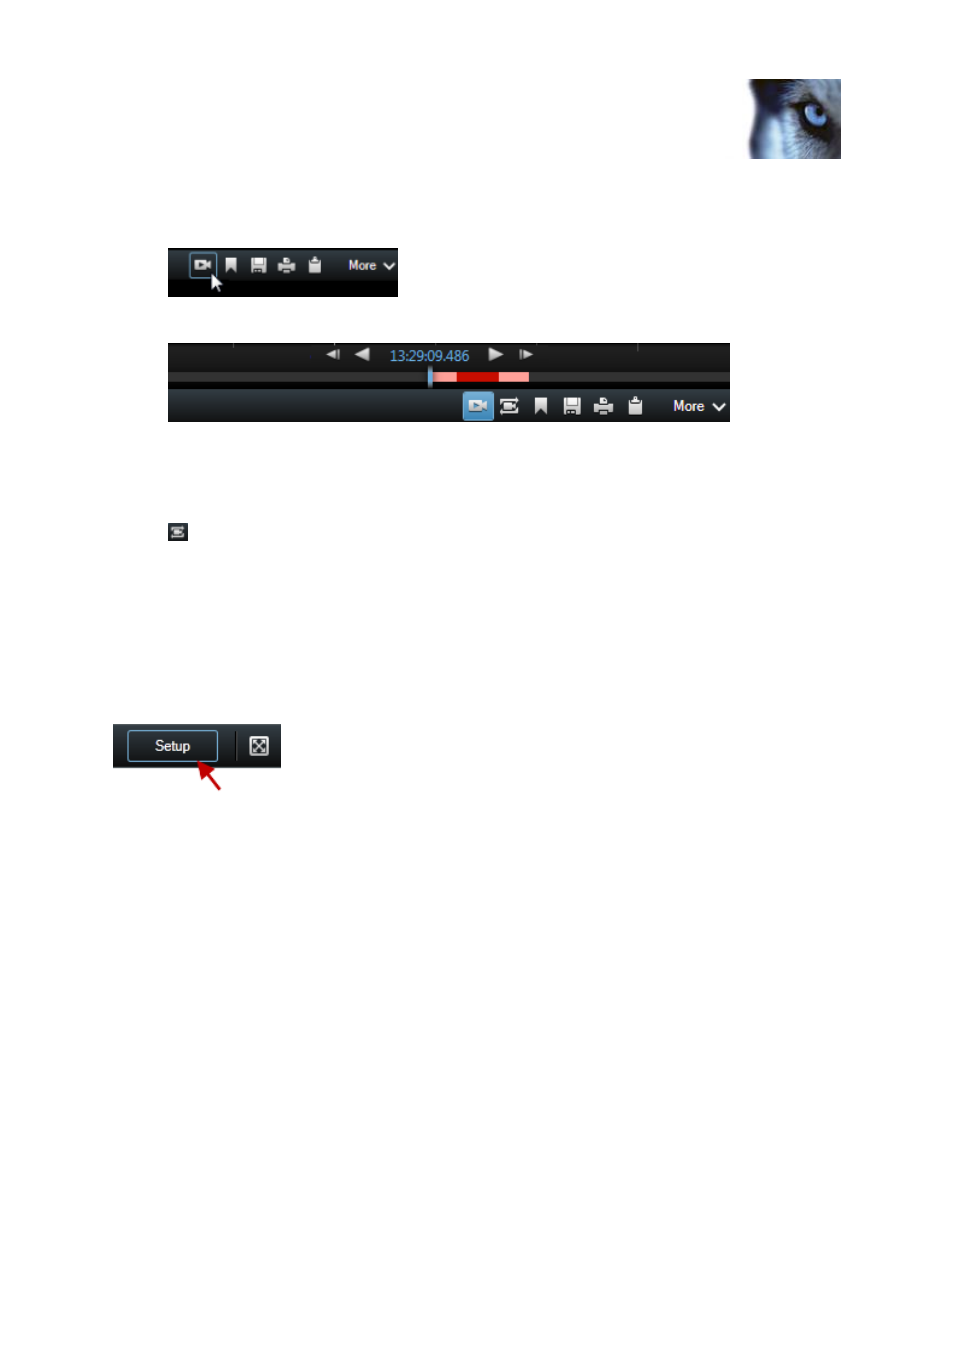
1. Move your mouse across the camera that you want to view recorded video for. On the toolbar
that appears, click the Independent Playback button.
The independent playback timeline appears:
2. Drag the timeline (see "The timeline" on page 120) to select the time containing the video that
you want to view.
3. If you want to view recorded video for the selected time on all the cameras in your view at
once, on the toolbar, click the View recordings from selected time on Playback tab button:
. This displays the Playback tab with all cameras synchronized to the time you have
selected.
Enter setup mode
To enter setup mode, on the XProtect Smart Client toolbar, click Setup.
In setup mode, the Setup button and panes (such as the Properties (see "Camera settings" on
page 57) pane) are highlighted in orange and different panes appear on the left side panel.
To return to the default view, click the Setup button again.
Select a view
You can select a view from the Views pane on the Live and Playback tab.
In the Views pane, select either Private or Shared views, and in the relevant view group,
select one of the available views.
If neither the pane nor the shortcut is available, check the pane's availability in the Options (see
"Panes options" on page 98) window.
If views have been assigned shortcut numbers (see "Assign a shortcut number to a view" on page 51),
you will also be able to select a view by using keyboard shortcuts (see "Keyboard shortcuts" on page
39).