6 automatic calibration (only for conductivity), 1 conductivity automatic calibration, 6 automatic calibration – Thermo Fisher Scientific CyberScan CON 510 User Manual
Page 11

Instruction Manual
CON 510
4.6
Automatic
Calibration (Only for Conductivity)
In the automatic calibration mode, the CON 510 bench meter is capable of accepting either single-point or up to 4 points
for multi-point calibration with maximum of 1 point per specific measurement range using known calibration standards
values which include: 84 μS/cm (0 – 200.0 μS/cm), 1413 μS/cm (0 – 2000 μS/cm), 12.88 mS/cm (0 – 20.00 mS/cm) and
111.8 mS/cm (0 – 200.0 mS/cm).
NOTE: You need to set your desired option i.e. number of calibration points in the SETUP main-menu P5.0 before
performing calibration.
MEAS
o
C
ATC
READY
.
uS
CAL
uS
o
C
ATC
MEAS
.
uS
READY
READY
MODE
CAL
MEAS
ENTER
RANGE
CAL
MEAS
4.6.1 Conductivity
Automatic
Calibration
1. If necessary, press the MODE key to select conductivity mode.
2. Rinse the probe thoroughly with de-ionized water or a rinse solution, then rinse with
a small amount of calibration standard.
3. Dip the probe into the calibration standard. Immerse the probe tip beyond the upper
steel band. Stir the probe gently to create a homogeneous sample. Allow time for
the reading to stabilize.
4. Press
CAL/MEAS to enter conductivity calibration mode. The [CAL] indicator will
appear in the upper right corner of the display.
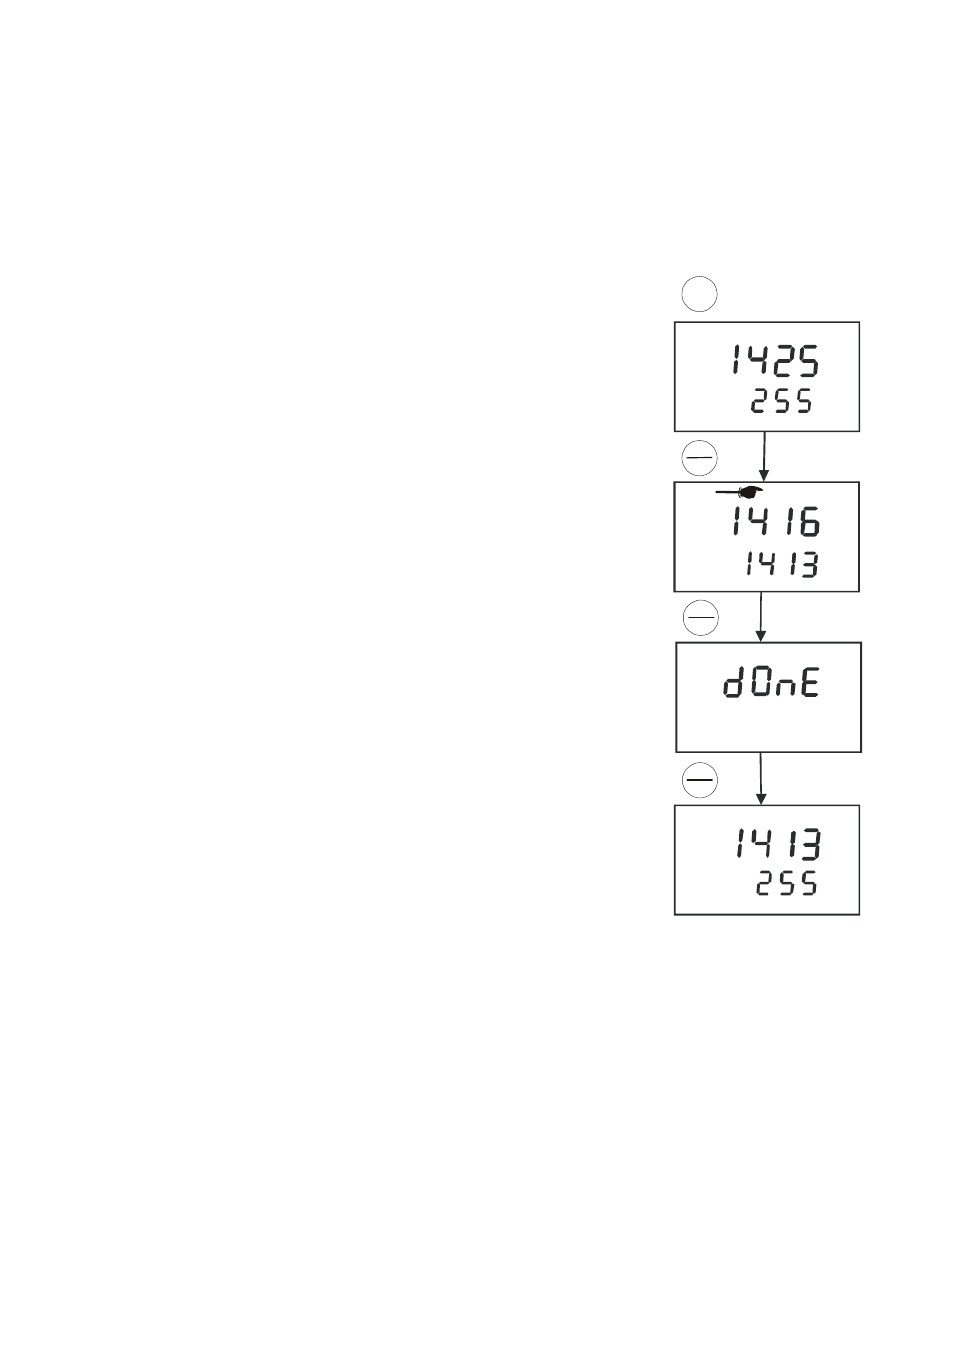
5. The lower display will scan and lock the closest set calibration values momentarily.
Pressing before the set displayed value being locked will be prompted by an error
message and remain in the calibration mode.
6. Wait for [READY] indicator to appear before pressing ENTER key to confirm
calibration value. The upper display will show “dOnE” once the calibration is
successfully performed. The meter returns to the [MEAS] measurement mode.
7. To abort calibration without confirming, press CAL/MEAS to revert back to
measurement mode. No calibration is performed at this stage.
8. To perform the next point calibration in the multi-point calibration, repeat step 1-7
again until all points have been calibrated if necessary.
7
