SHIMPO FGS-100-PXL User Manual
Page 5
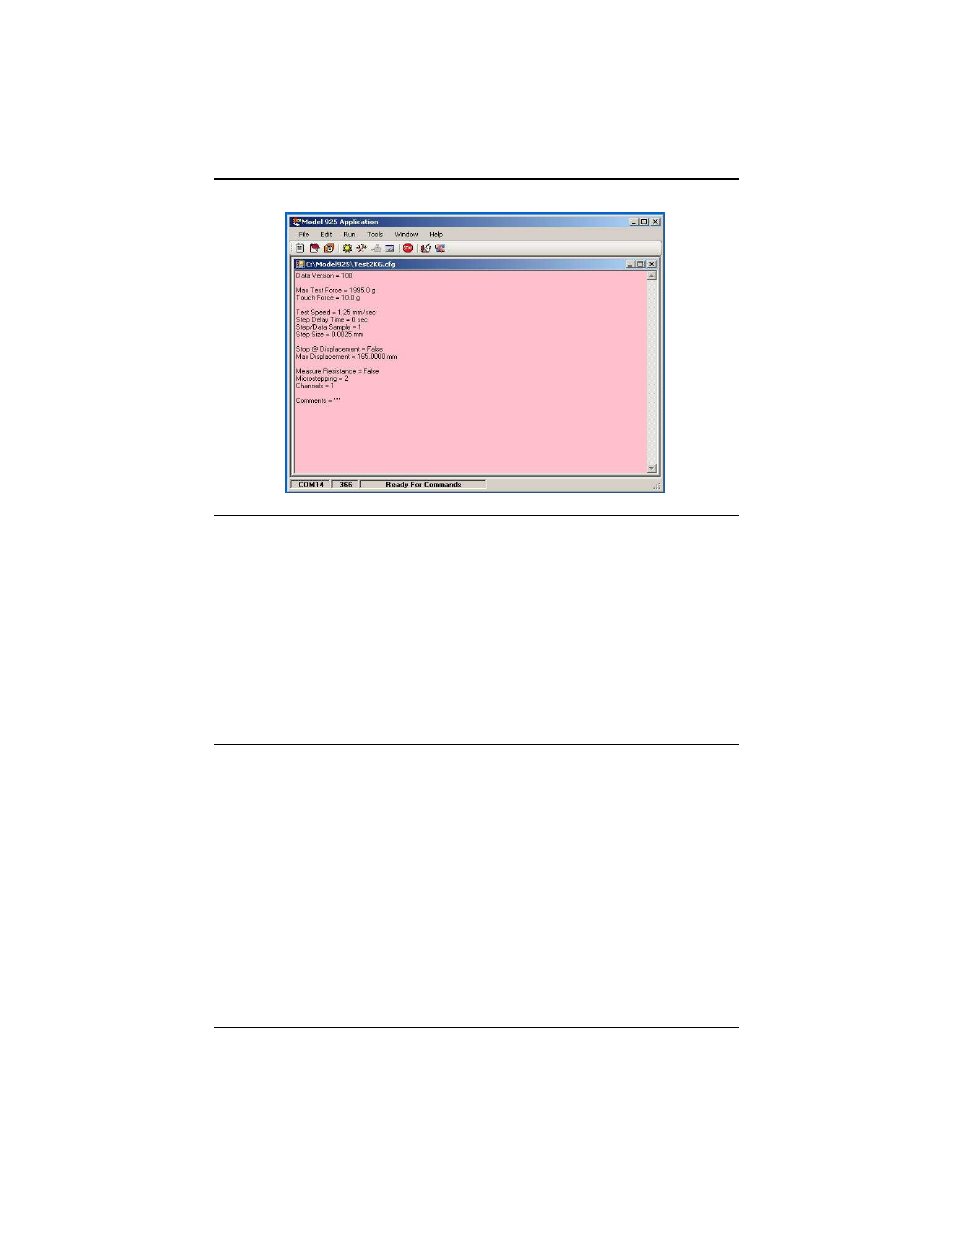
Figure 6. Pink Configuration Window
Calibration Cycle
Once the desired configuration data has been uploaded to the platform, a calibration cycle must be performed.
The calibration removes the deflection and compression effects of the platform so only the device to be
tested is unknown. The calibration cycle is automatically performed over the range of forces for the
installed transducer. Position the transducer approximately 1/2 inch above a flat ridged surface.
Click on the "Calibrate The Platform" icon (Fig 4) or from the menu select "Run - Calibrate". The program
commands the platform to run the calibration cycle.
Whenever a new configuration file is uploaded, the system may prompt the user to run a calibration cycle.
The calibration cycle may be run whenever desired. This is useful if the user suspects the original calibration
has changed. For example, if the transducer has been moved more than 1 inch the original calibration
will be invalid and a new cycle must be performed to re-establish proper calibration.
Performing Test Runs
After the calibration cycle has been completed the system is ready to test UUT's. Position the UUT
approximately 1/2 inch directly under the transducer.
Click on the "Run New Data Test" icon (Fig 4) or from the menu select "Run - Run". The system
performs the UUT testing, according to the uploaded configuration data. After the test cycle is
completed, the test results are automatically downloaded from the platform to the PC program.
The test results should now be saved.
From the menu select "File - Save As".
In the file save window, select "Test Data File (*.html)" as the file type (Fig 5). This is the file format
used by the PC program. The result file must be saved in this format to be able to view the file
in the future with the PC program.
Browse to the desired folder (if necessary) and enter the desired "File name".
Click on the "Save" button.
Test results may also be saved to a "csv" formatted file that can be imported to other programs such
as Excel. Repeat the above step, except select "csv" as the file type.
5