SHIMPO FG-7000-Series User Manual
Page 3
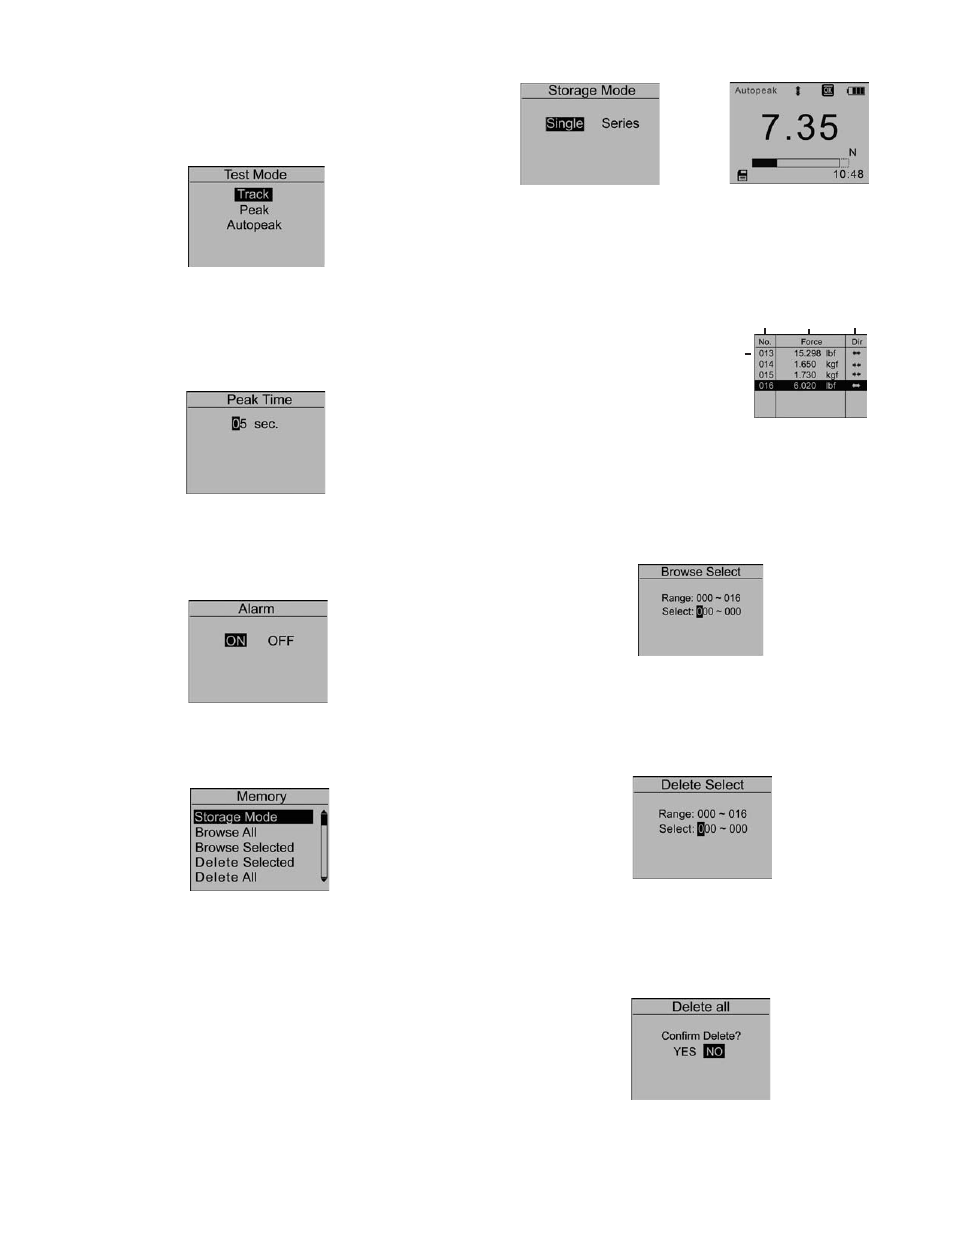
2.2.4 Test Mode
Change the mode of operation between three modes, press
“ZERO” or “MODE” keys to select. Press “LOG” to cancel
or “MENU” to confirm and exit. This adjustment can also
be changed at home screen display by simply pressing
“MODE”.
Figure
2-7
2.2.5 Peak Time
In the Peak Time menu, the peak auto reset time can be set.
The range is 1-99 seconds. Touch “ZERO” to adjust the value,
press “MODE” to shift to the next position. Press “LOG” to can-
cel; touch “MENU” to confirm and exit. (Figure 2-8)
Figure
2-8
2.2.6 Alarm
The alarm function can be turned on or off. Touch “ZERO” or
“MODE” keys to shift to the next position. Press “LOG” to can-
cel, touch “MENU” to confirm and exit. (Figure 2-9)
Figure 2-9
2.3 Memory
In the Memory menu, the user can select the mode of data stor-
age, browse, delete, or print the data. (Figure 2-10)
Figure 2-10
2.3.1 Storage Mode
Two storage modes can be selected in this menu: Single and
Series. Touch “ZERO” or “MODE” keys to select between the
two. Press “LOG” to cancel; touch “MENU” to confirm and exit.
(Figure 2-11)
Single: At the home screen, pressing the “LOG” stores the cur-
rent displayed value. (If the default settings key is for storage.
See 2.5.7 key setting.)
Series: Continuous data logging will only operate while in the
Auto Peak measuring mode. When the peak time has expired,
unit stores the current displayed peak value and then resets
the peak value on the display. Touch “LOG” to start, touch
“LOG” again to end. (Figure 2-12)
Figure
2-11
Figure
2-12
2.3.2 Browse All
The data will be displayed. Touch “ZERO” or “MODE” keys to
shift to the next position. Touch “MENU” to see Delete
or Print options. Touch “LOG” to go back. (Fig. 2-13)
j
Position number
k
Data and units
l
Force Direction
m
First Position Data
Figure 2-13
2.3.4 Browse Selected
User can choose the data to browse. The available range of
data stored is shown. Touch “ZERO” to adjust the value. Press
“MODE” to shift to the next position. Press “LOG” to cancel;
touch “MENU” to confirm. (Figure 2-14)
Figure 2-14
2.3.5 Delete Selected
Select the range of data to be deleted. Touch “ZERO” to adjust
the value. Press “MODE” to shift to the next position. Touch
“LOG” to cancel; touch “MENU” to confirm. (Figure 2-15)
Figure 2-15
2.3.6 Delete All
In this menu, a prompt will appear. All data will be deleted by
selecting “YES” and cancelled by selecting “NO” or pressing
“LOG”. (Figure 2-16)
Figure 2-16
3
j
k
l
m