Changing display quality – Avigilon ACC Standard Version 5.2.2 User Manual
Page 86
Overlay
Description
Camera Location
Displays the location assigned to the camera.
Playback Timestamp
(Recorded video only) Displays the exposure timestamp for the video.
Live Timestamp
(Live video only) Displays the current system date and time to the millisecond.
Record Indicator
(Live video only) Displays the recording status of a camera.
The recording status is indicated by the round icon on the top left corner of the image
panel. The color of the icon shows the camera's recording status.
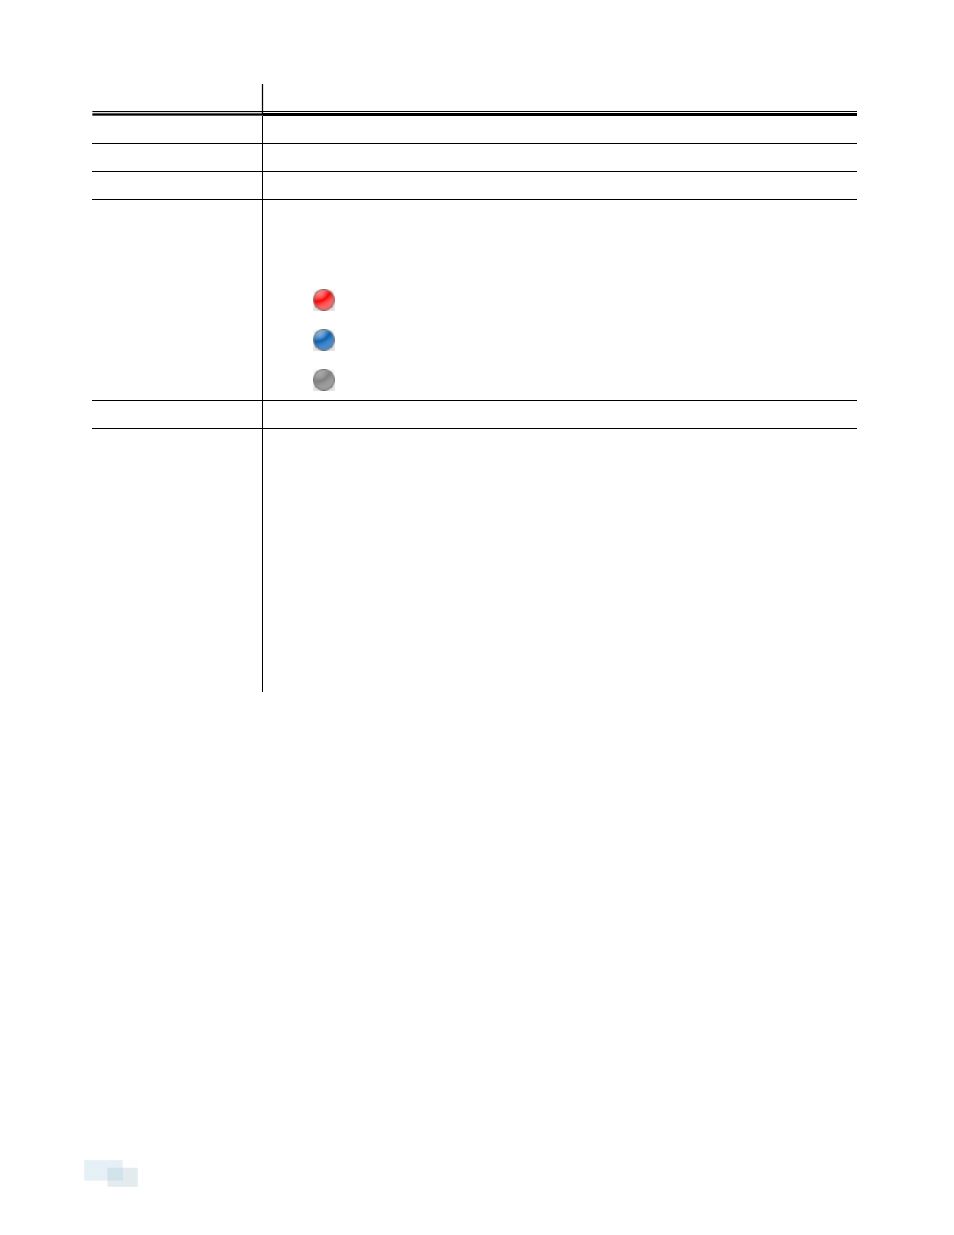
l
: recording triggered by a motion event
l
: recording
l
: not recording. Click this icon at any time to begin manual recording.
Motion Activity
Highlights motion in red.
Video Analytics Activity
Bounding boxes outline objects detected in the video. The color of the bounding box
identifies the object type:
l
Red - a person
l
Blue - a vehicle
l
Yellow - a suspicious object
The Video Analytics Activity overlay is only activated for video from cameras that are
connected to a Rialto device.
NOTE: If both the Motion Activity overlay and the Video Analytics Activity overlay are
enabled, for cameras connected to a Rialto device the system will only display
bounding boxes, and will not display the red motion activity overlay.
Changing Display Quality
If your computer does not have enough network bandwidth or processing power, you may not be able to watch
video at its full image rate and quality. You can configure the image panels to display video in high quality and
low frame rate, or low quality and high frame rate.
Select a higher display quality setting if you need to see specific details or faces in the scene. Select a lower
display quality setting if it's more important to see moving events as they occur.
The Change Display Quality: settings only affect the image panel display and do not affect the actual video
quality or image rate between the camera and the server. Therefore, you can review recorded footage later to
confirm what you saw in the image panel.
In the Change Display Quality: area, select one of the following options:
l
Maximum: displays video at full resolution with the lowest image rate.
l
High (Default): displays video at 1/4 resolution.
l
Medium: displays video at 1/16 resolution.
l
Low: displays video at 1/64 resolution with the highest image rate.
86
Changing Display Quality